


Finally some progress on the kitchen of the granny flat where my mother-in-law will be moving into soon!
Breaking things out is usually the fastest part of remodelling and thats true here too. I got to this point in 2 or 3 hours (I was not counting). But let’s rewind and see what I started with.
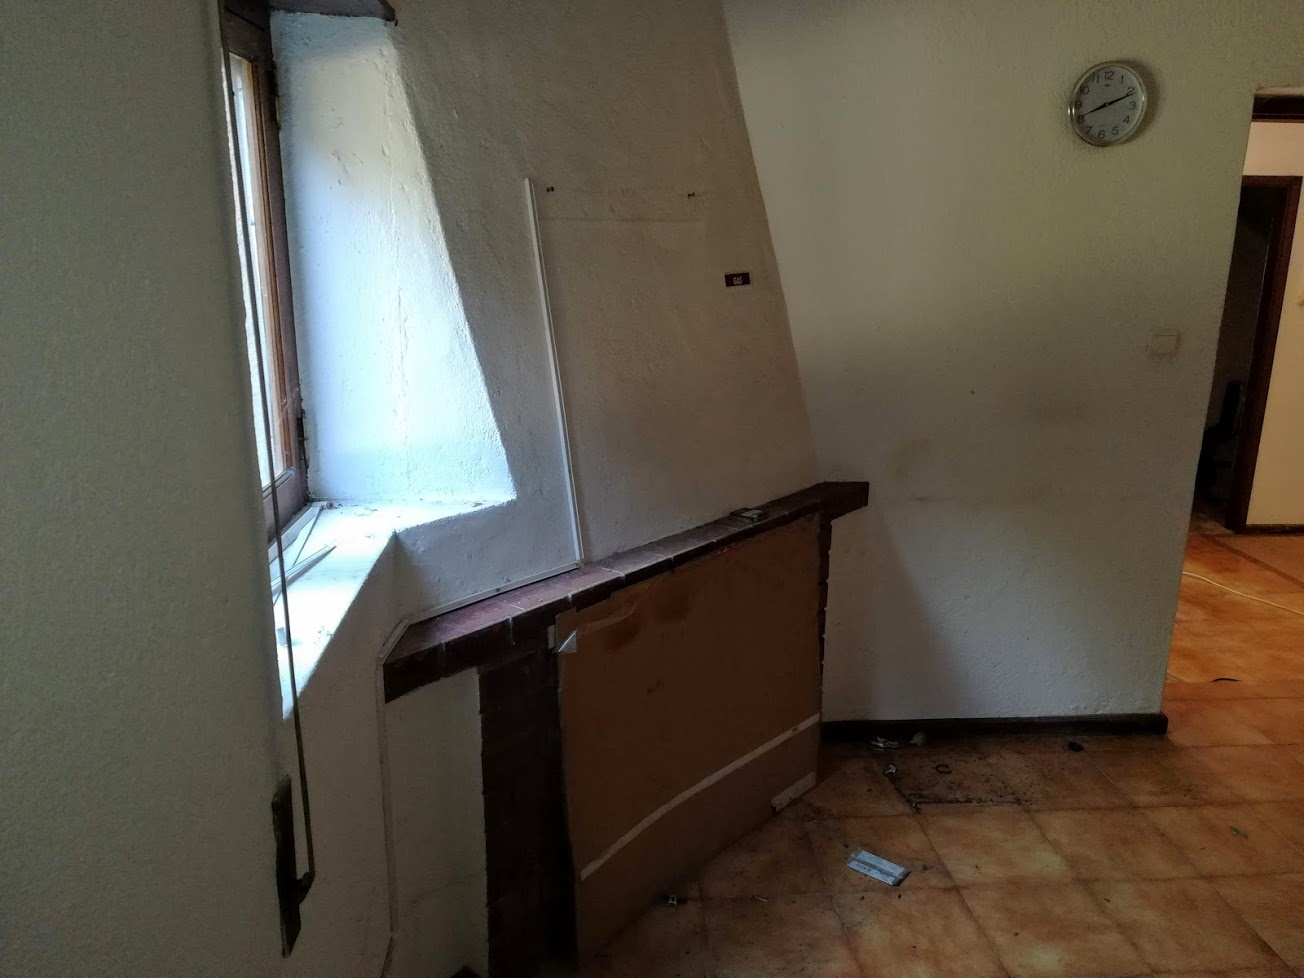
Fireplace? In a kitchen?
I guess if you look back in Portugal’s history this is not that surprising, for many years people cooked their food in the kitchen in fireplaces, we have seen this while we were looking for a place to buy.
What surprises me here is that this is a relatively new house, built in the 90’s or so.
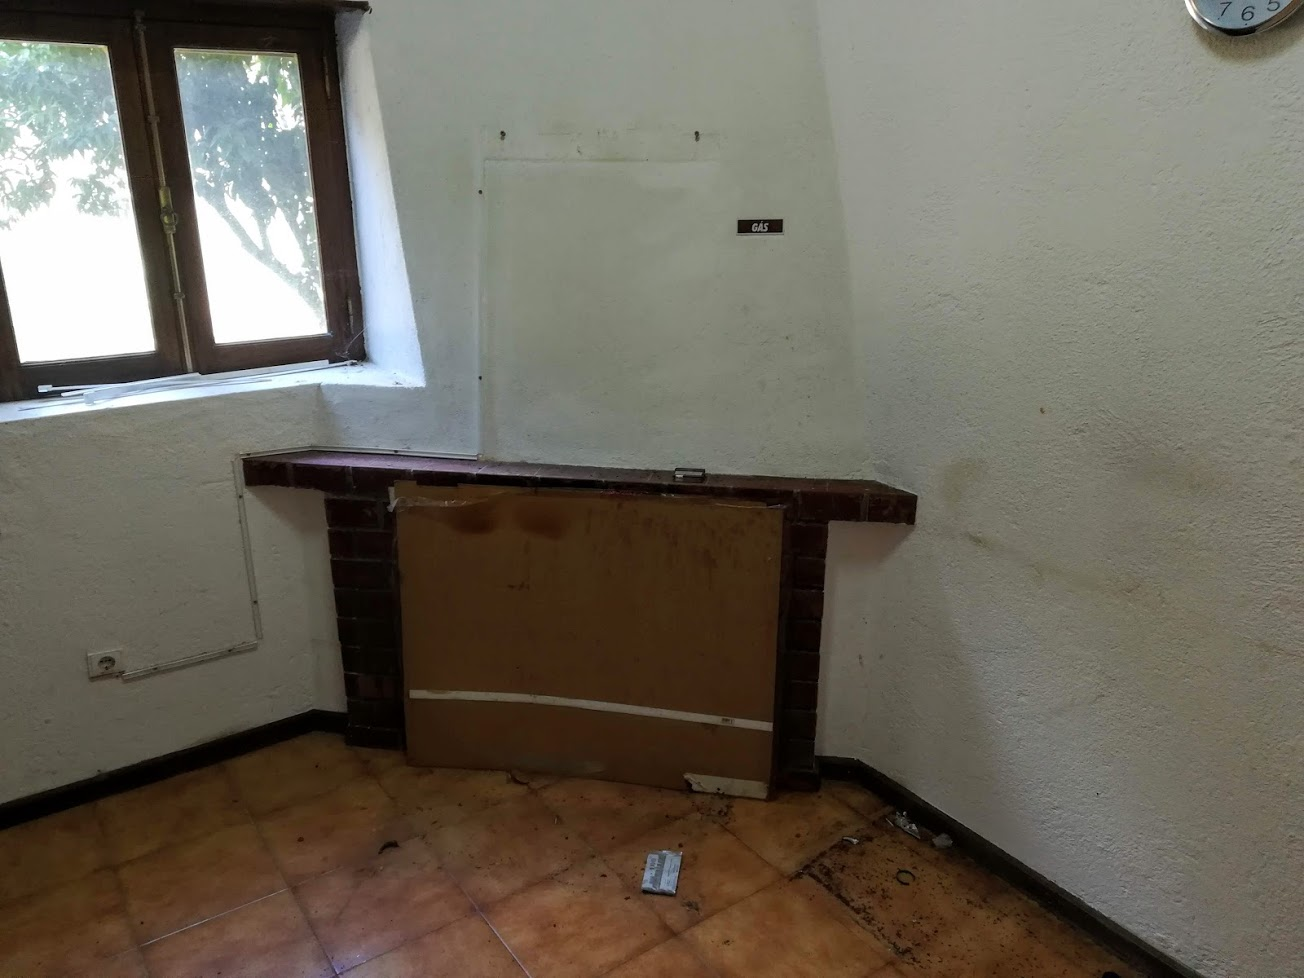
The fireplace is something we are never likely to use in the kitchen, moreover it is positioned such that it takes alot of space, space that we could use to put cupboards, the stove etc. and still have a spacious kitchen.
The way the fireplace juts out by the window got me thinking that it may actually have been an afterthought, so may break out easily. I was dreading trying to chop through tons of concrete!
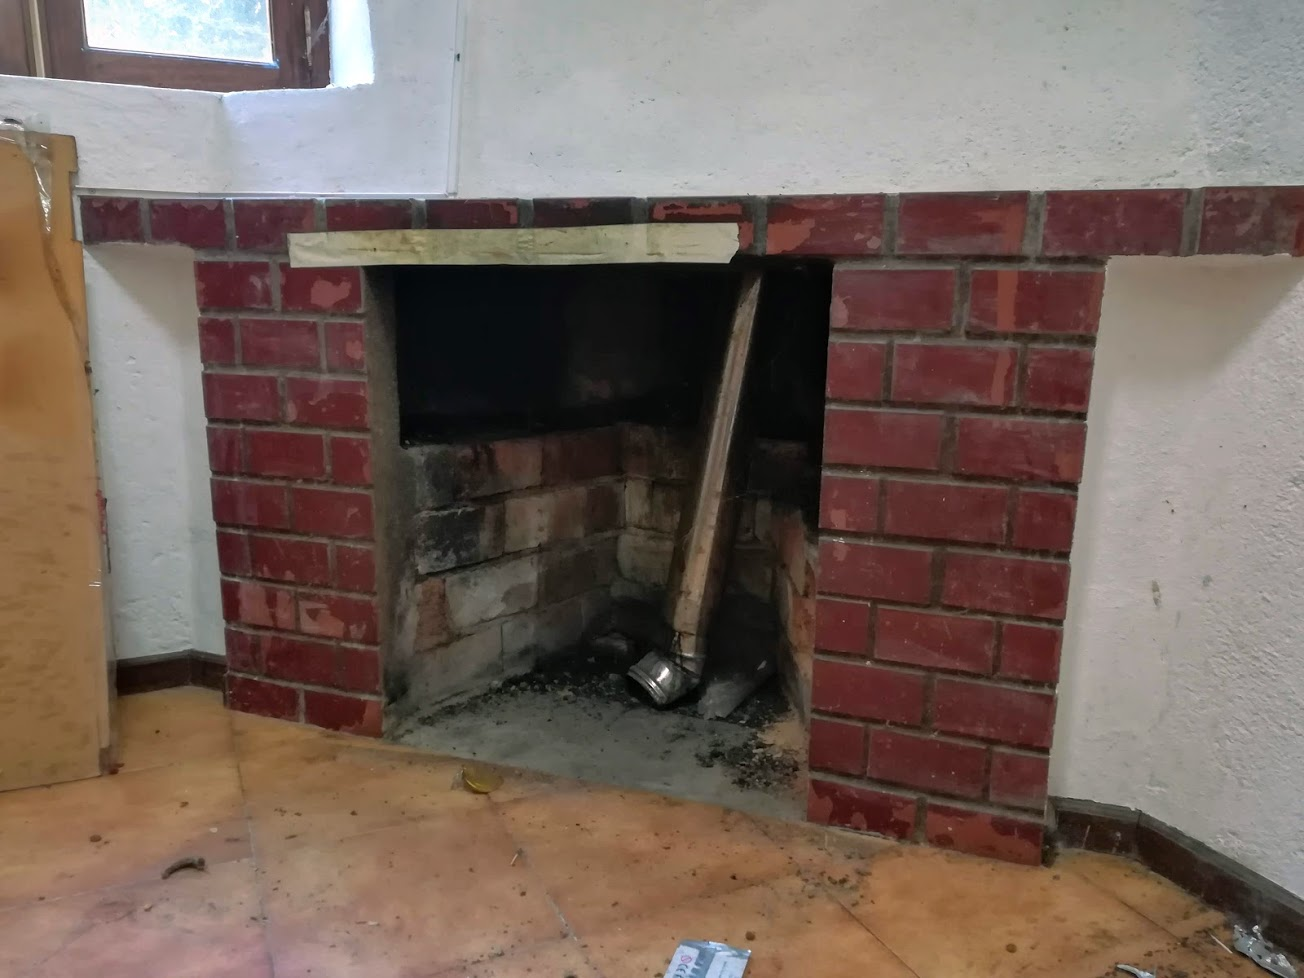
The pipe in the chimney was there for the fireplace thats in the lounge. They decided to change the route of that fireplace’s chimney and take it straight up. Odd, but then there are a few things with this house that have me scratching my head!
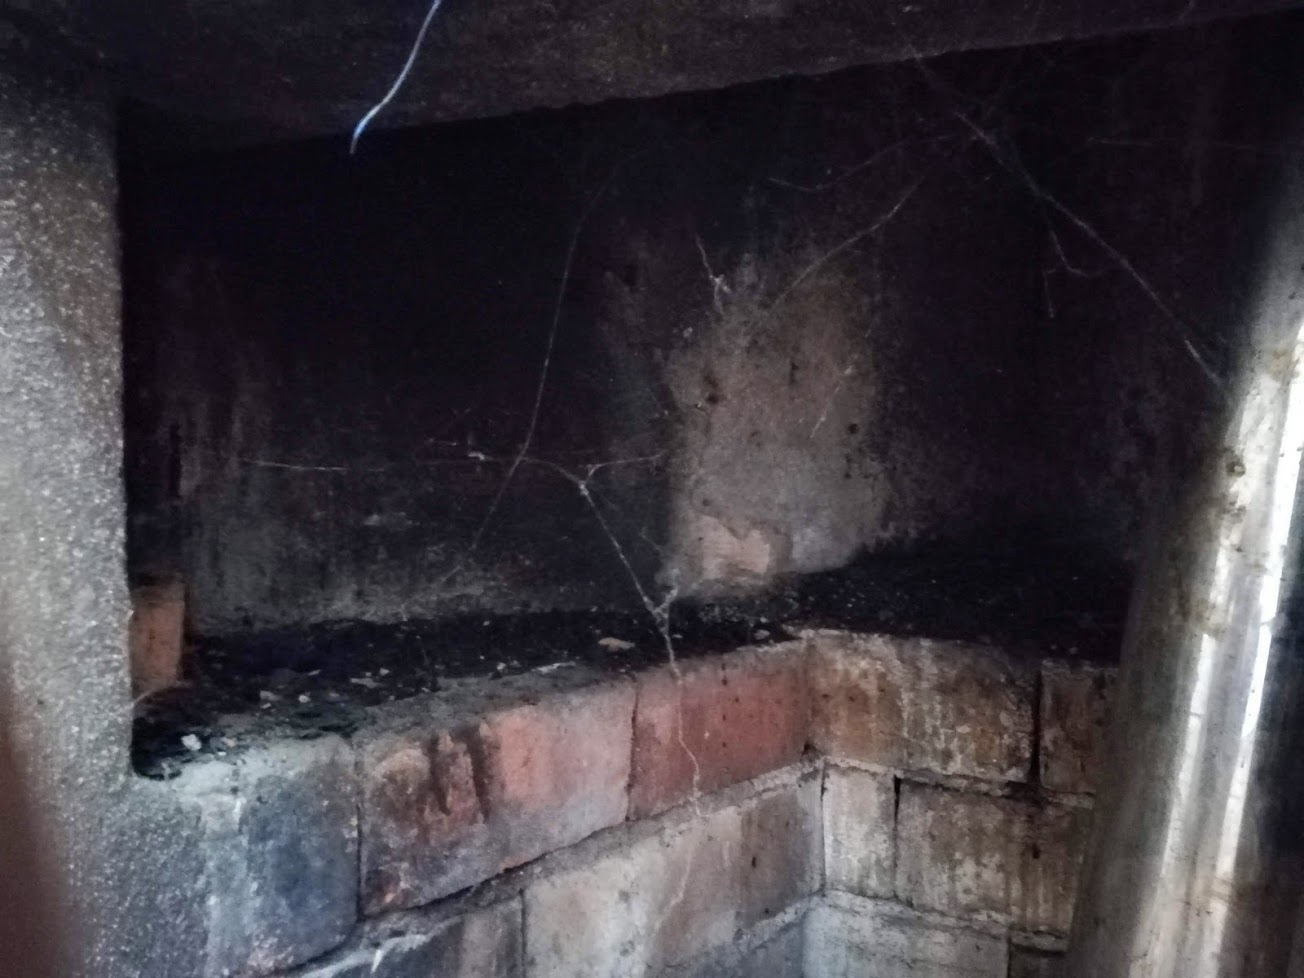
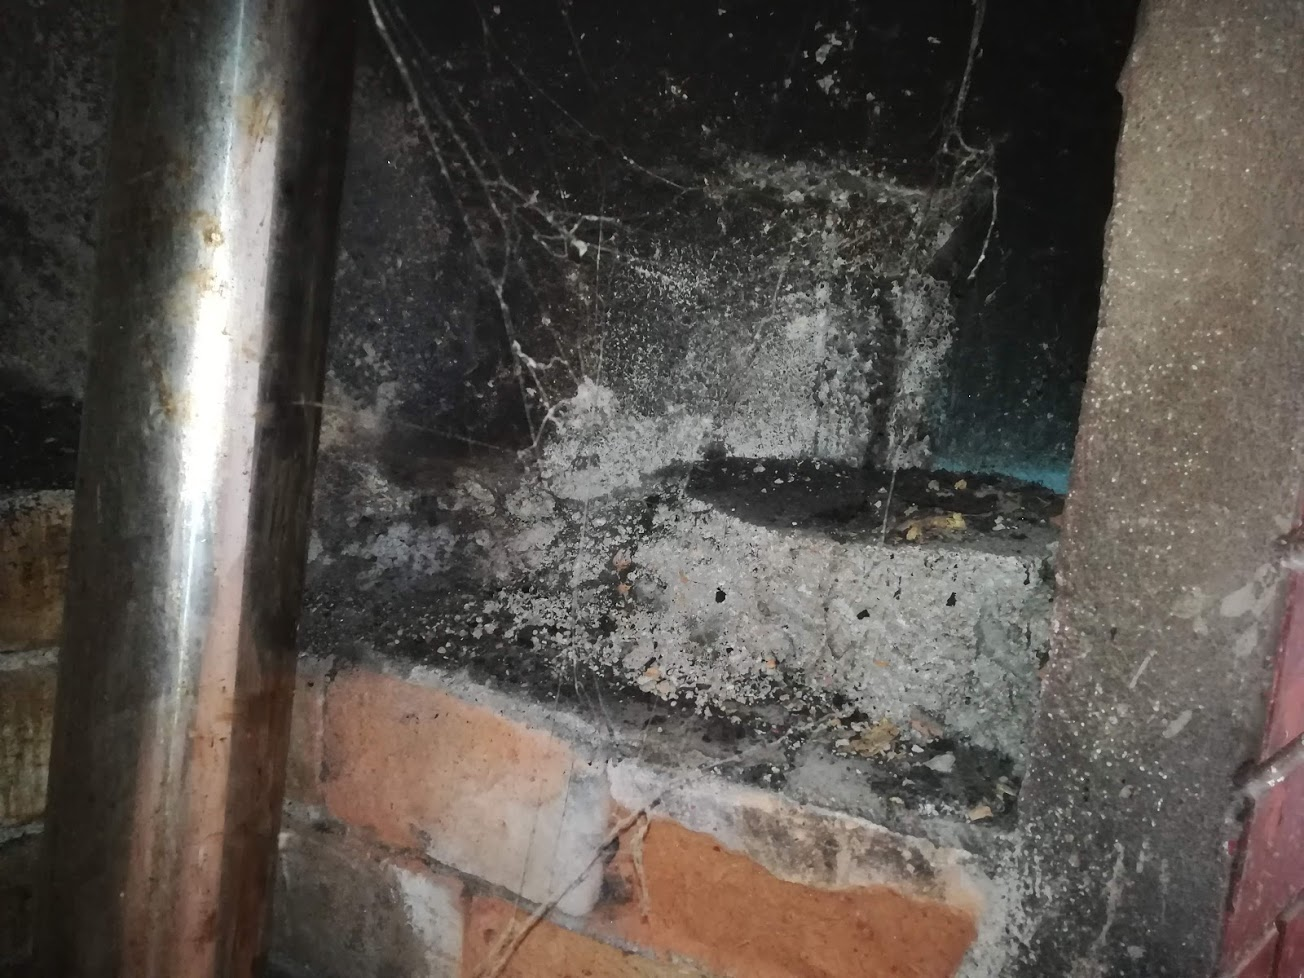
Just closer shots of the inside of the fireplace, quite a simple one, but the cast concrete had me worried a bit too.
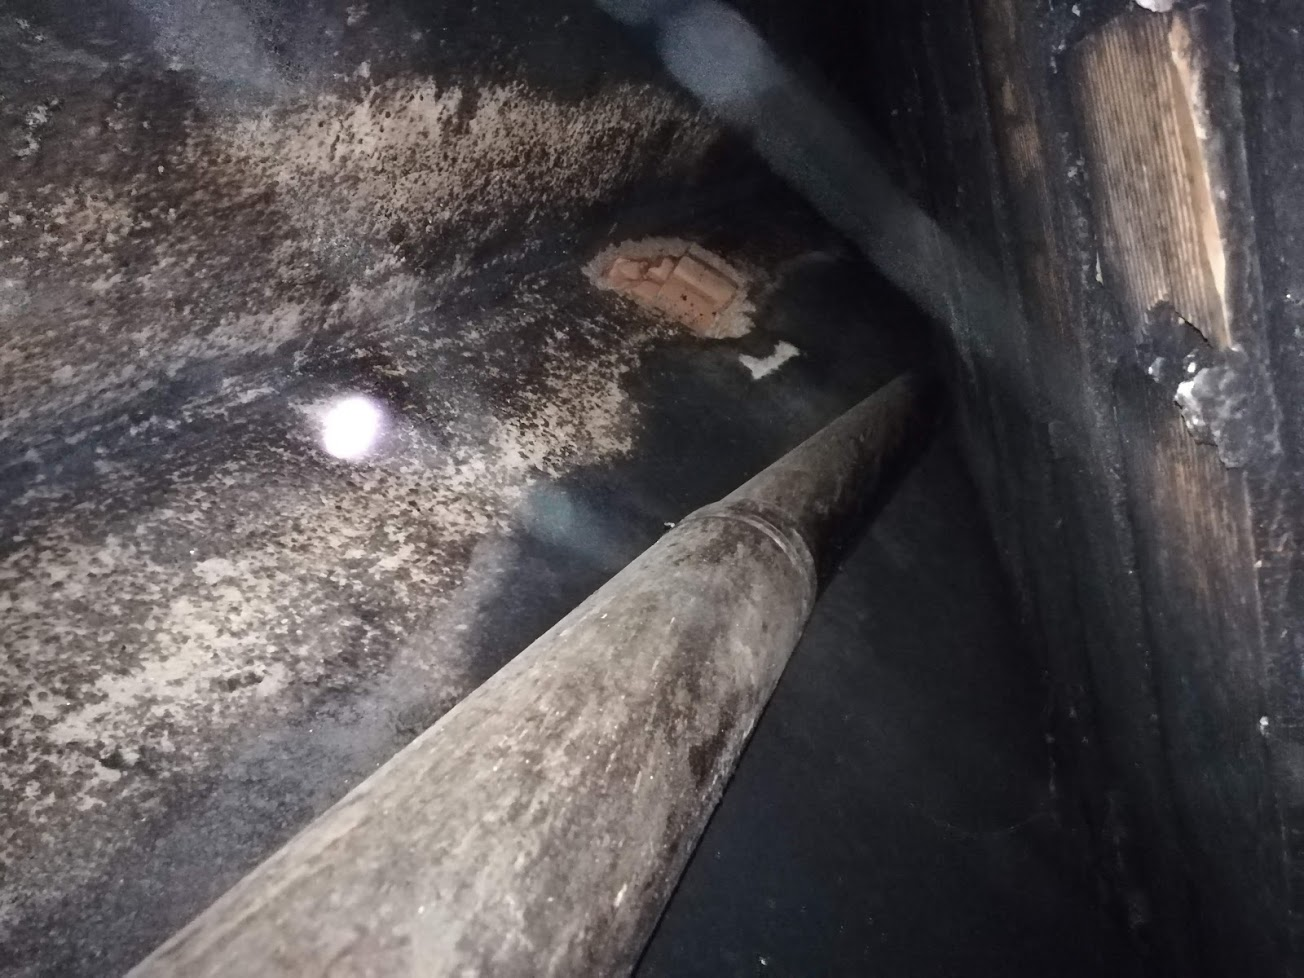
Looking straight up the chimney. The hole through the bricks was for the fireplace in the lounge I mentioned earlier.
You can see from the colour that this fireplace has not been used in some time.
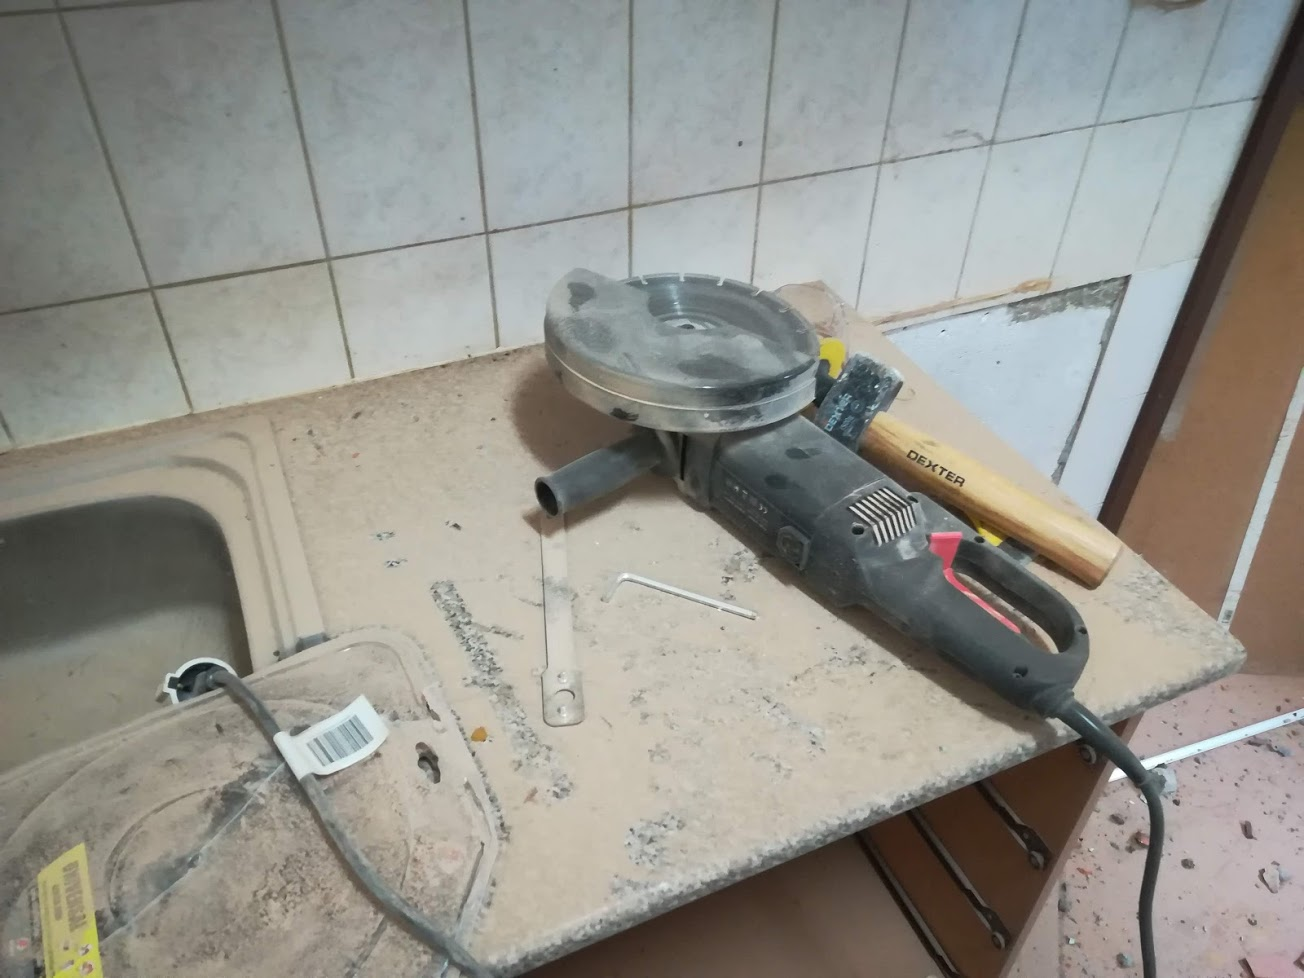
Use the right tools for the job
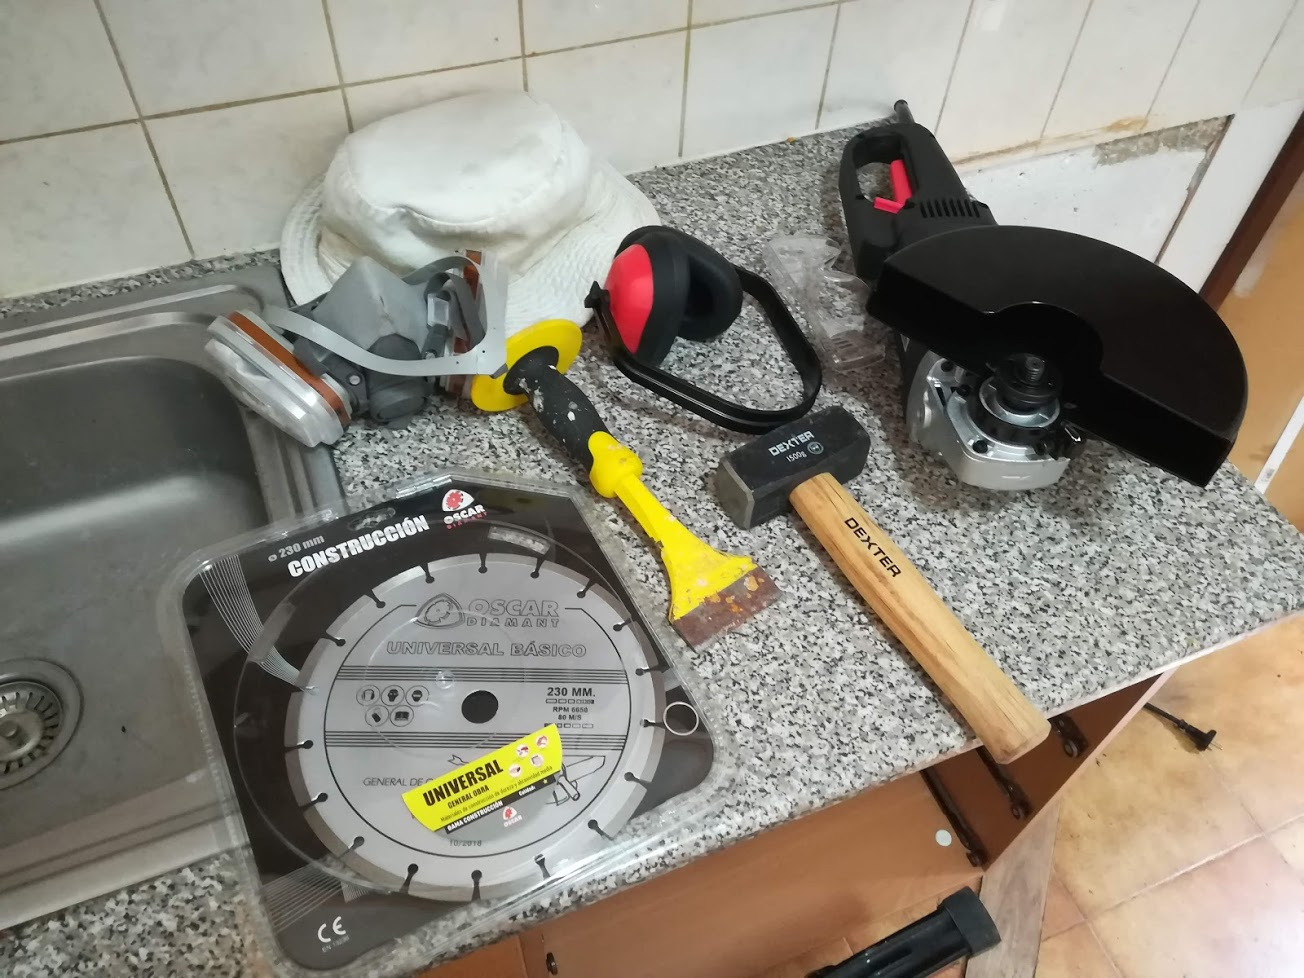
Here is about all I needed, excluding gloves, which were in my pocket.
- Cutting disc for concrete/bricks – 230mm
- Super cheap grinder, I know people say buy the best you can afford, but I have cut into walls before, the dust it generates is so fine, I think it’s a killer for tools bearings.
- 150 gram hammer, it may seem lightweight, but I did want to see before I bought even more tools I won’t be using again soon
- Cold chisel
Safety equipment
- Safety squints, for the dust a bit, but also helps protect the eyes when smashing bricks and cement.
- Hearing protection, it’s a small space so the noise will be amplified.
- Mask to filter the dust, again the dust generated by cutting, then even breaking up the wall. It’s terrible stuff. The better your mask the better it is for your health.
- A floppy hat, because dust. You will need to shower anyway, but with the hat you wont have to try get all the sand and bits of bricks from your drain.
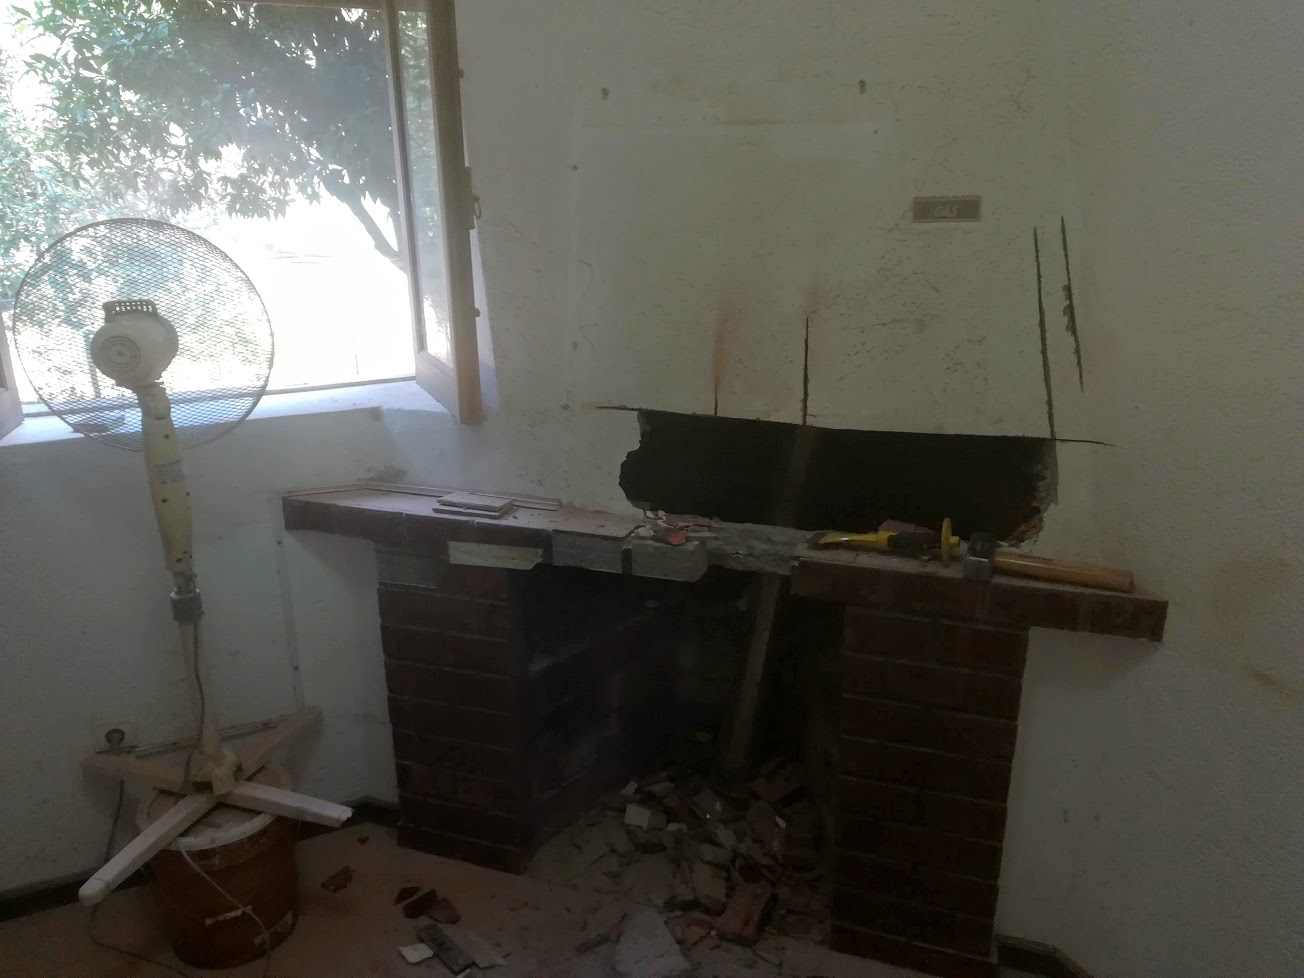
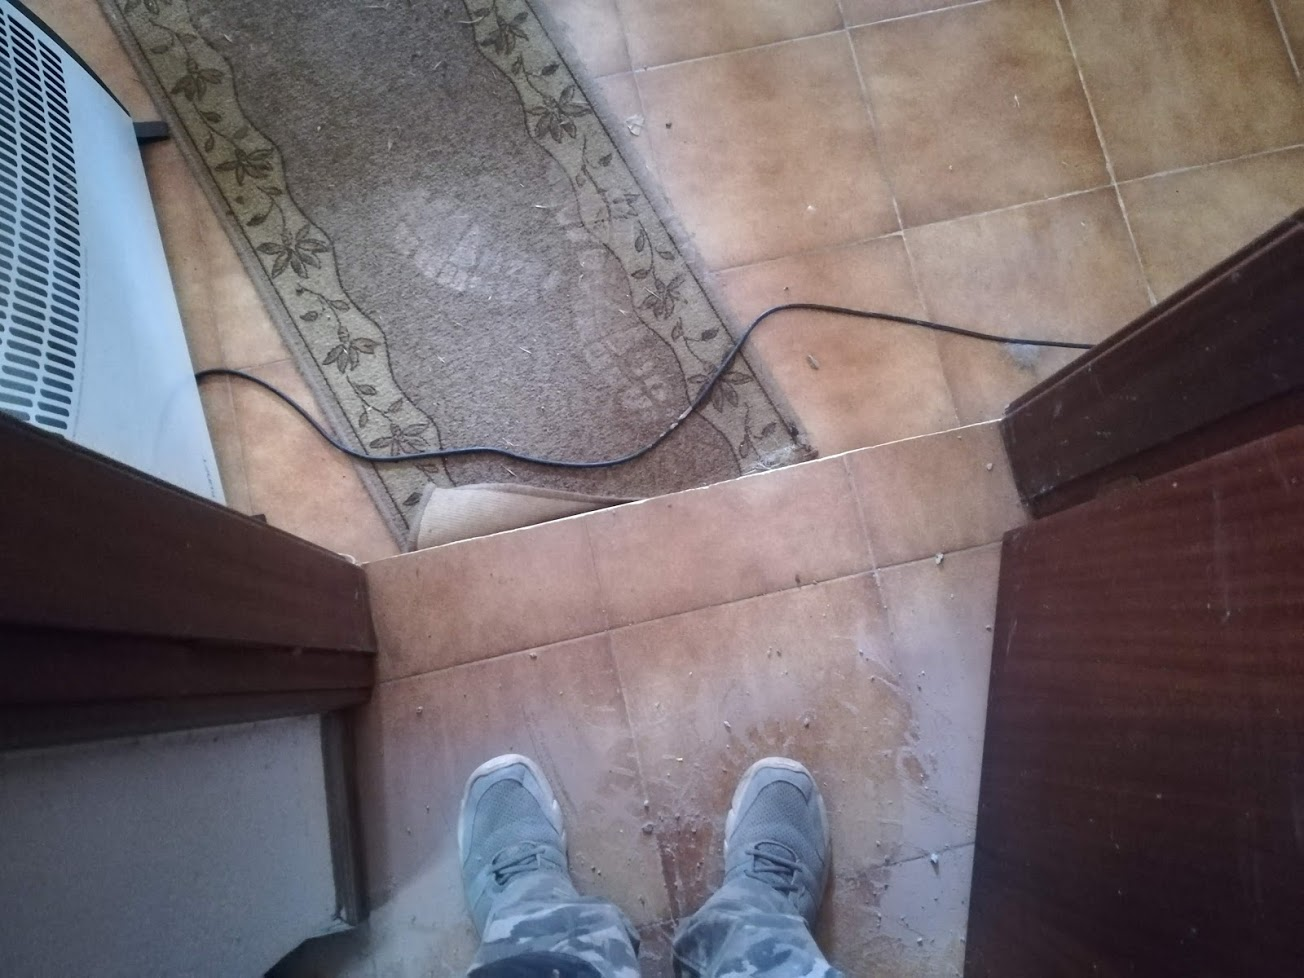
Here is the only shot I took of the progress 🙁 I was using the fan to try blow some of the dust out of the window. Without it the room gets a terrible haze of dust.
I start at the bottom, cut a slot, with the large disc I could fortunately cut right through the brick. Cutting a few lines weakens enough that a few shots with the hammer is enough to loosen bricks and break them out.
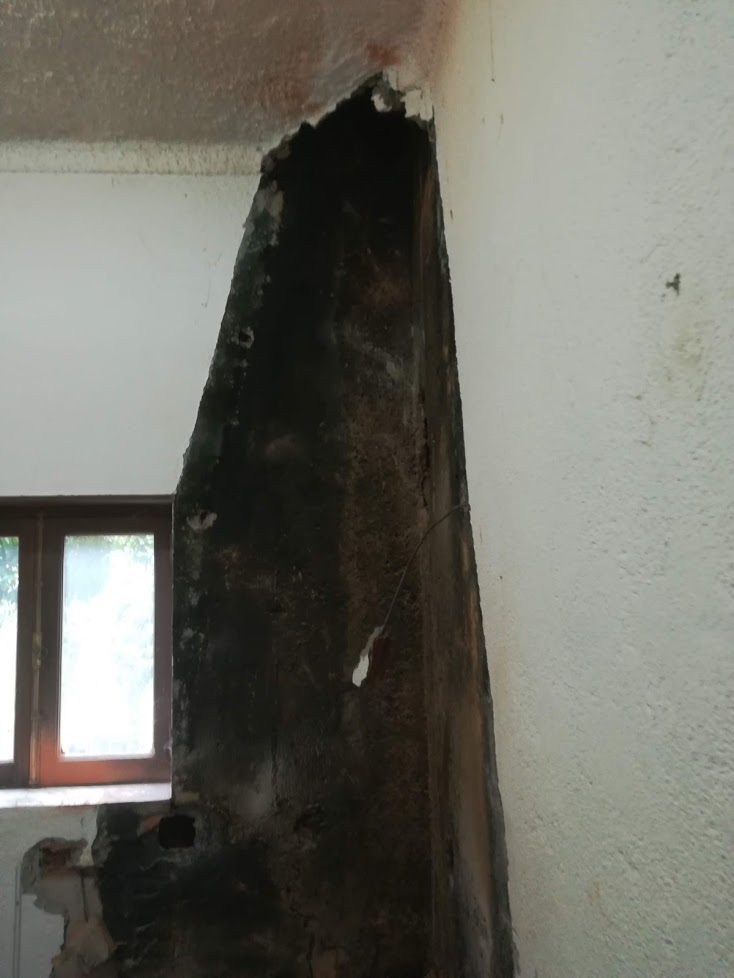
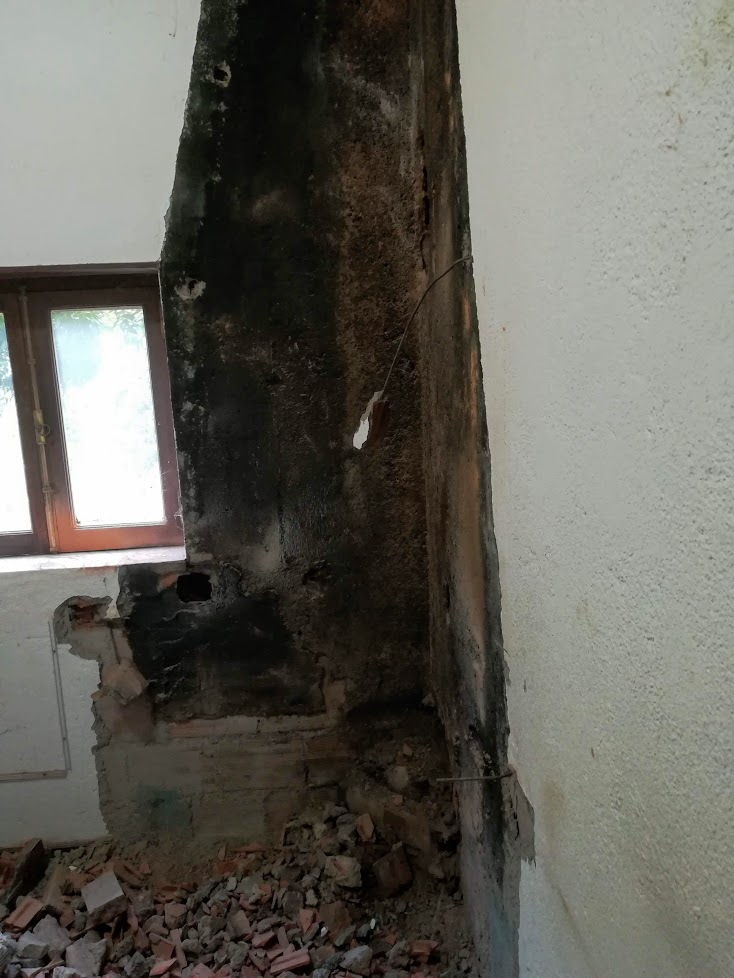
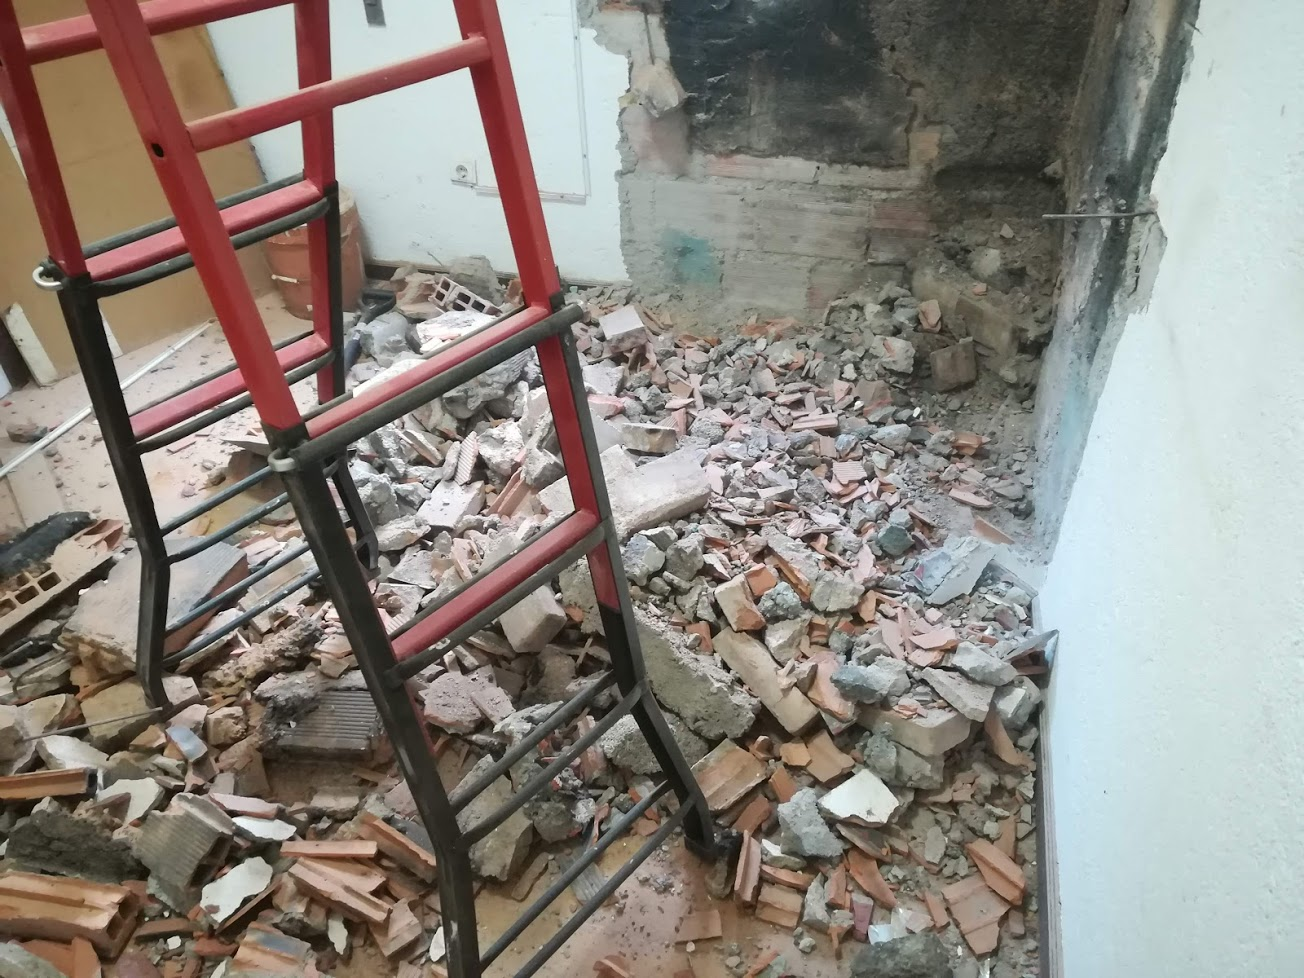
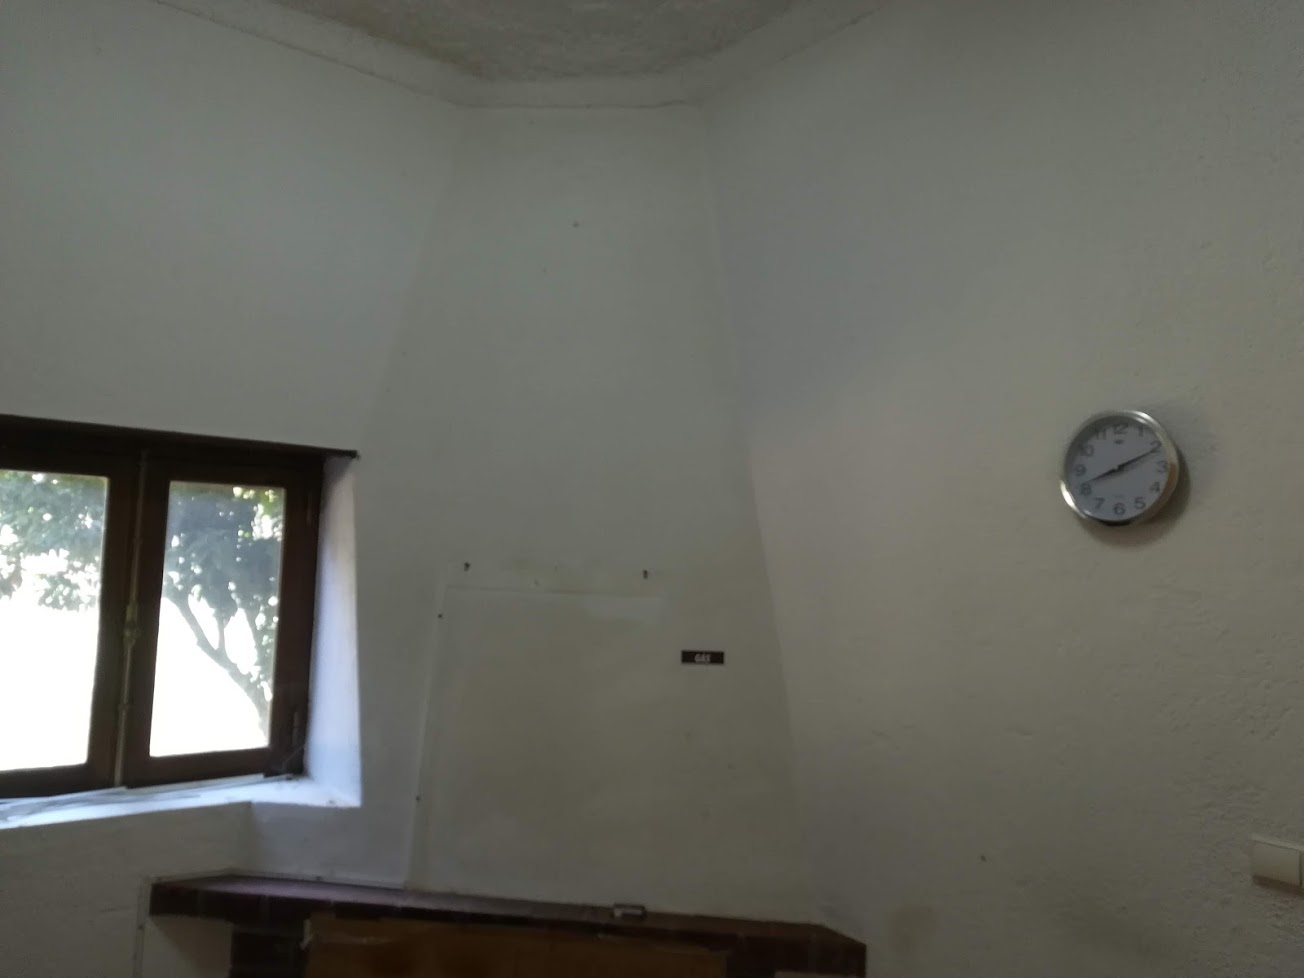
Aaaand done! Well almost. I have a bit of cleanup to do, actually a lot of cleanup to do. My suspicions were confirmed. The fireplace was added later, behind it the wall was mostly rendered and in the top corner the cornice continues, you cannot see it because its all black though.
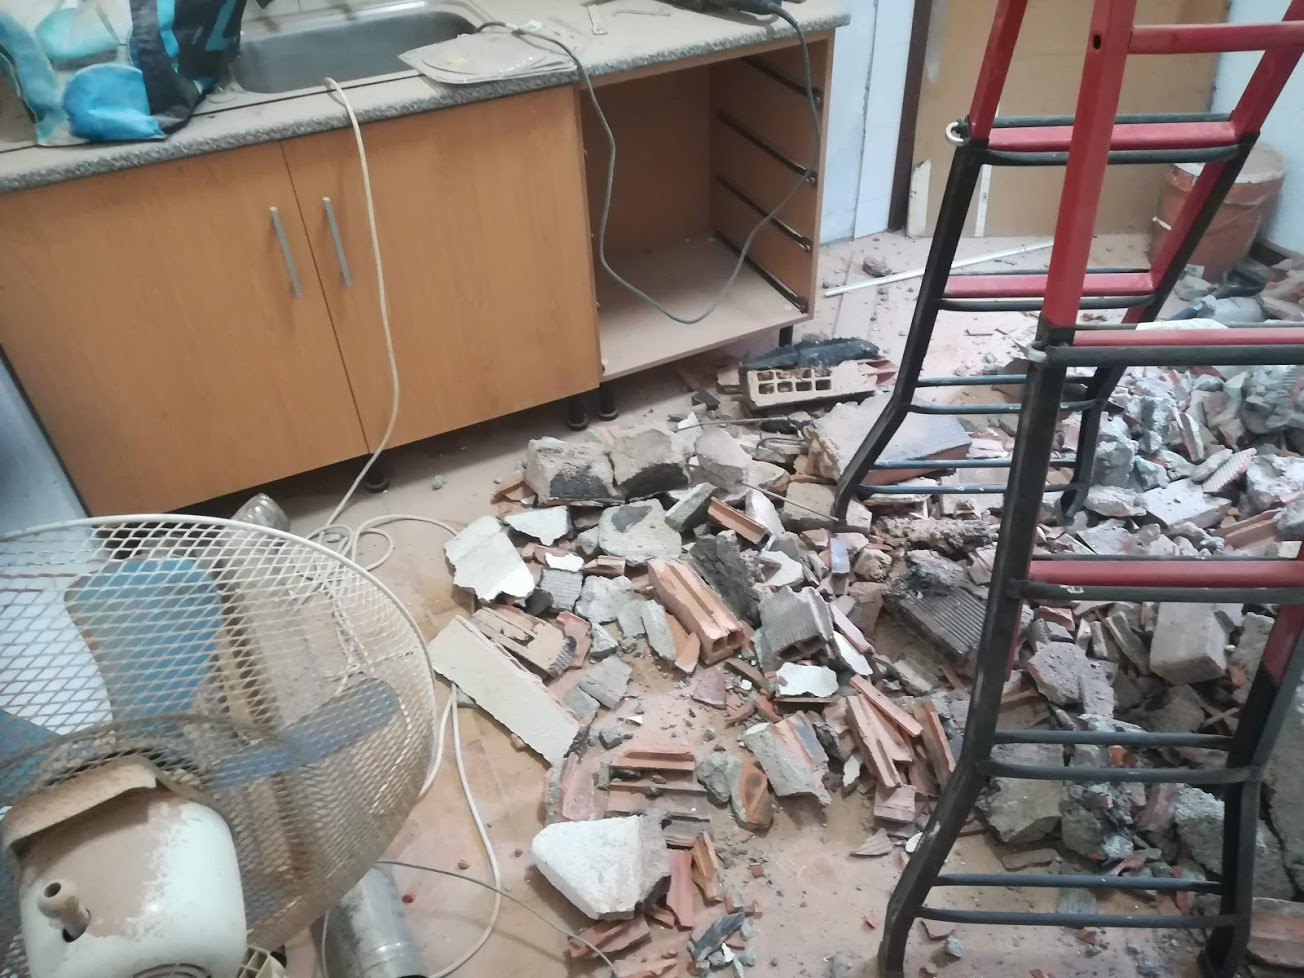
Crash bash and smash, now the cleanup…..
Can anyone say dust? This is why you close doors and take EVERYTHING out of the room when you cut with one of these discs. There is no stopping this dust, it gets everywhere.
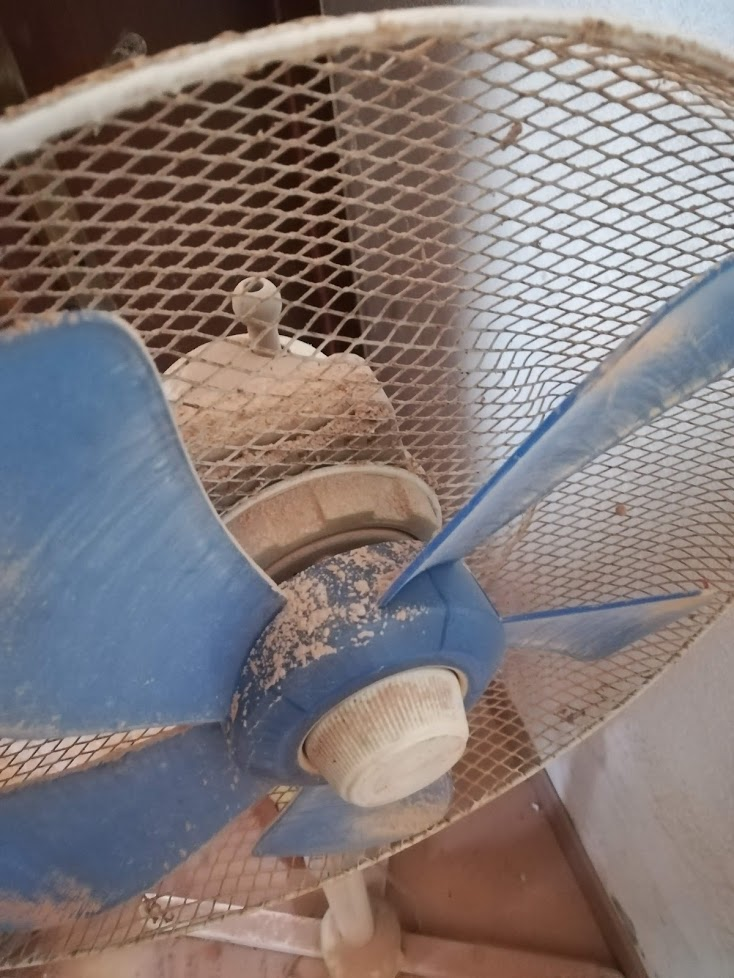
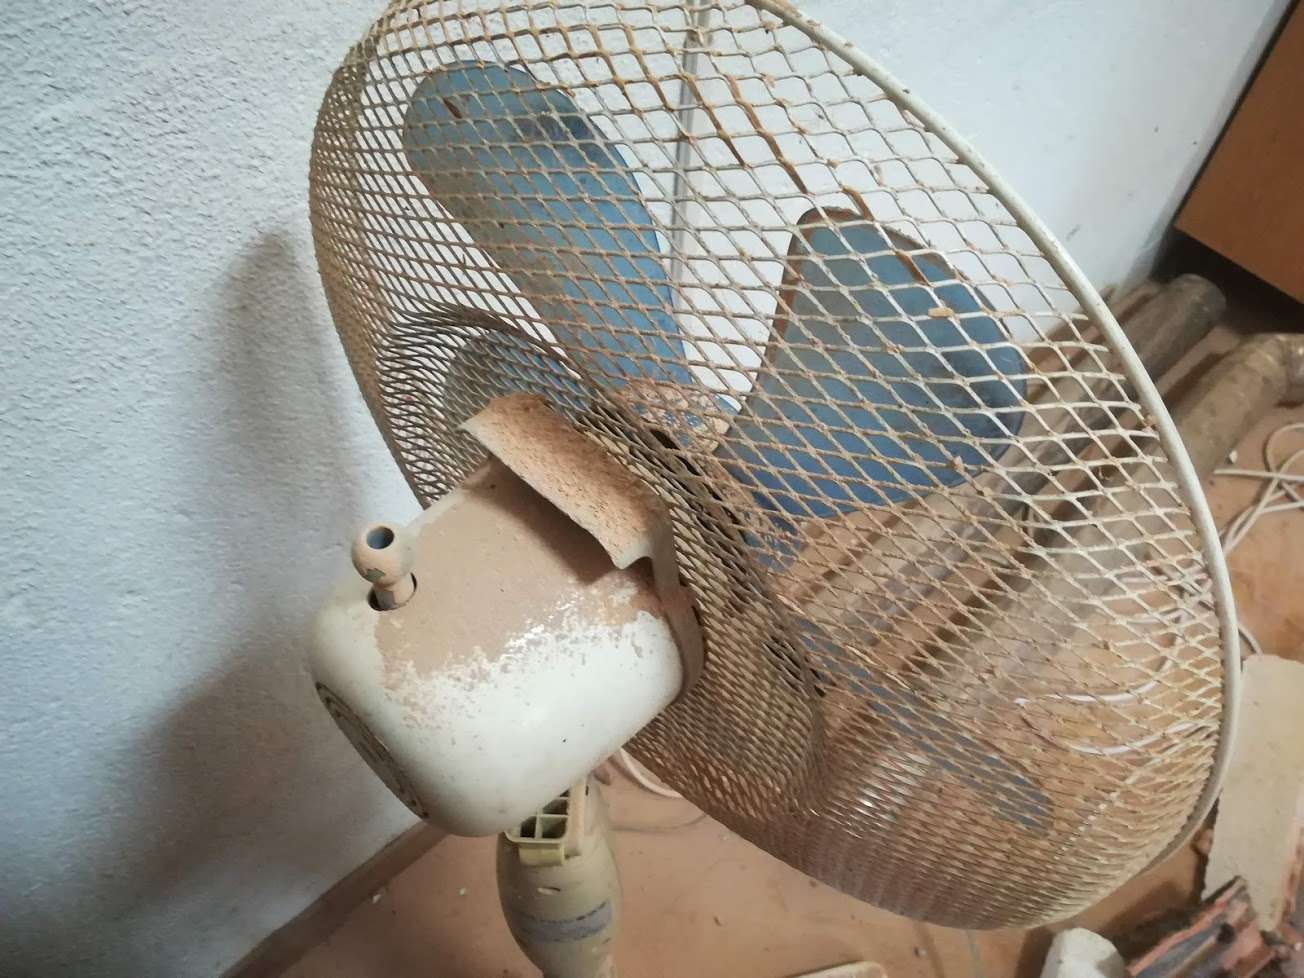
Thankfully it’s an old fan that someone left at the house, look at how fine that stuff is, toxic.
I need safety boots, I had a few bits fall down and roll over my feet as they broke off the wall. At least the door stopped the worst of the dust.
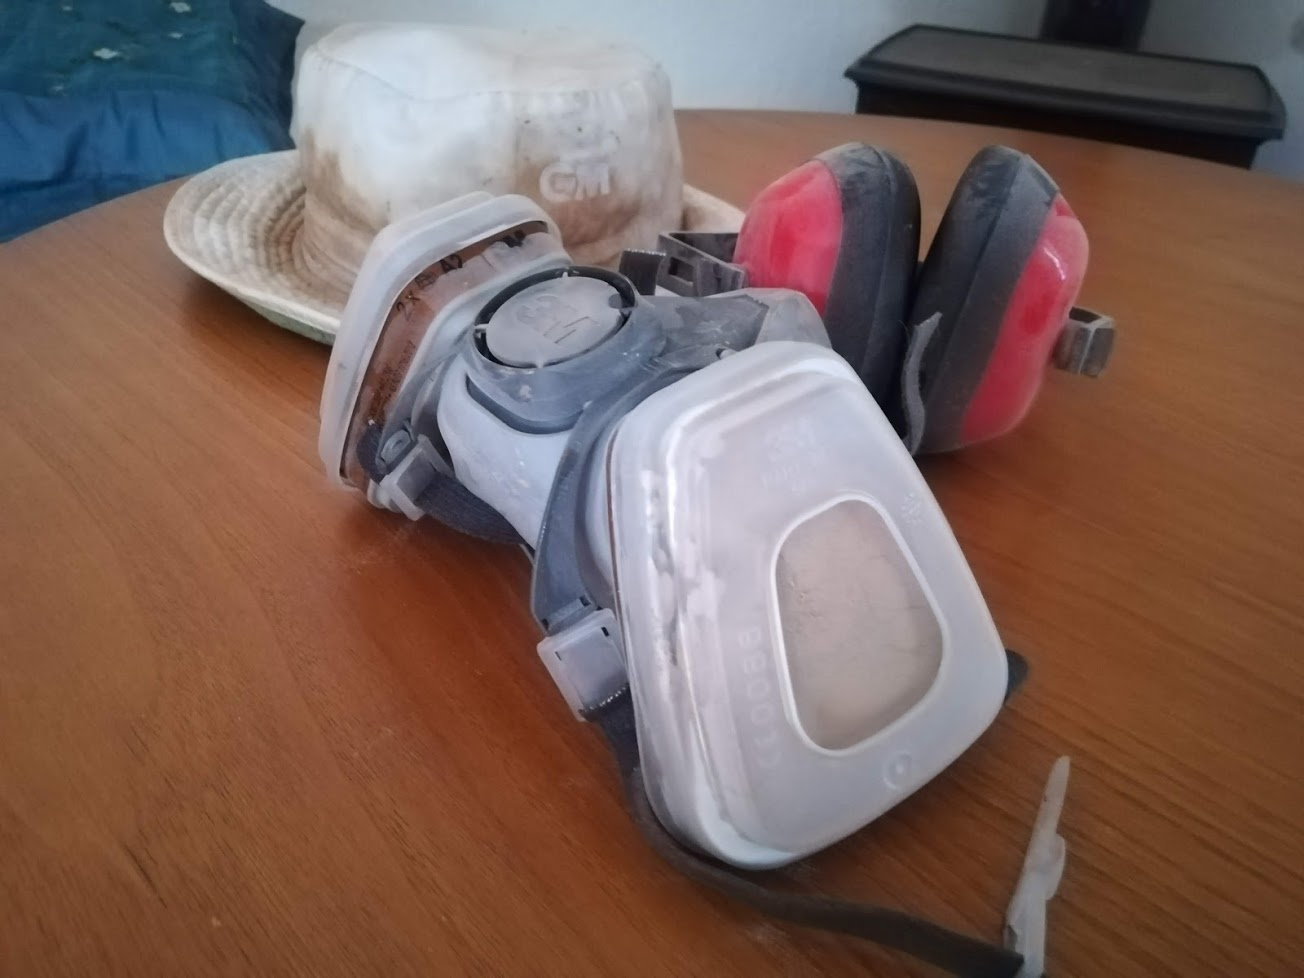
The mask was not exactly clean before, now it needs new filters for sure. The hat is maybe the best example here, a bit of perspiration and its gone completely brown, just from dust settling on it.
More to follow, soon I hope. I need to clean off that wall, fix the holes, then render the missing patches. As well as block the hole where the chimney went.
Finally paint and this will be done!!
Add your Scripsio!
Comments