Breaking out a fireplace part III – Plastering done!

This was meant to be separate posts but my progress was so slow I thought it may as well be one. Now keep in mind I have no training in plastering or rendering, all I know I learnt by trial and error.

To start off with I bought two 25 kilogram bags of river sand and five kilograms of cement. I ran out of cement in no time at all.

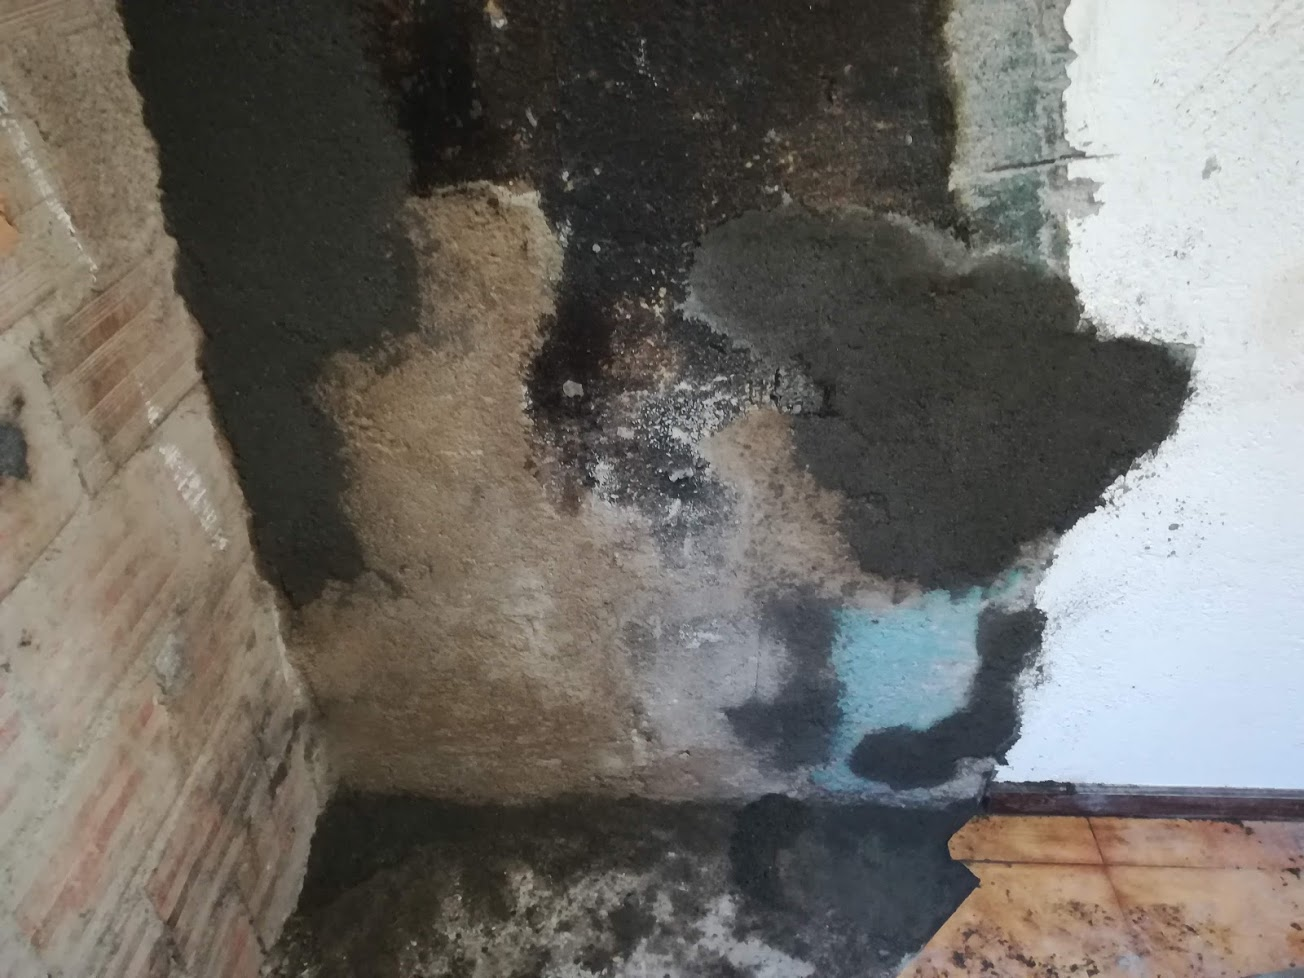
Moreover, the cement I bought was some ultra fast setting cement, so I had very little time to work the plaster before it would start setting. This was a pain and led to a really bad finish.

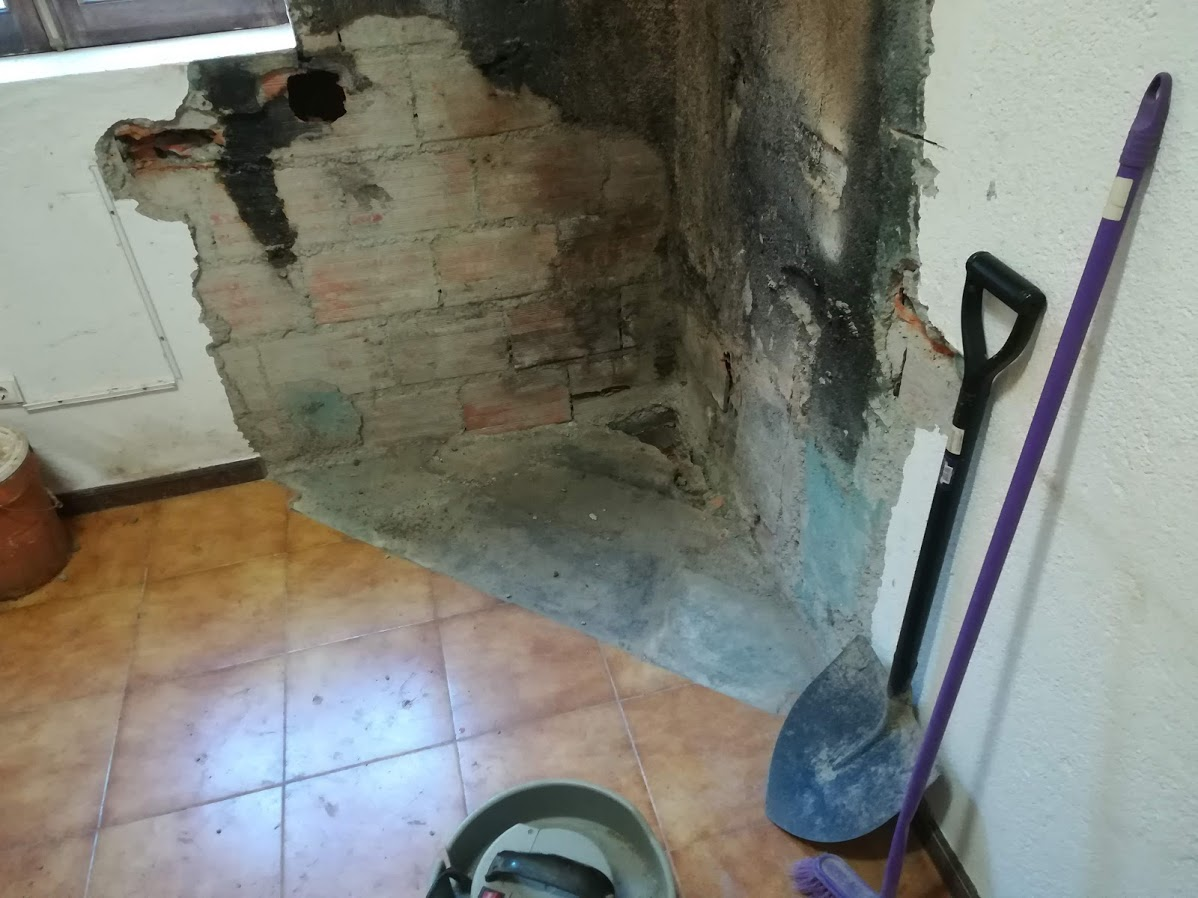
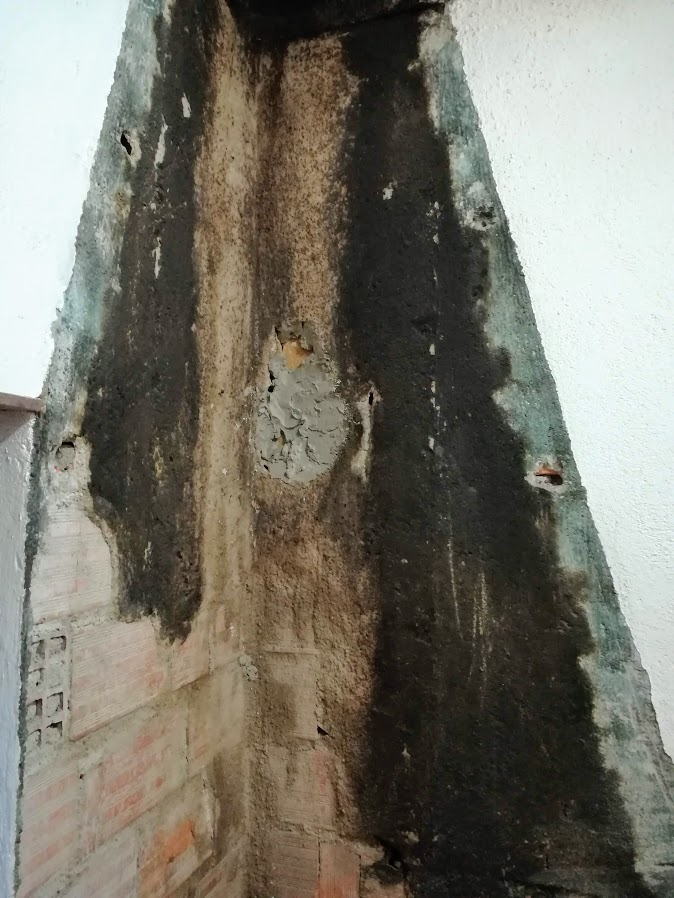
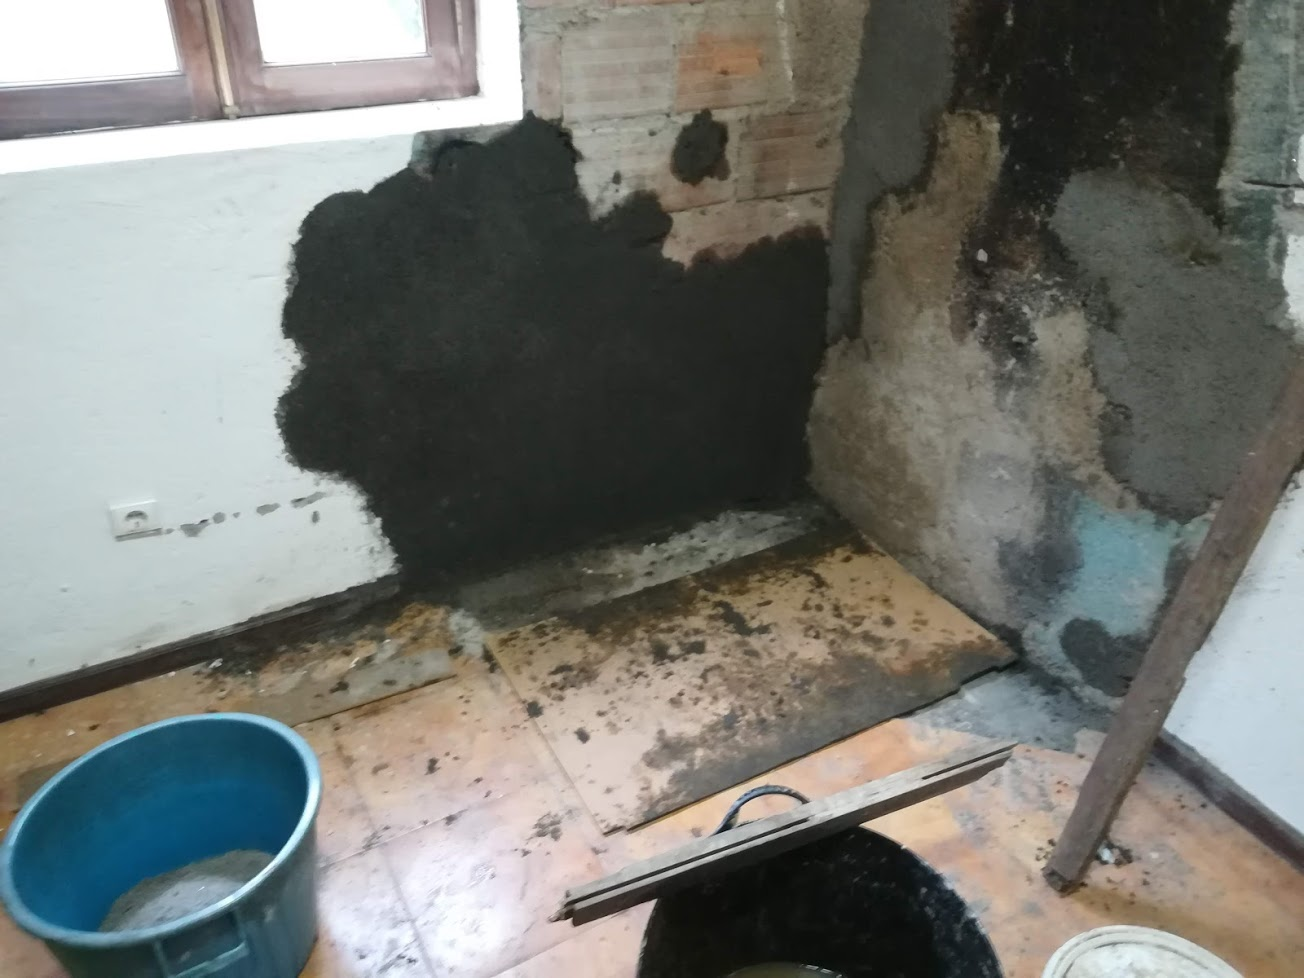
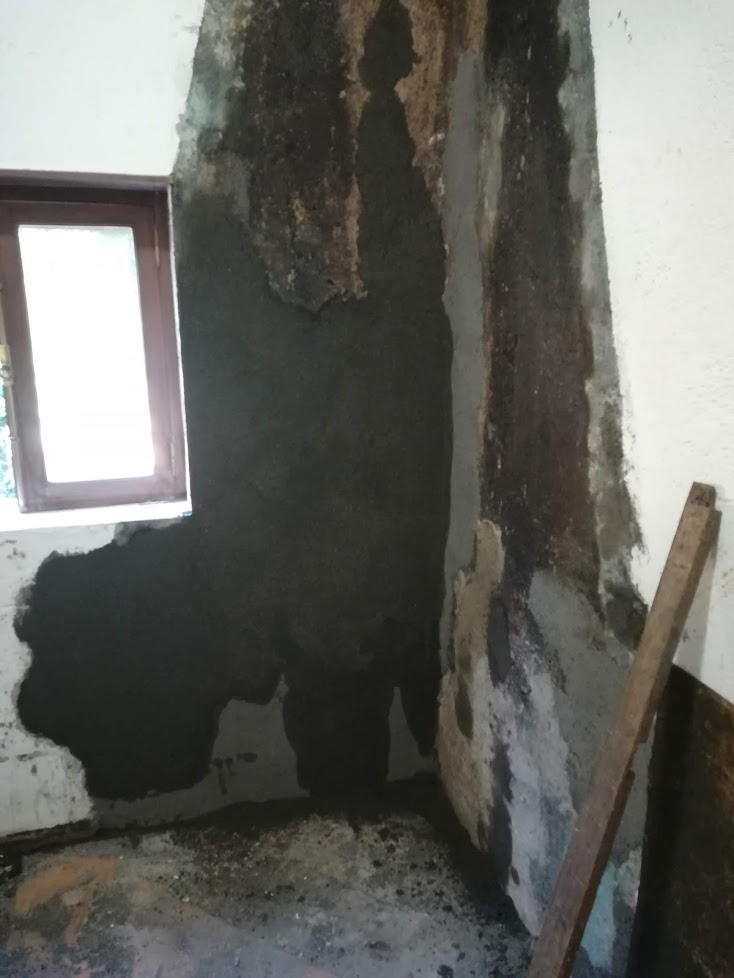
The fact that I have not plastered in years also did not help. Here you can see the results of my efforts. It does not look good at all.

I ran out of that cement pretty quickly, so asked my wife to buy more, this time a 25 kilogram bag. The hardware store unfortunately sold her refractory cement. I noticed as I was taking it out of the car, my wife did not as someone else helped her and put the bag into the car for her.

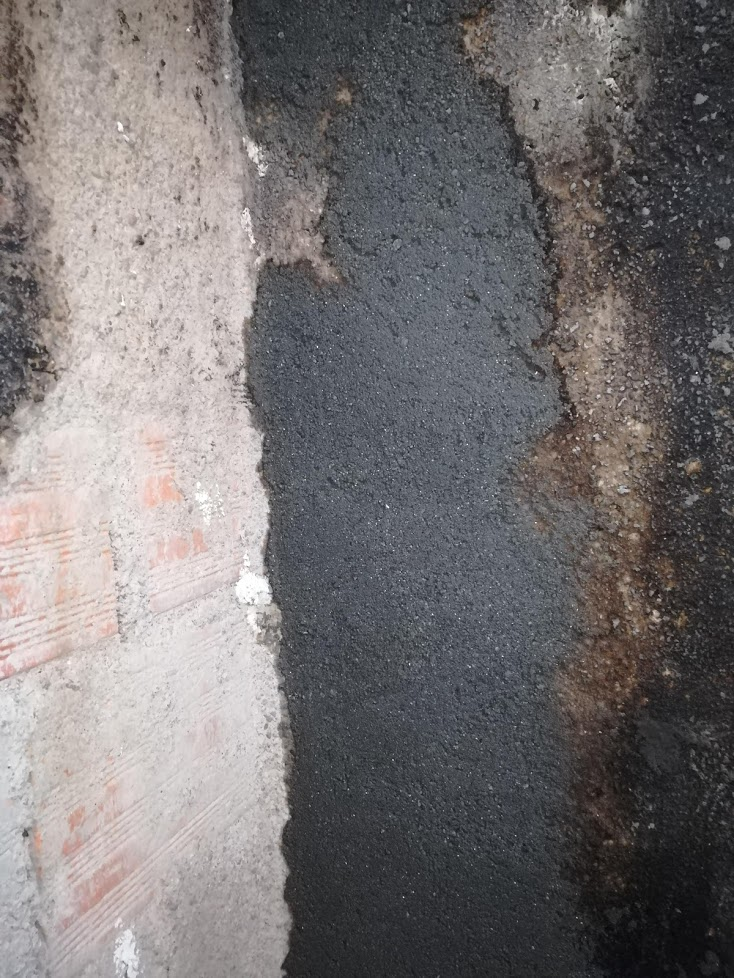
Well, the city is not exactly close, so I decided to work with what I had, if it did not work then I would have to just buy another bag. My haste stems from the fact that I am doing the bulk of the work after hours, so any delay basically sets me back a day.

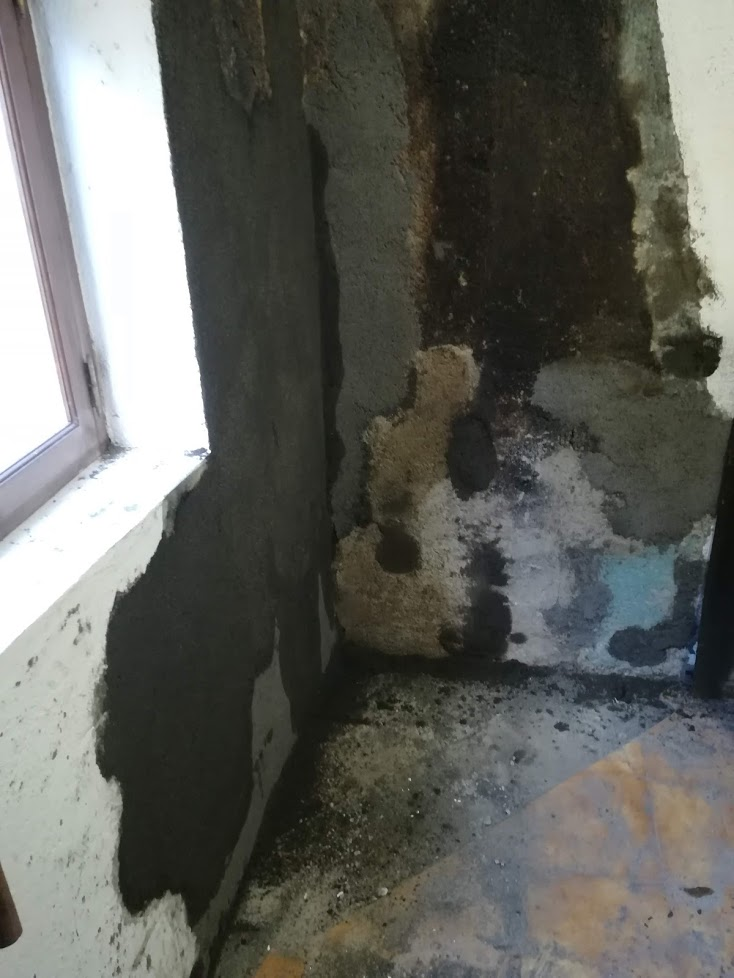
As you can see in the above 2 photo’s it seemed to actually work pretty well.

It was still not great and I put that down to the sand. I managed to work through the 2 bags I had bought earlier. Again my wife went to buy the supplies for me whilst I was at work. The sand she bought from a local hardware supplier had a much finer aggregate. More sand and less pebbles.

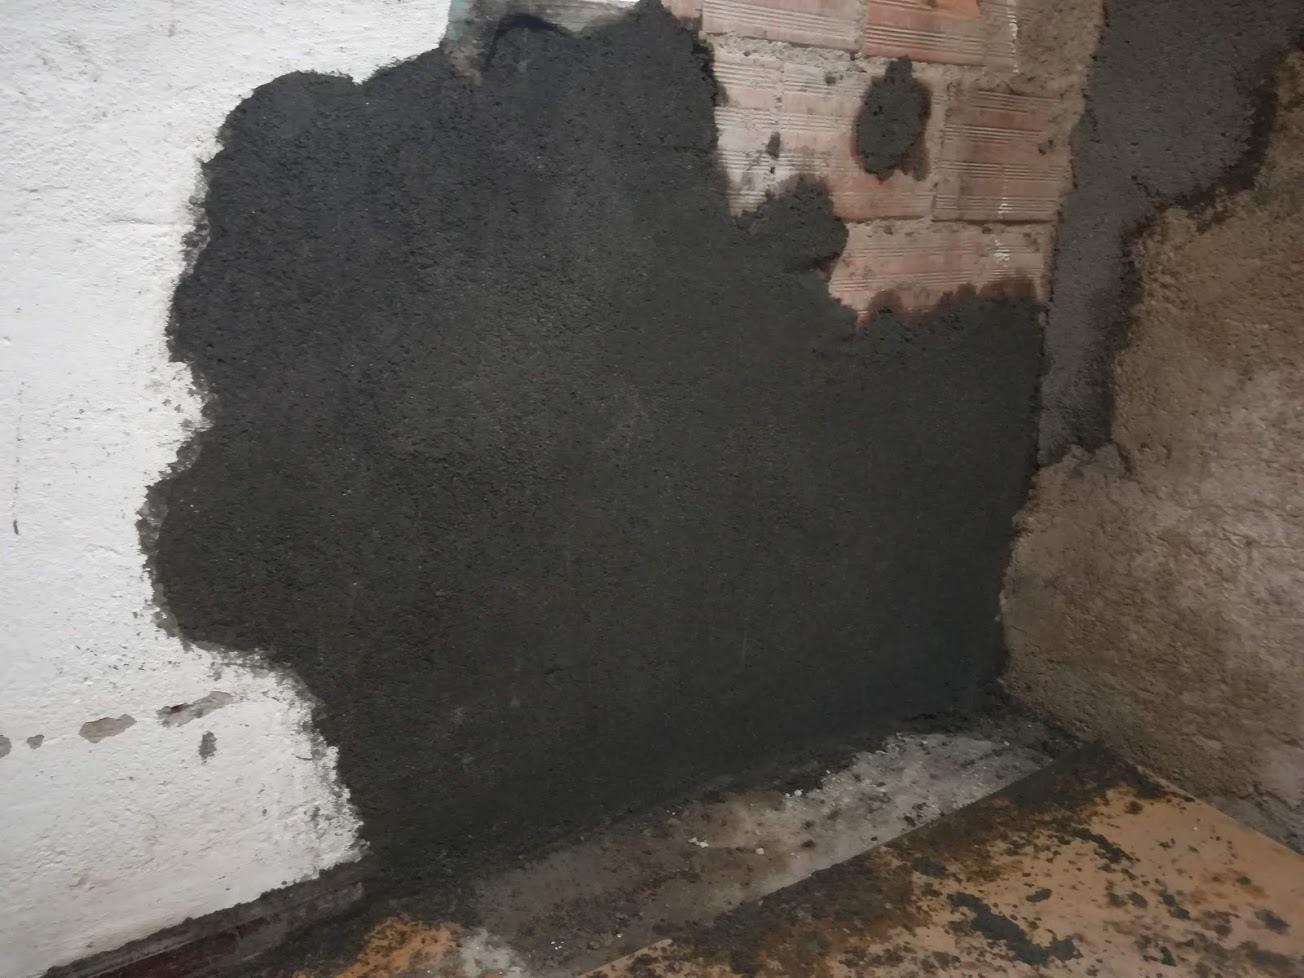
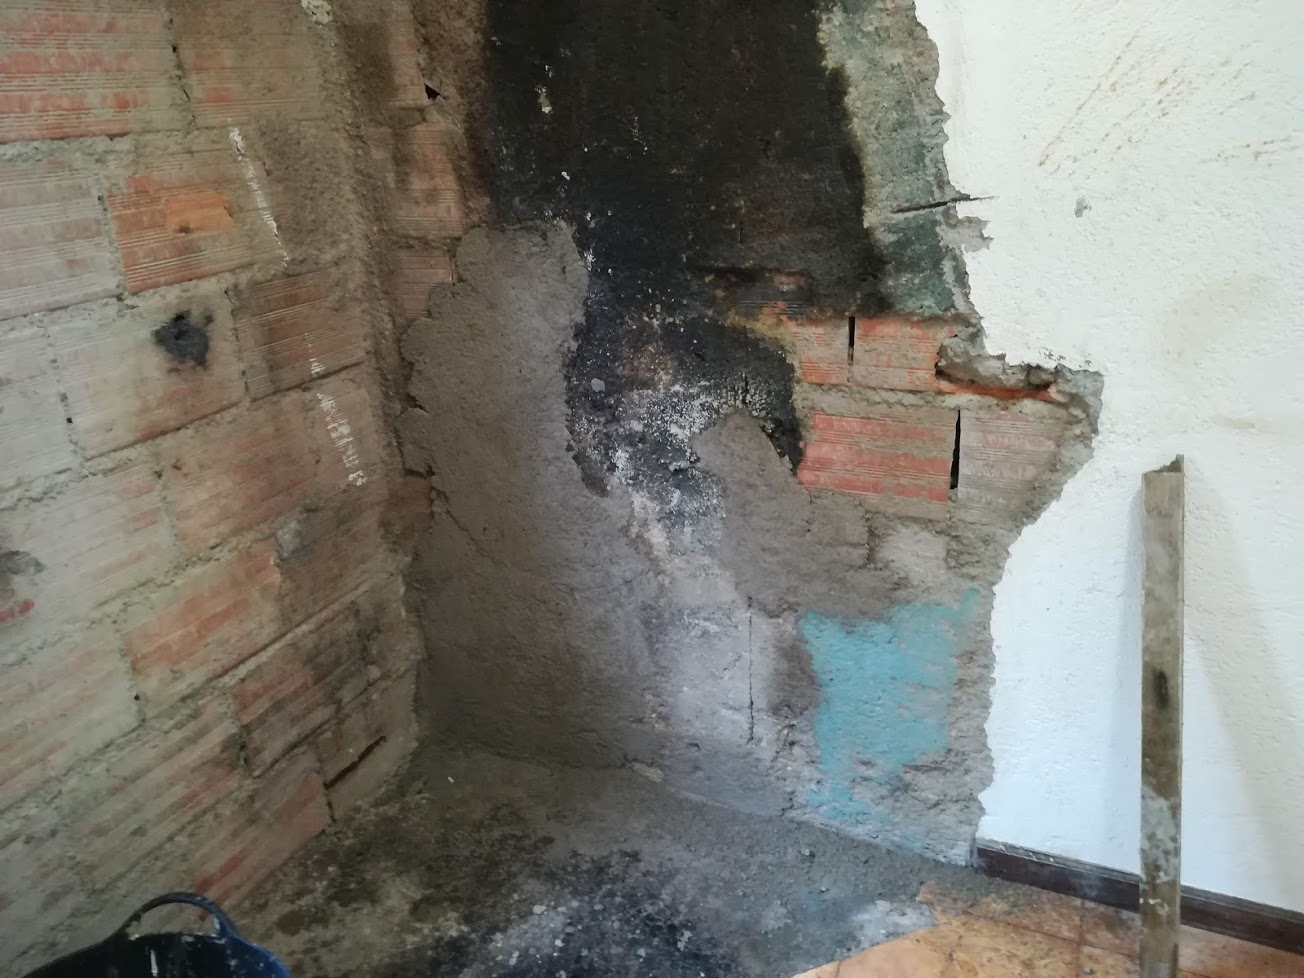
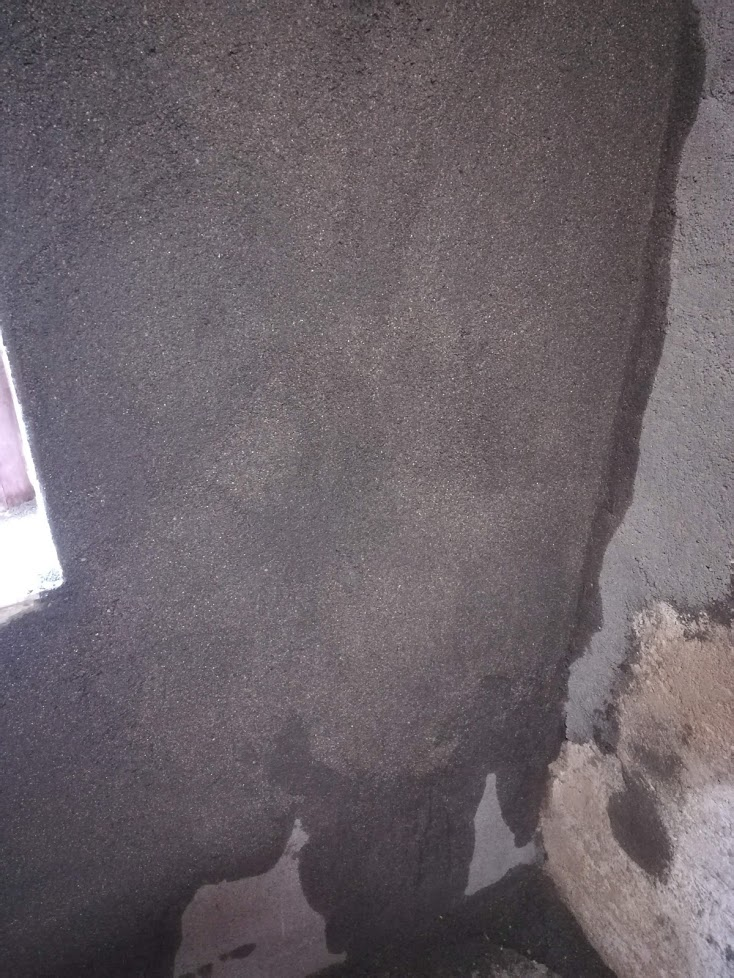
With the new sand and the darker cement I finally managed a finish that I felt was good enough. I had enough time to work it, and still go back and integrate the multiple batches that I had applied.

Nearing the end, getting the new cement and the old to match has proven difficult as the old plaster is quite uneven and rough. I blended it as best I can.

There are still some ugly patches, these will be hidden by the stove though. If it is really bad once painted I will make an attempt at fixing it though.

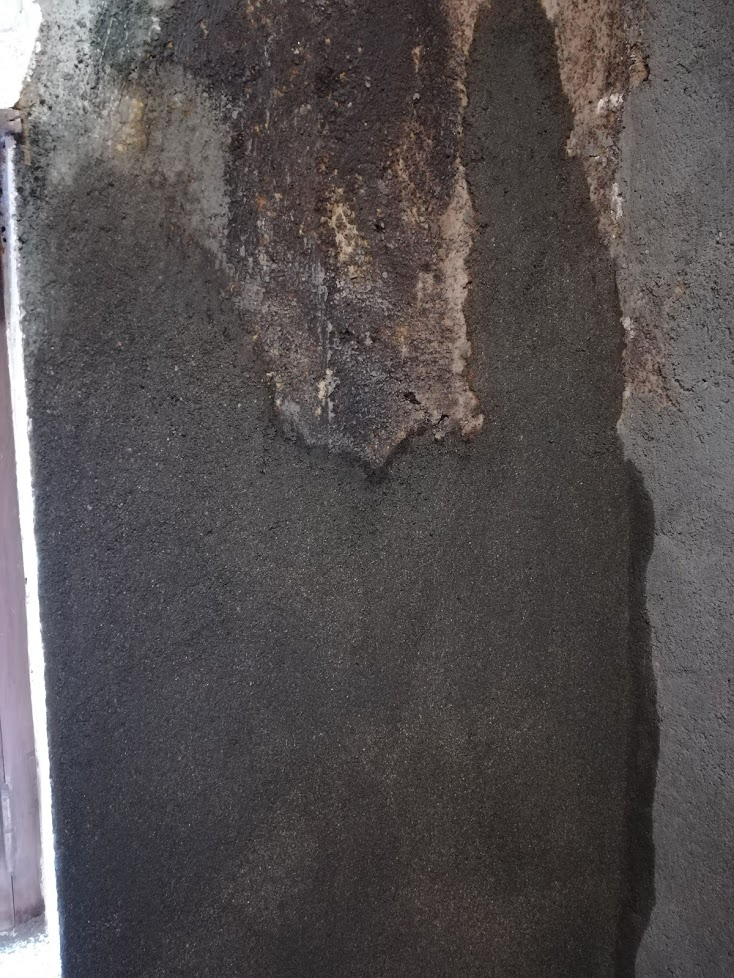
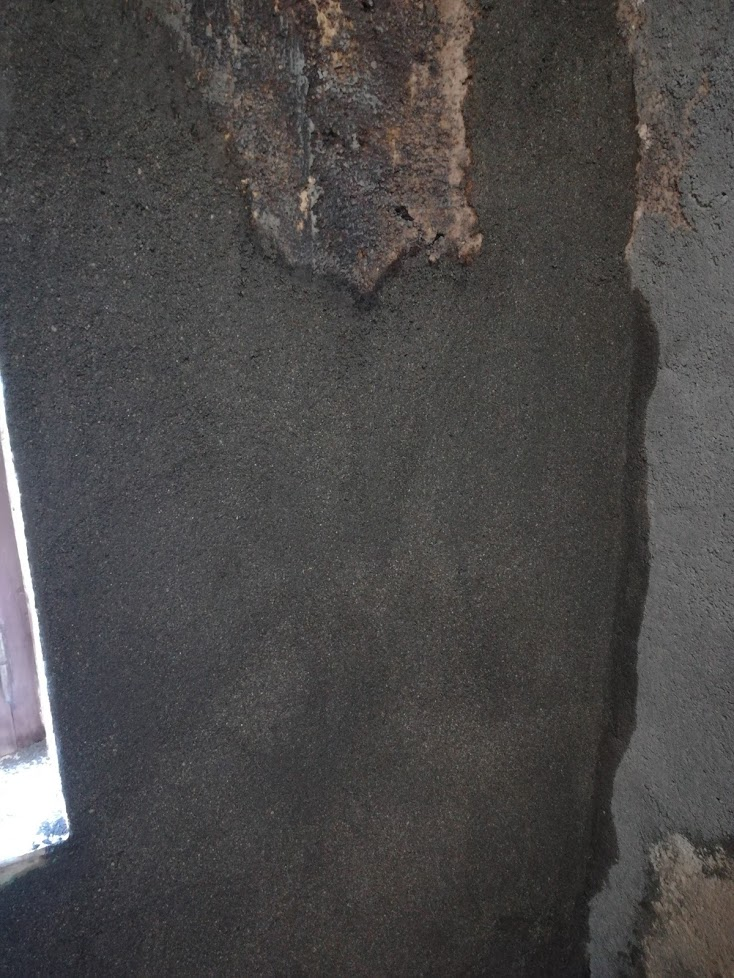
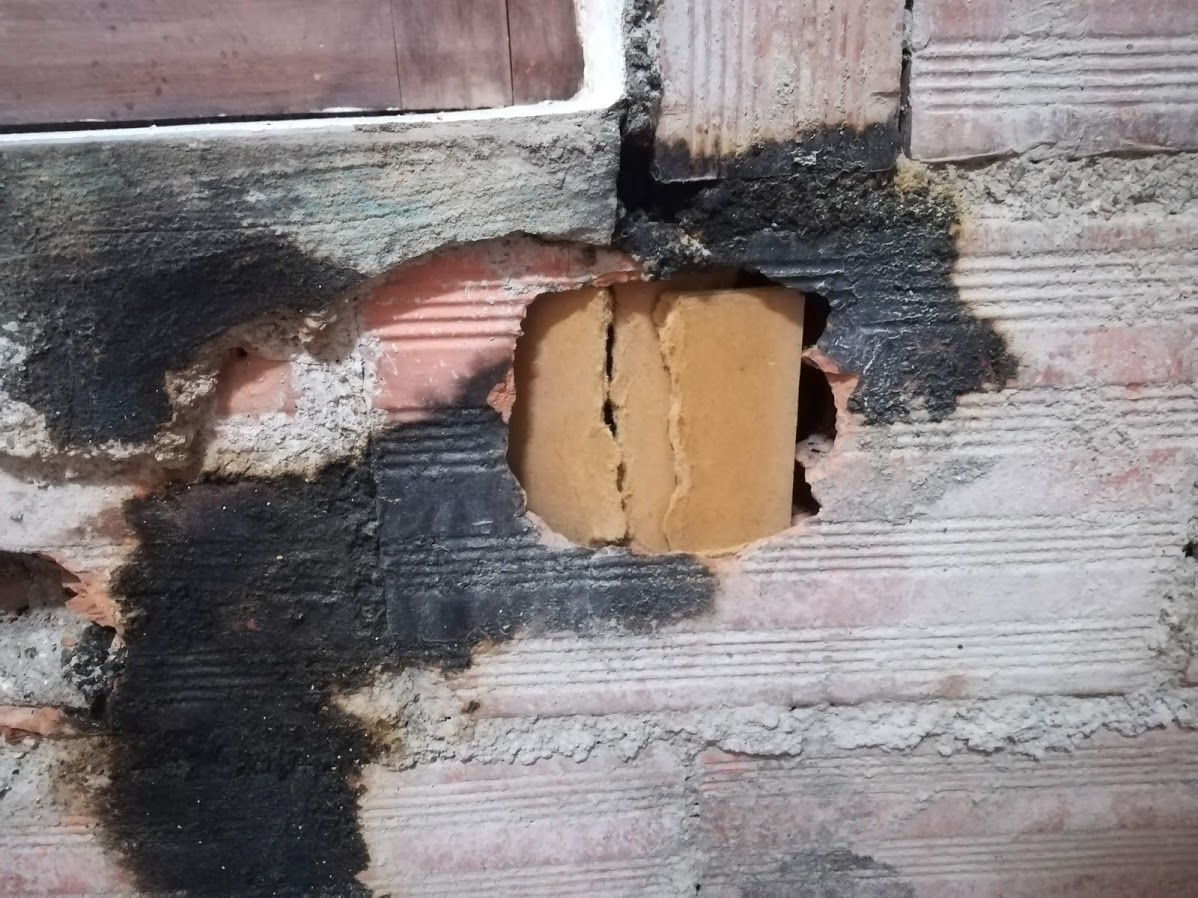
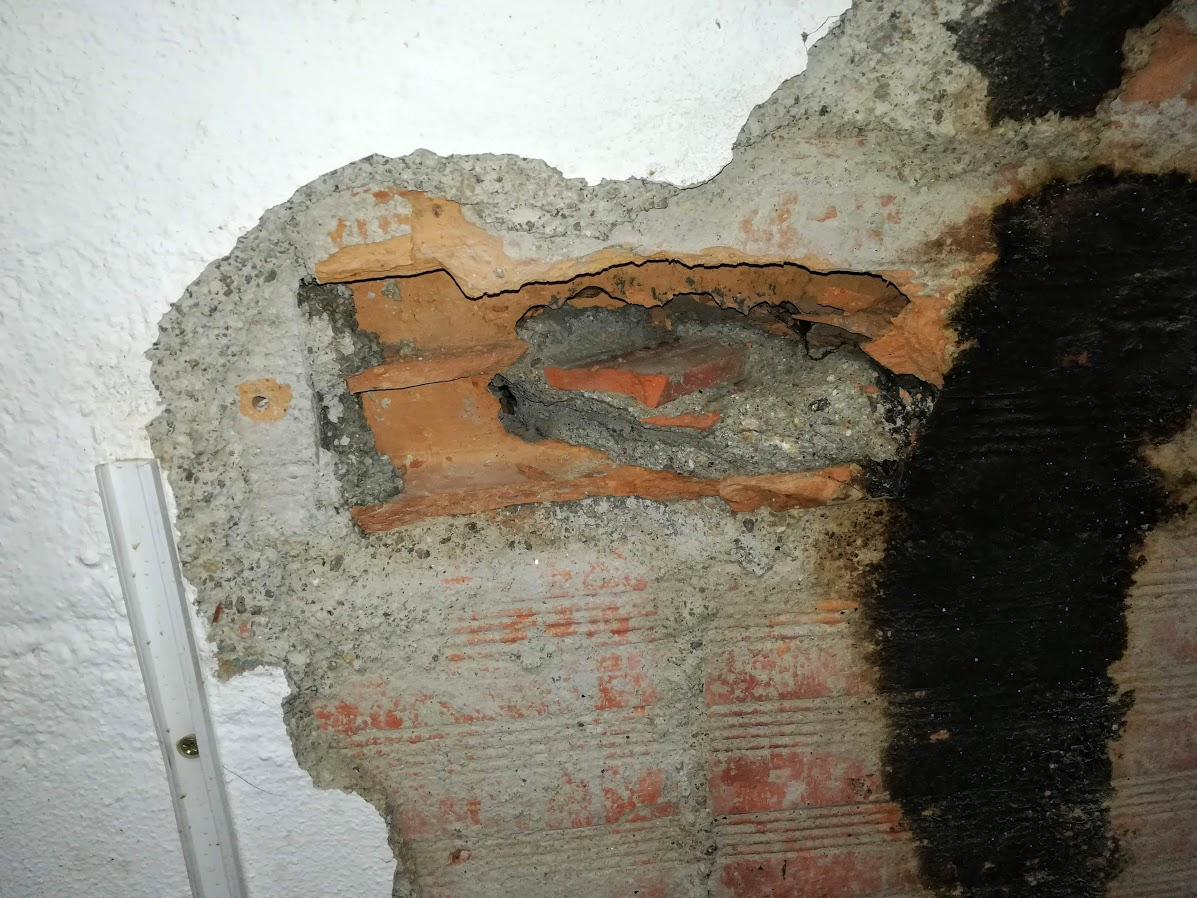
A few closer pictures of the wall. What remains now is to paint and patch some tiles in the gap left by the fireplace. I will take a photo of the tiles and try get a box that at least matches the existing tiles closely.

At least the bulk of the hard work has been done. I am looking forward to slapping some paint on it, once the plaster has had a few days to dry though.

Breaking out a fireplace part II

Every now and then you do something that makes you stop and think, ‘wow I have grown up a bit!’, I got that whilst cleaning the kitchen, again…

Once I got the bulk of the breaking out done, I switched to clearing out the rubble, very mature. In my youth I would have just worked on top of it, stumbling and cursing as I went.

No, it’s not perfectly clean, but the floor is free from rubble, I even vacuumed! Well, the main are where I am working.

Here you can see there was already a cornice, which made me sure the fireplace was added later. I still don’t know why.

I took this photo after cleaning up a bit and vacuuming, but I had already started knocking some loose plaster off of the wall. Heat from a fire is usually enough to weaken cement quite a bit, it seems it did affect the plaster on the walls, some of it crubled off like sand. I continued hitting the wall with a hammer to take off the worst bits.

Comparing this image, with the one below, you mat see there are chunks of plaster missing in the lower image. In many places a few well placed taps with the hammer were enough to have the plaster fall to the floor. You can see how fine it broke up when breaking off the wall. Additionally I used a wire brush on the whole portion of the wall where the fireplace was, that removed quite a bit of loose and weak cement too.

Before doing any more work, I stopped again and cleaned up that mess. I must be getting old! It is much less of a chore when your work are is clean though.

I was so keen to get some plaster over this big hole that I forgot to take photos of the process where I made a board to fit inside. That way the plaster will stick to the board and not just be swallowed up by the large hole. This saves cement and time.

Here you can see a bit of the board. I was adding cement in stages so that it would not be too heavy and fall off.

I did take a photo of another hole where I did something similar, It’s much smaller so I simply broke up some smaller pieces and arranged them to stop the cement falling in.

This hole does not go through the wall, so I skipped trying to block it. Probably just because I got lazy here…

There is still much to do, I am not a builder so I figure things out as I go, sometimes it means taking 2 steps back and re-doing stuff, but I am learning as I go and improving.

I could have paid someone and it would probably be done already, but where’s the fun in that?