This project is actually done, but I went on leave and stayed quite far away from the computer, pretty much because I was finishing this off!
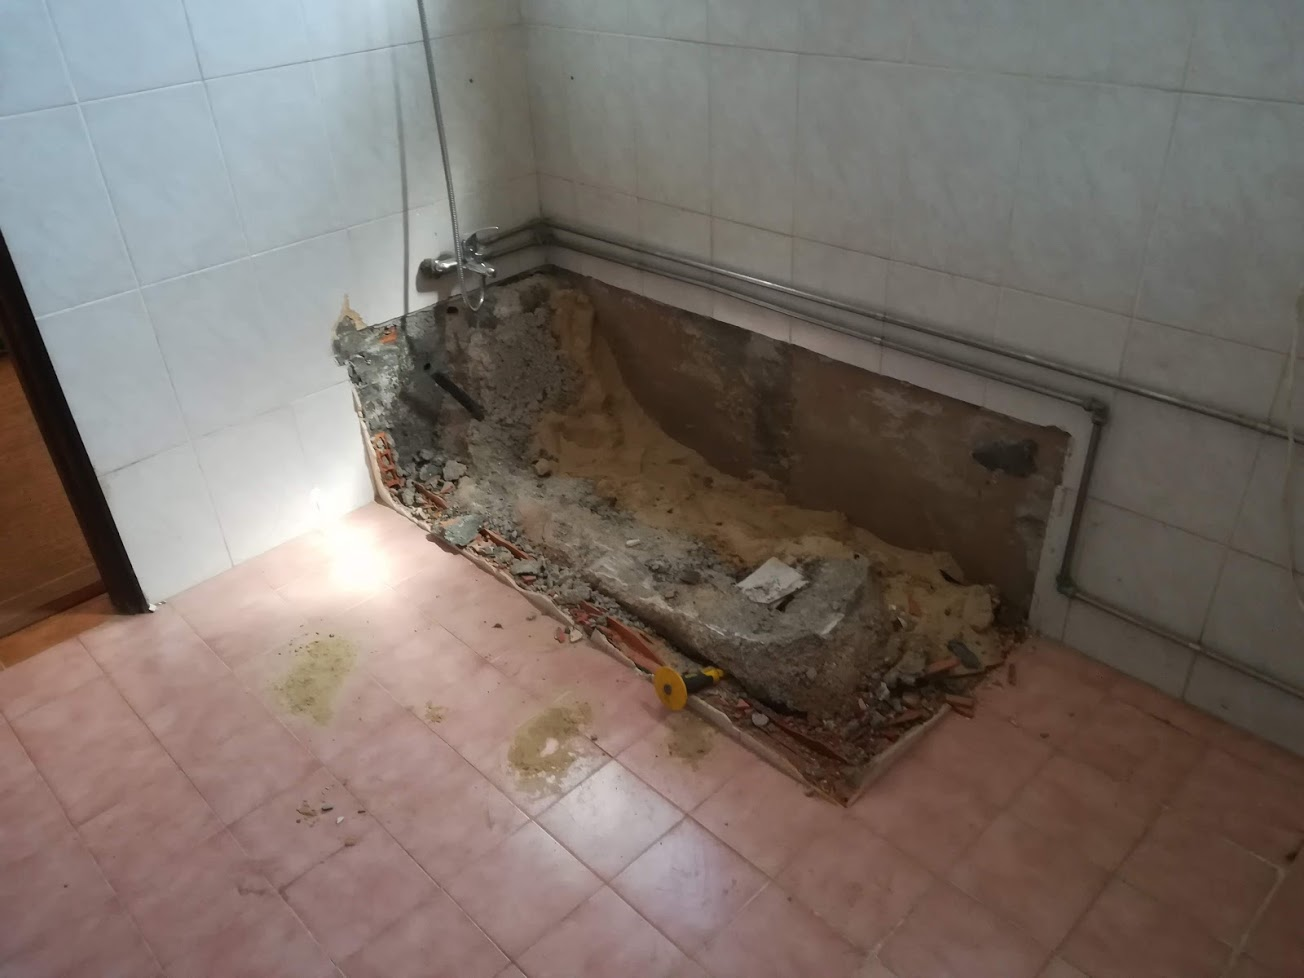
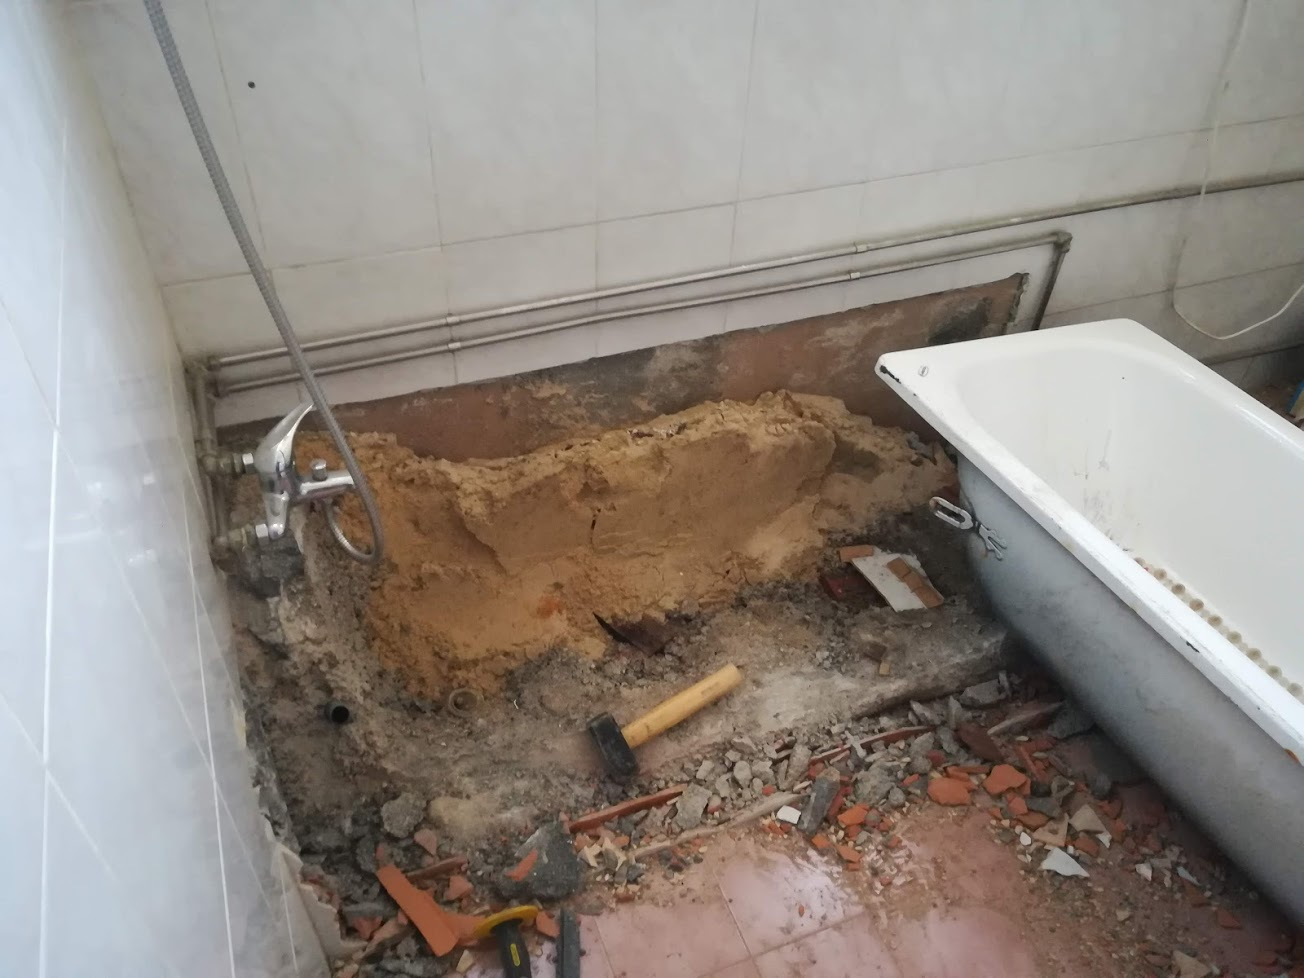
With the bath removed, I moved onto taking out the sand that was behind it as well as the cement that had been cast around it. Fortunately most of it near the foot of the bath was quite weak, and was poured on top of tiles, so it chipped off quite quickly.
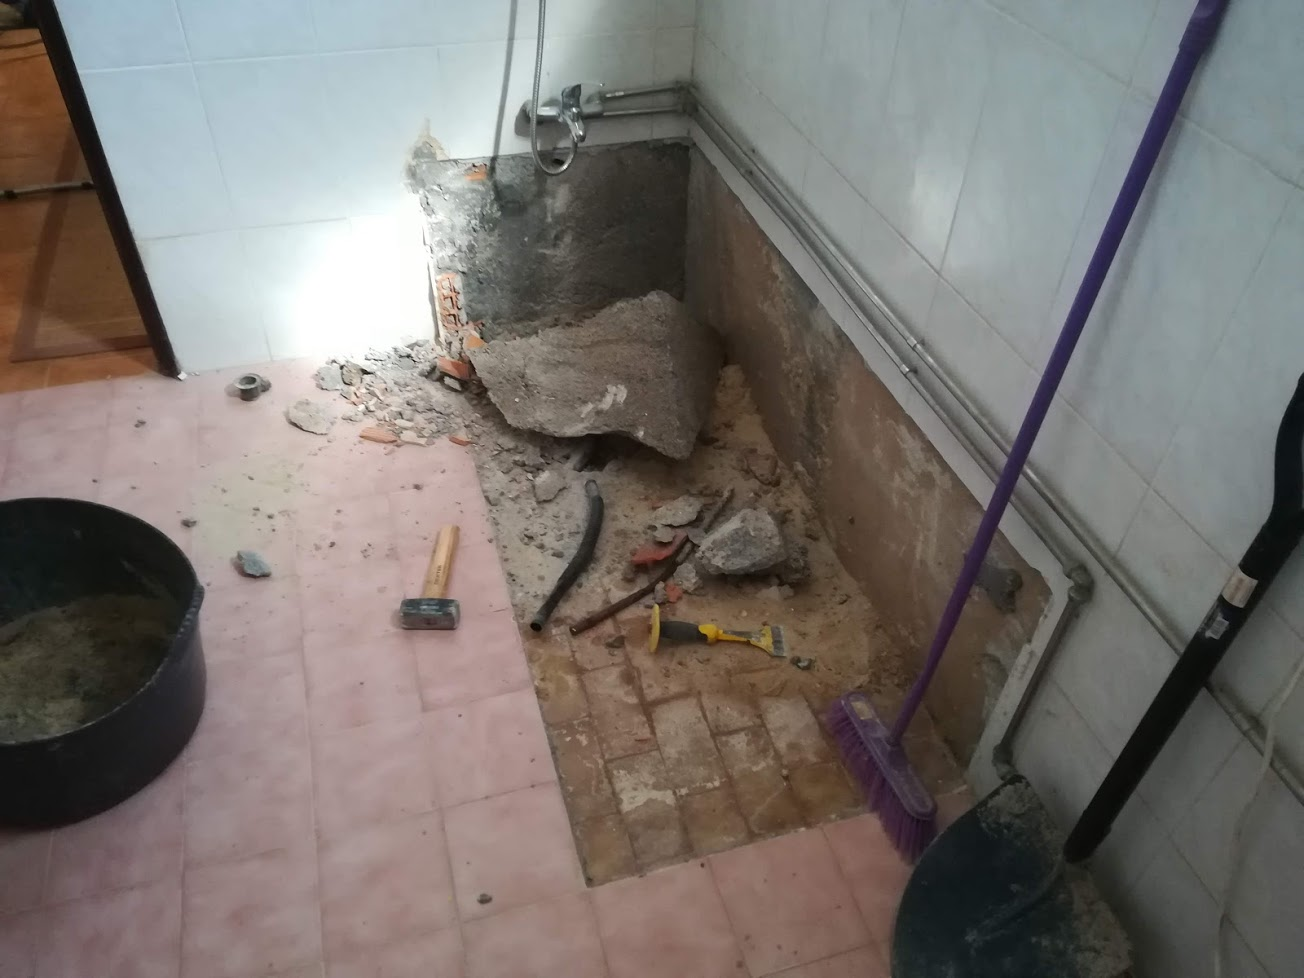
The rest took a fair bit more effort, more photos would have been great I know, but I was pretty focussed on getting part this step, so I could see some progress.
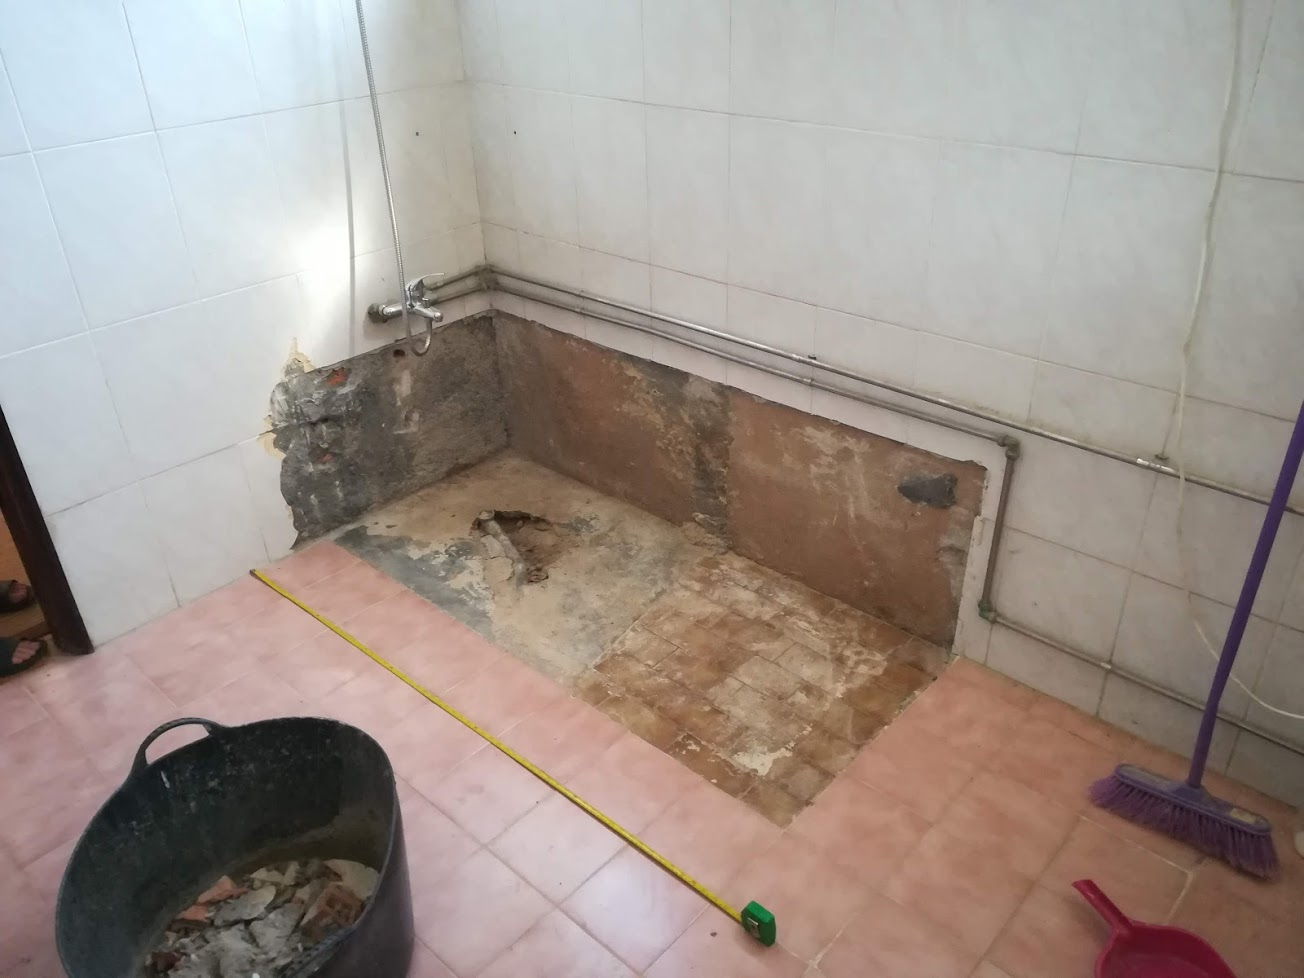
Here you can see I was taking measurements to try work out how many bricks and glass blocks to buy.
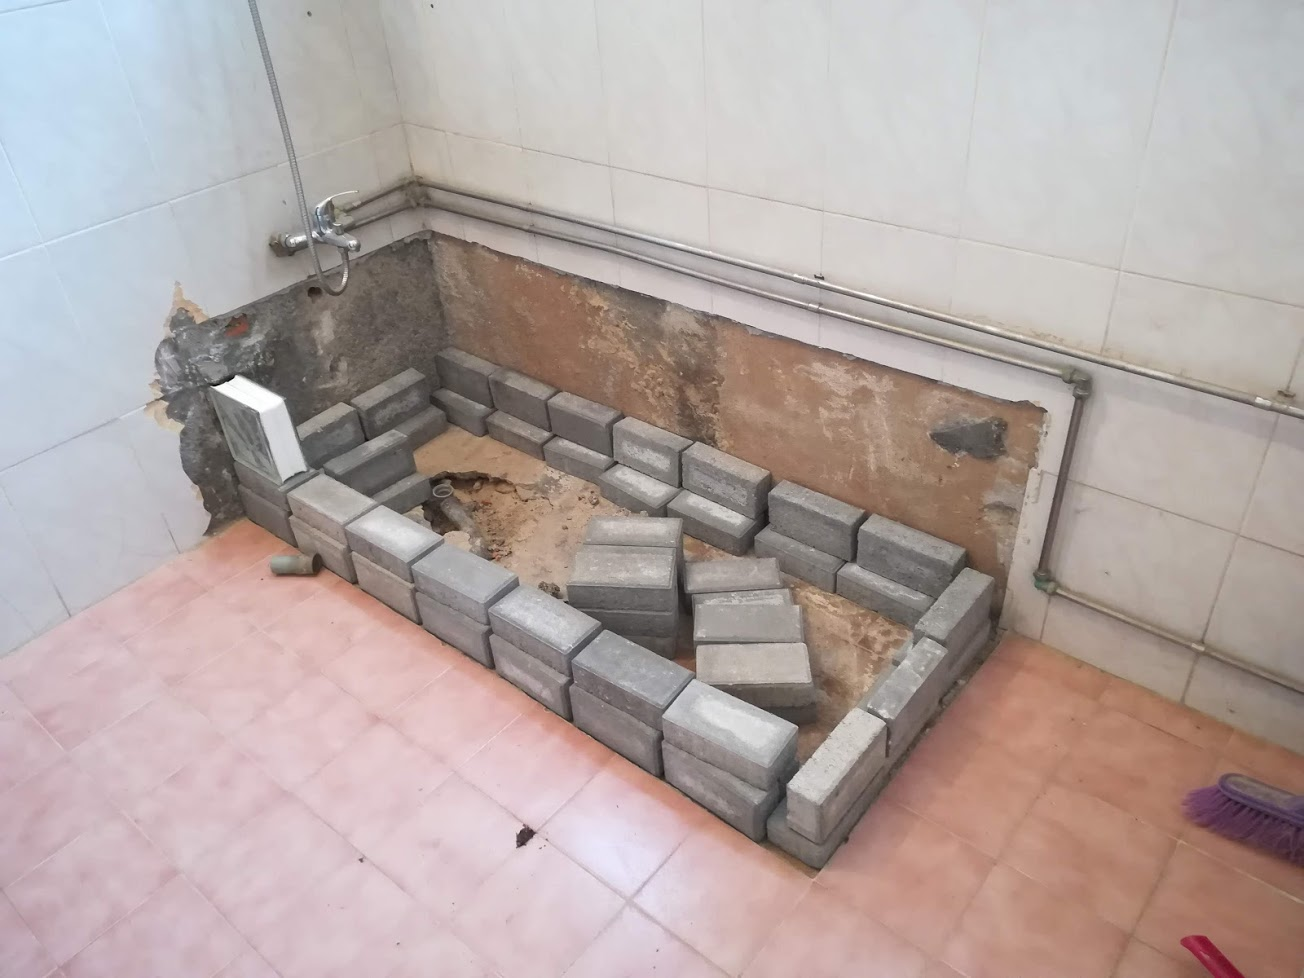
A day on and I had bought the bricks and 1 block, for checking sizing etc.
I have always found that holding something in your hands gives a much better sense of the dimensions and how it fits together with other pieces than just having its measurements.
This was my initial idea, the bricks all round form the ‘base’ of the shower, inside I wanted to cast a cement floor. Having arranged the bricks in this way I noticed that you have to step up quite high to get pas the bricks, seeing as it is for my mother-in-law, who has slipped getting into the bath before, I decided in practice this really was not going to work.
I played around with a number of configurations, having the bricks available to make changes and test if it worked help immensely, while the bath was in I had planned it out in my head, but saw quickly that in reality it did not work so well.
Just when I thought I was nearing the end of the work in the granny flat, my wife suggests we replace the bath with a shower.
I could not find reason to argue though as her reasoning is quite sound. Her mother will be moving in towards the end of August, so we are trying to make sure it’s all cleaned and sorted by then.
So why add more work? Well my mother-in-law is not as young as she used to be, recently she slipped getting into the bath when she lost grip. That got my wife thinking, what will it be like for her to get into a bath in a year or two’s time? We discussed installing bars for her to hold on to, but that depends on her having enough strength in her hand to hold herself up.
With a shower it would be much safer in the long term, so the decision was made.
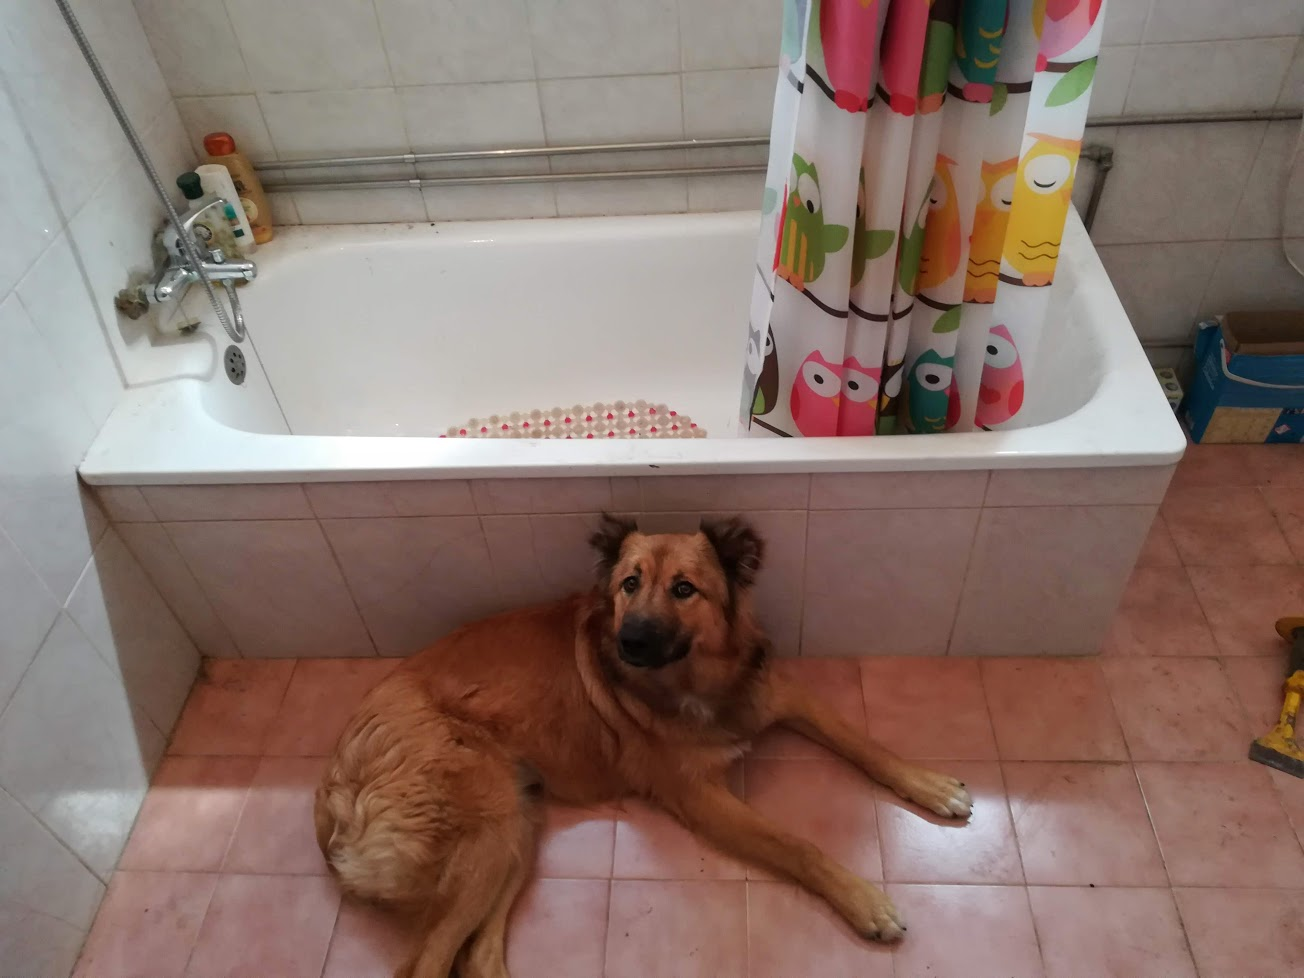
No dogs were harmed in the removal of the bath!
Roxy is a rescue dog and decided she wanted to be in the photo of the bathroom before the demolition. Here’s the bath in pretty much the same state it was when the previous owners tenant moved out.
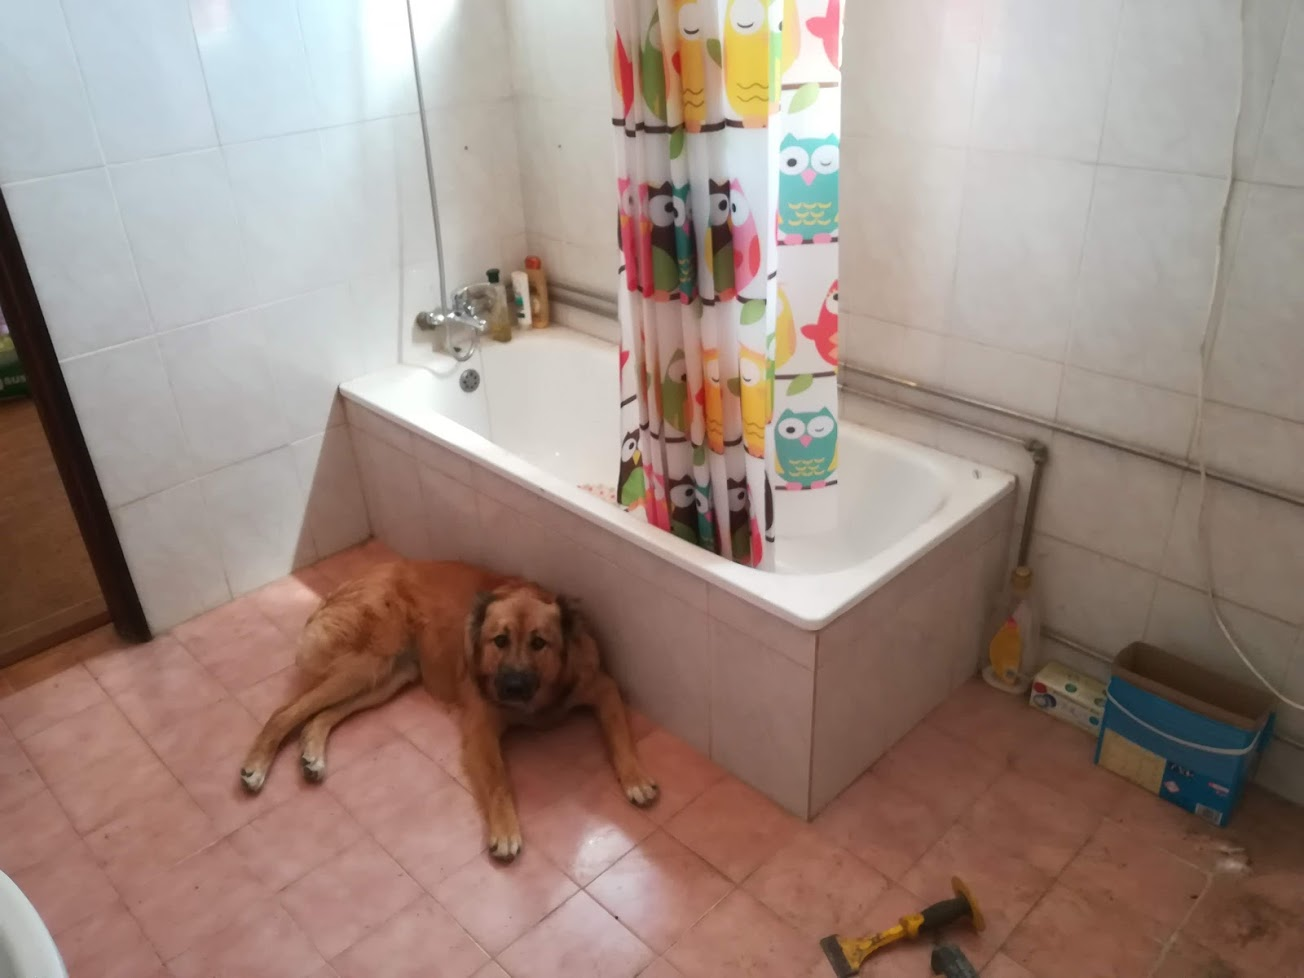
Here we go from another angle and just an excuse to include another photo of Roxy.
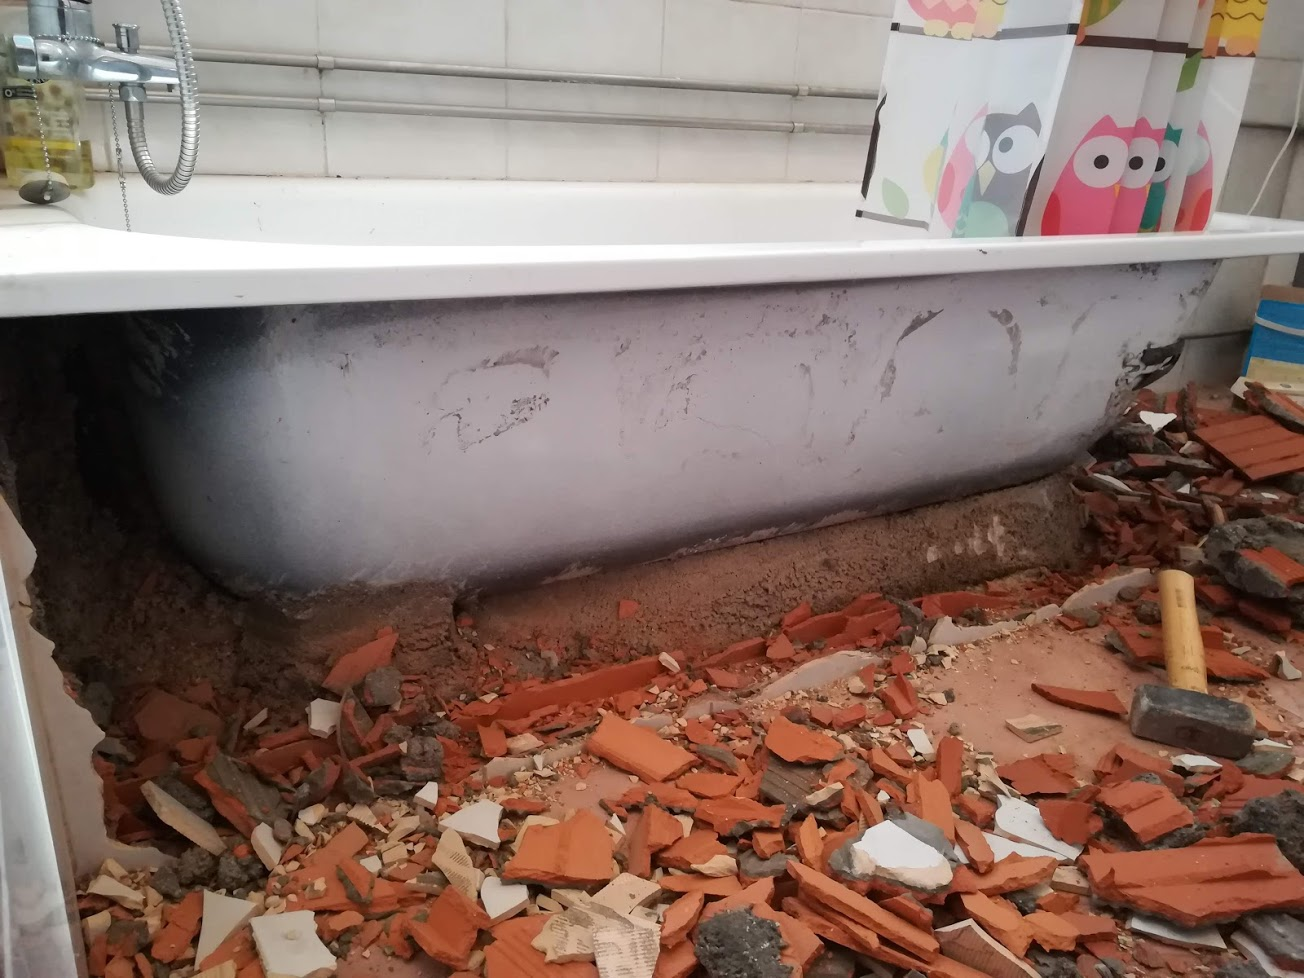
The destruction was underway, I started in the corner, where I thought there would be the most hollow space behind the bricks and tiles. I was hoping to get the bath out in a good condition.
A close up view of the side. I was pretty much just hitting the tiles directly with the hammer, the bricks are hollow and after a few blows, they would break into smaller pieces and crumble. At this point I really had not had to swing the hammer very hard.
Up until this point things had gone pretty easy, my arm had started tiring from swinging the hammer, but no damage done to the bath.
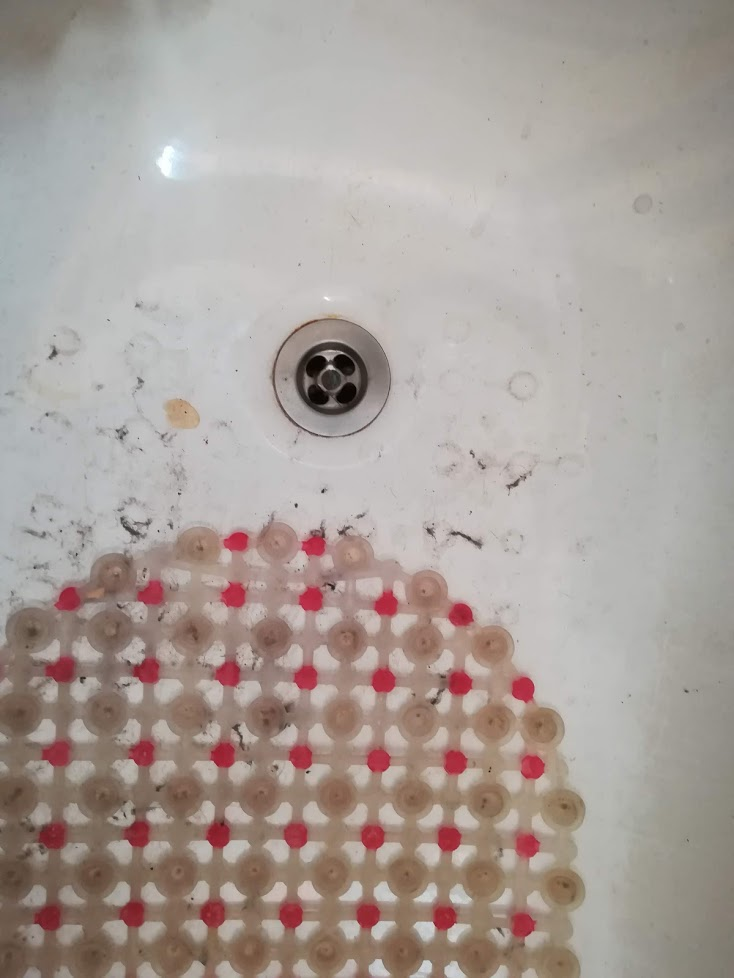
The drain has a cover screwed into a part which is most likely cast in cement, so I removed the screw so it would not prevent the bath from moving.
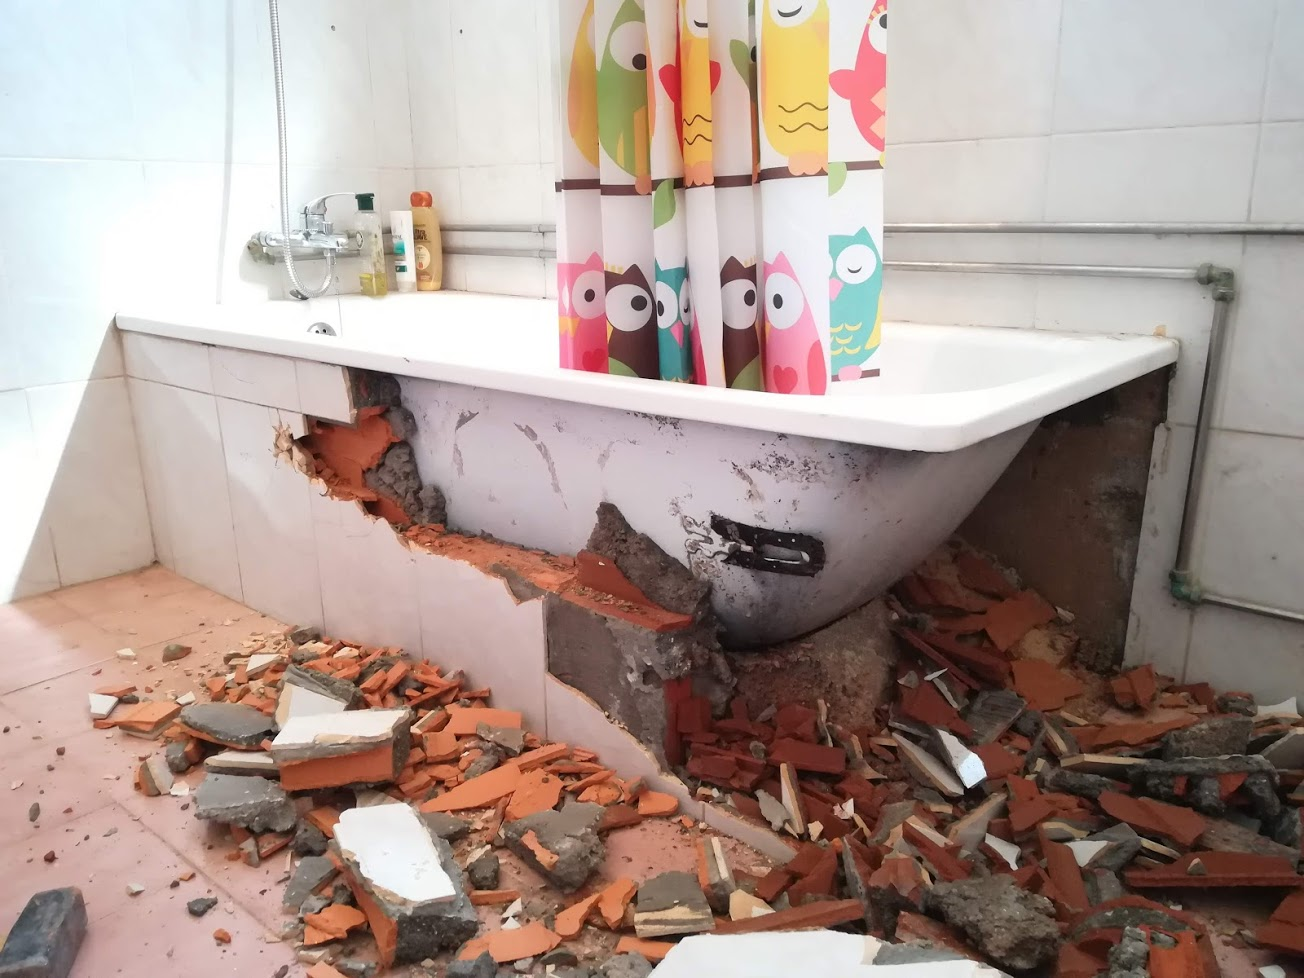
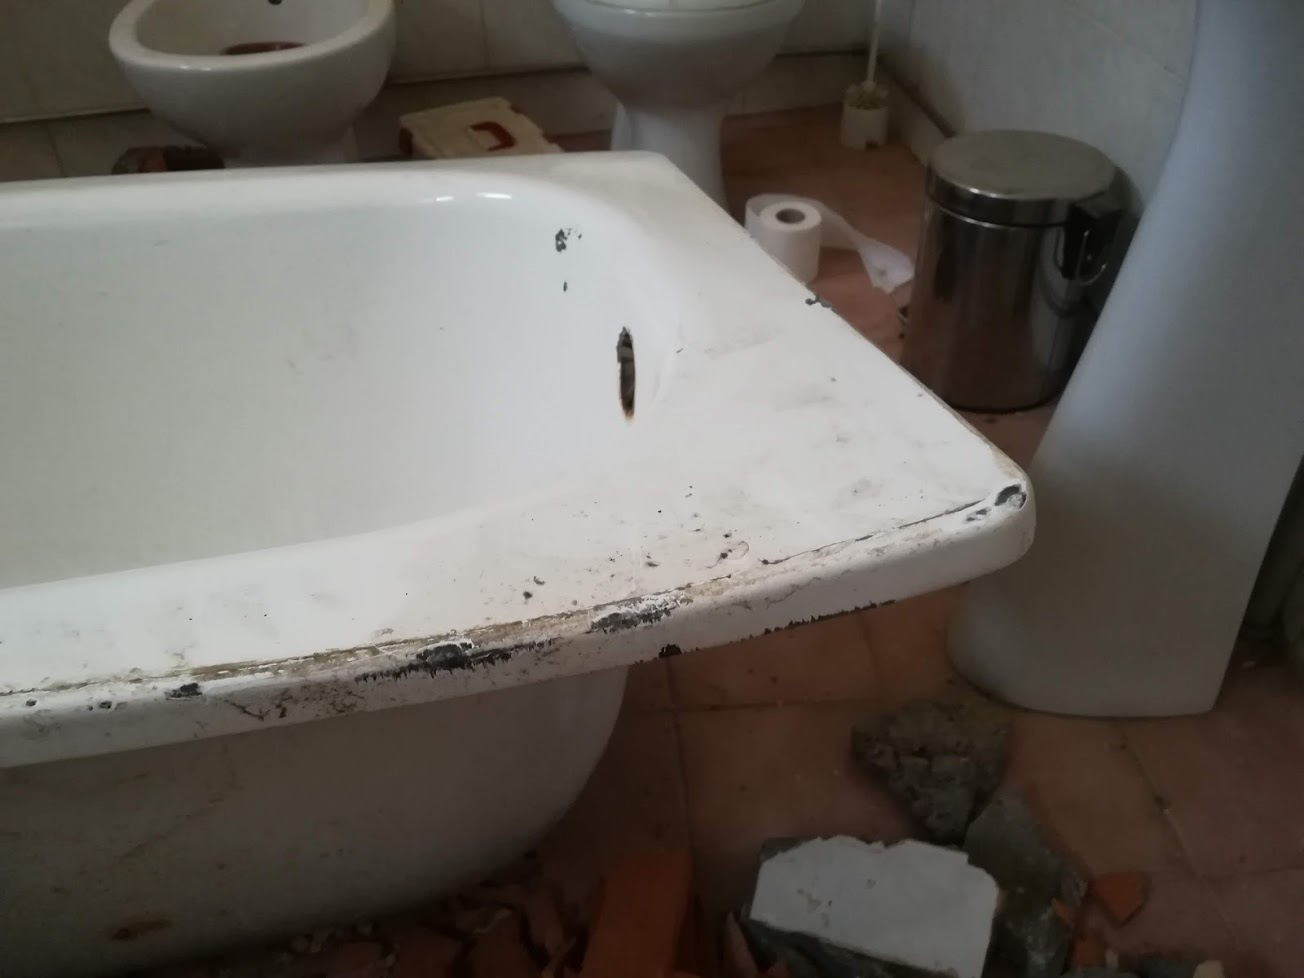
Wow, if I could carry across the amount of effort and perspiration that went into getting to this point! I struggled for quite some time as the bath was caught between the tiles and the cement at the bottom of the bath. I chipped away at the cement bit by bit, unfortunately I managed to chip some of the enamel of of the bath where the cement was forced into the bath with a hammer blow.
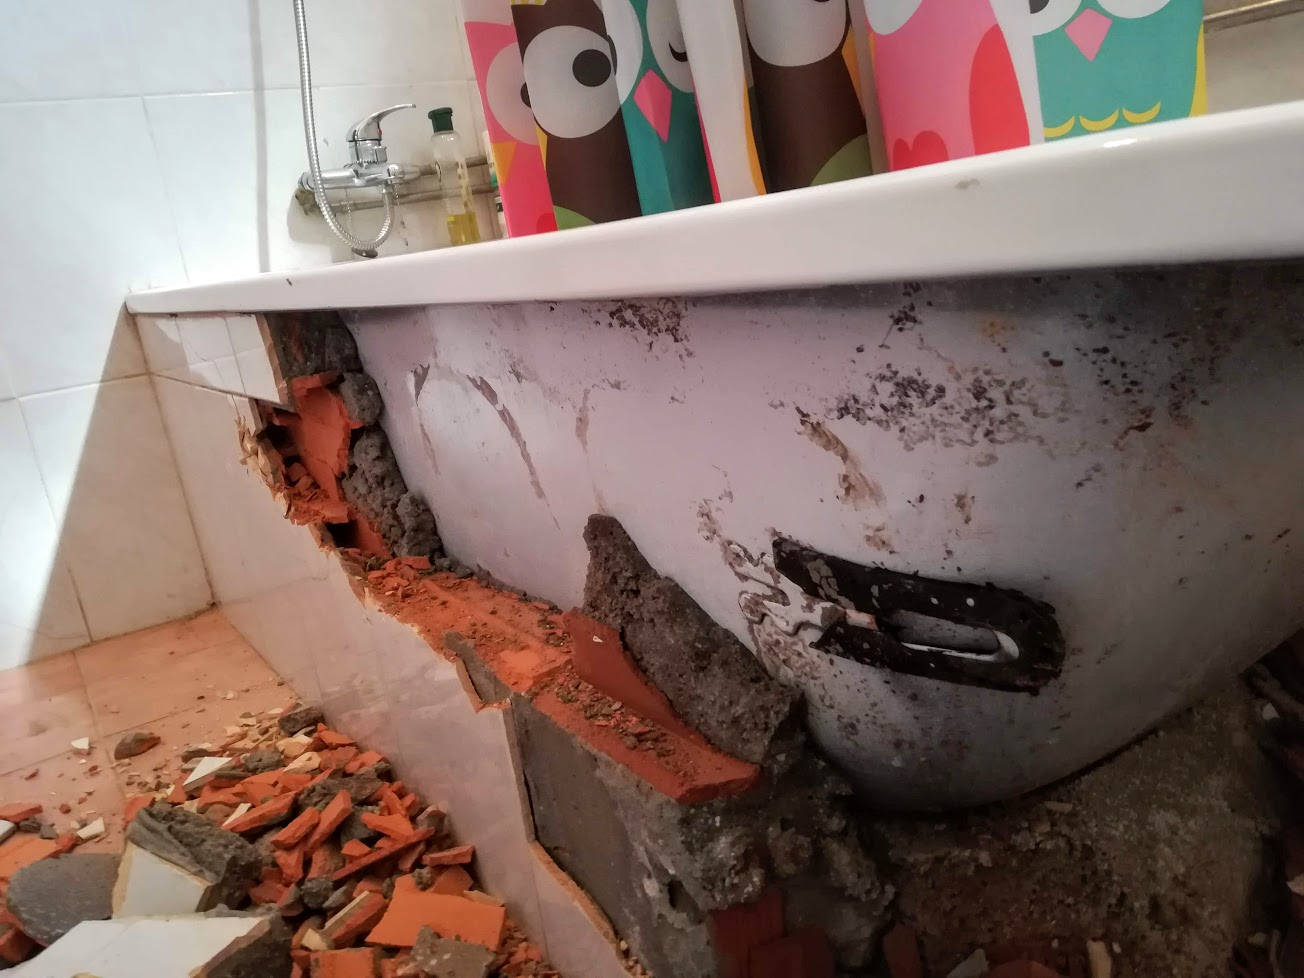
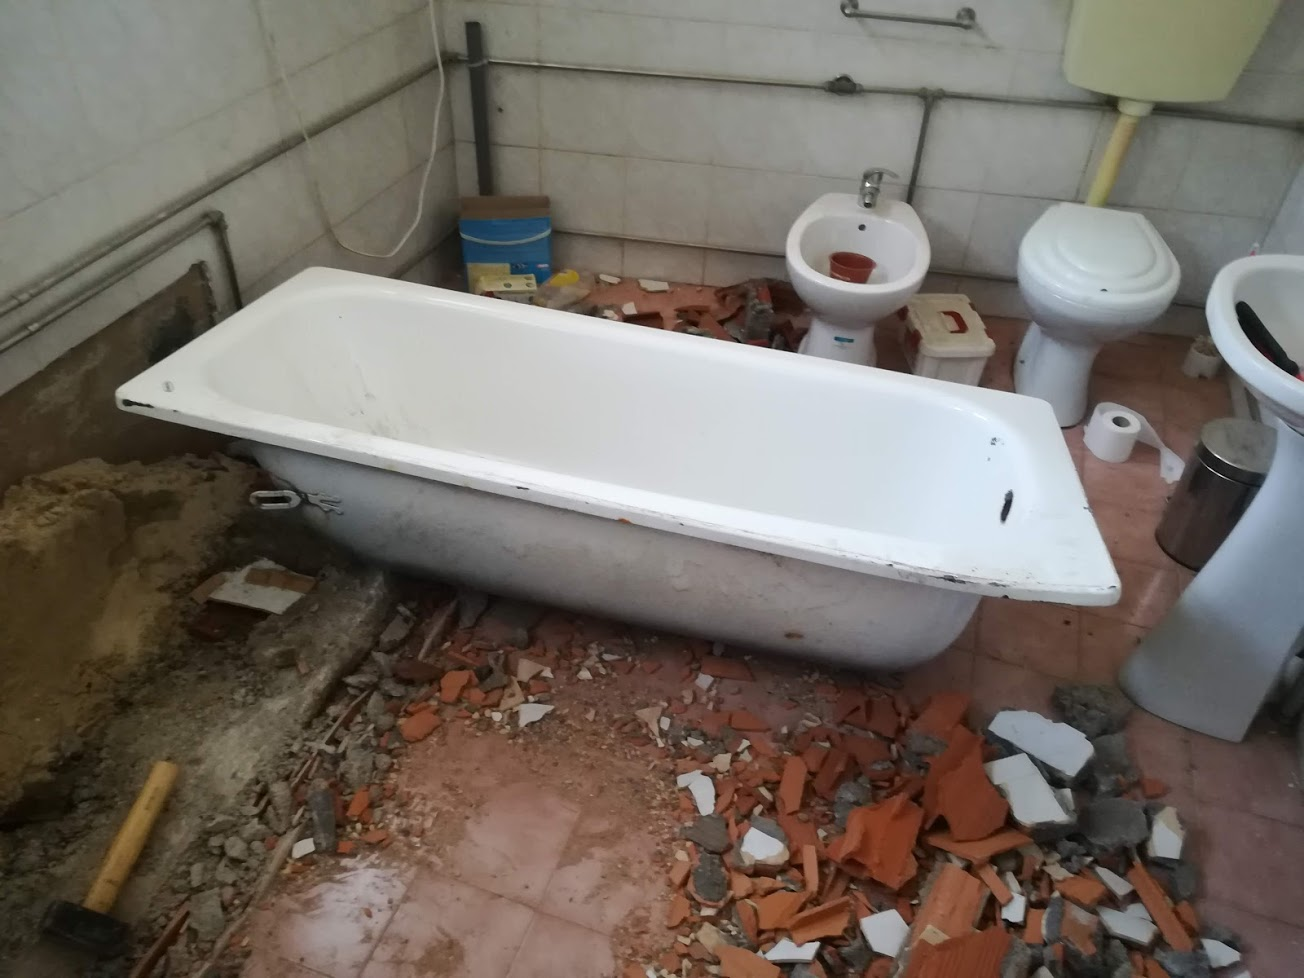
On the closest corner of the bath on the right hand side you can see how I deformed it by bending it up and shuffling the bath out. The bath is made of steel, and the edges are rolled over such that there is a lip at the bottom.
Somehow when the bath was installed, cement was forced into that lip and it held the bath quite tightly up against the wall.
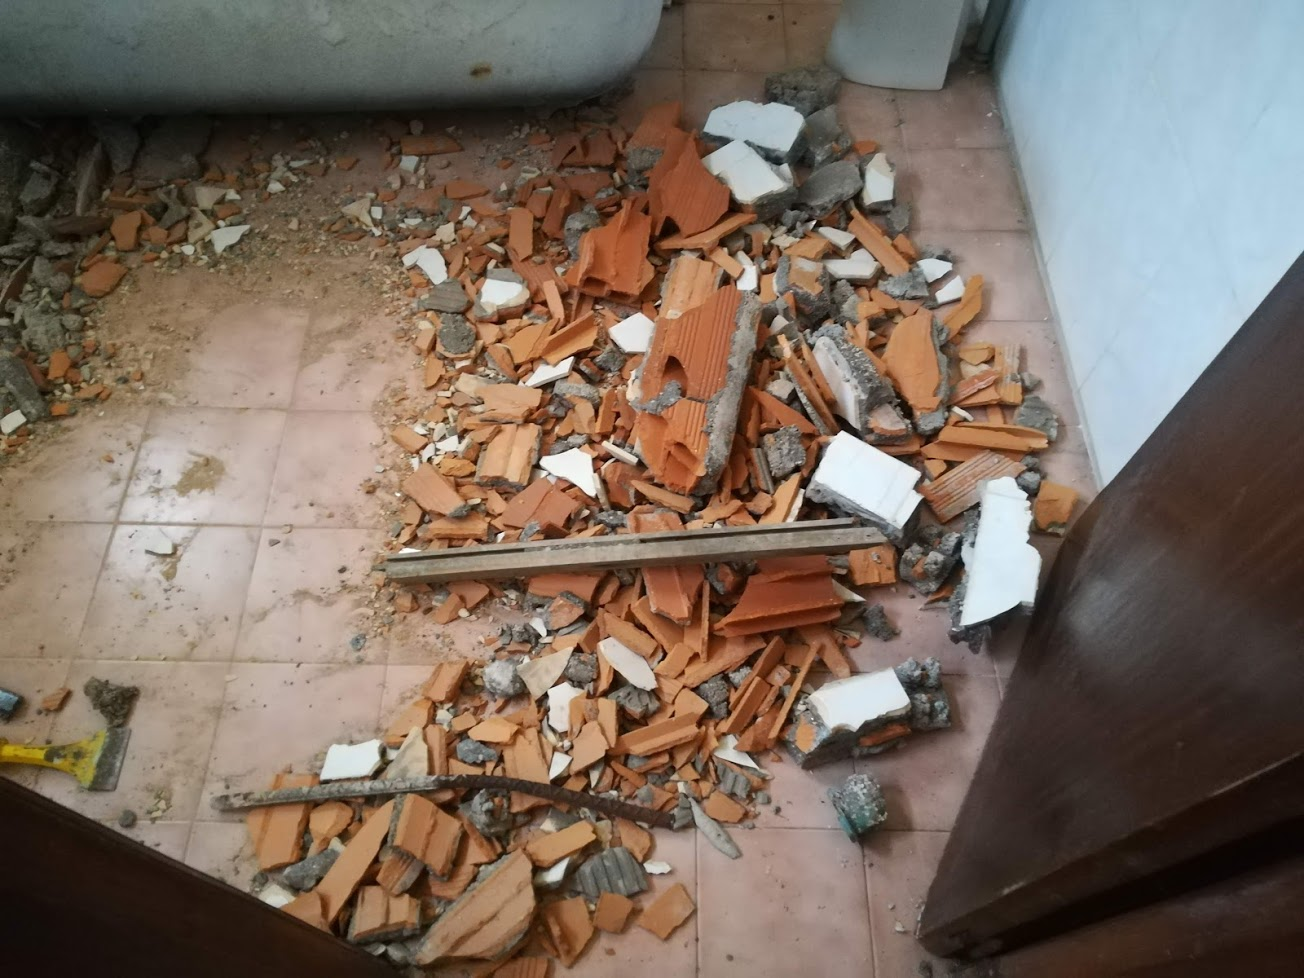
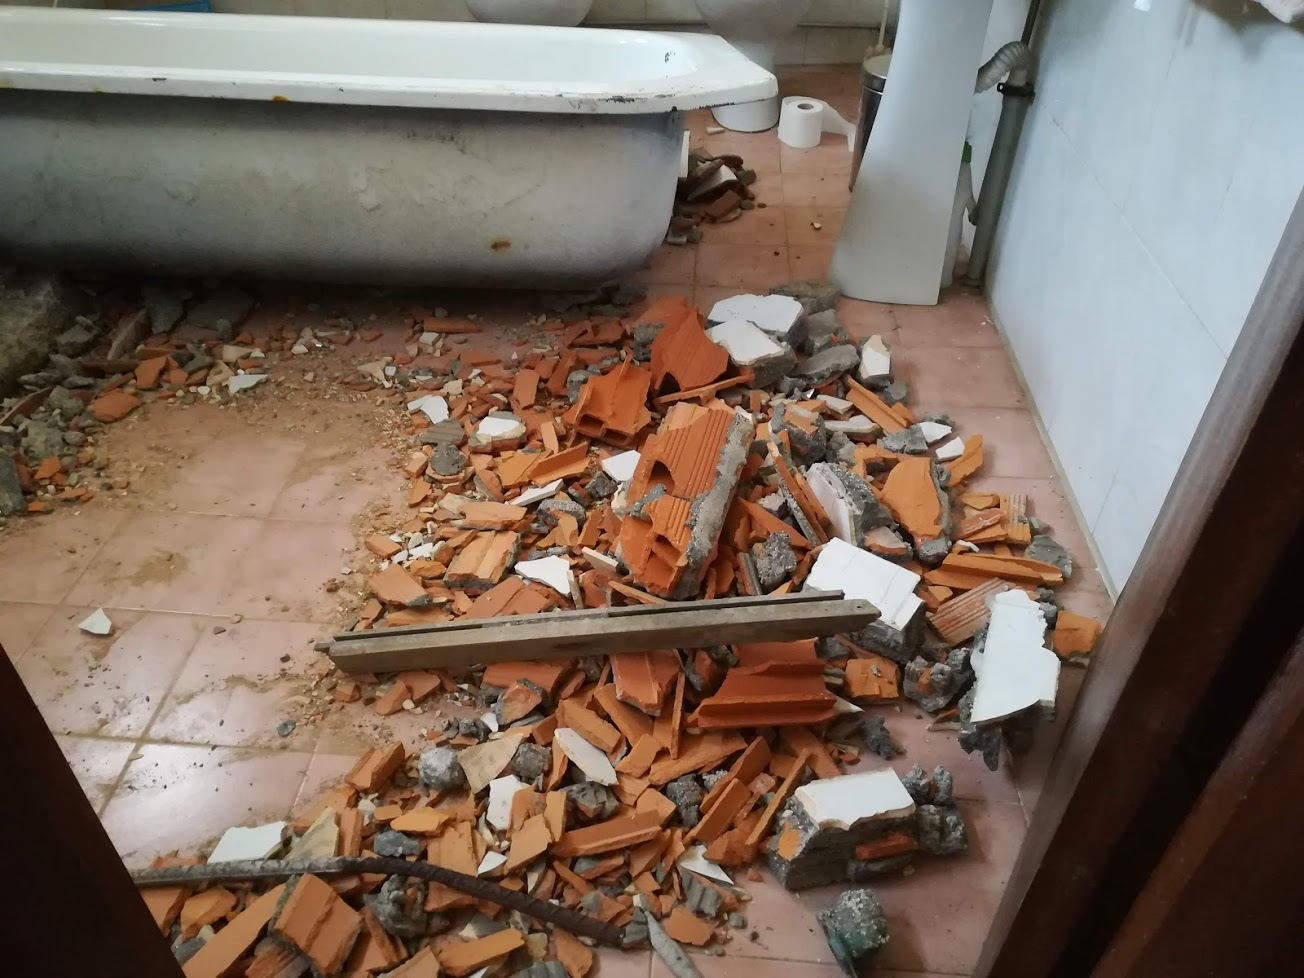
First job before continuing is to clean up this mess. But not at that point I was incredibly tired and disappointed as I had damaged the bath whilst trying to get it out.
Will take a few loads with a bucket to get it all picked up. The tiles help with cleaning so its bound to be a quick job. Chopping up the rest of that cement however…..
The chips and bend on the bath in closer detail. I am pretty bummed about this. I guess we will have to see what we do with the tub now.
My wife has already hinted at using it as a planter for vegetables, so we may get some use out of it anyway. I hate throwing away perfectly usable stuff.
On to chipping out the cement so that we can plan our way forward. We already have an idea of what to do, with the bath out of the way we can make more plausible plans and put them into action.