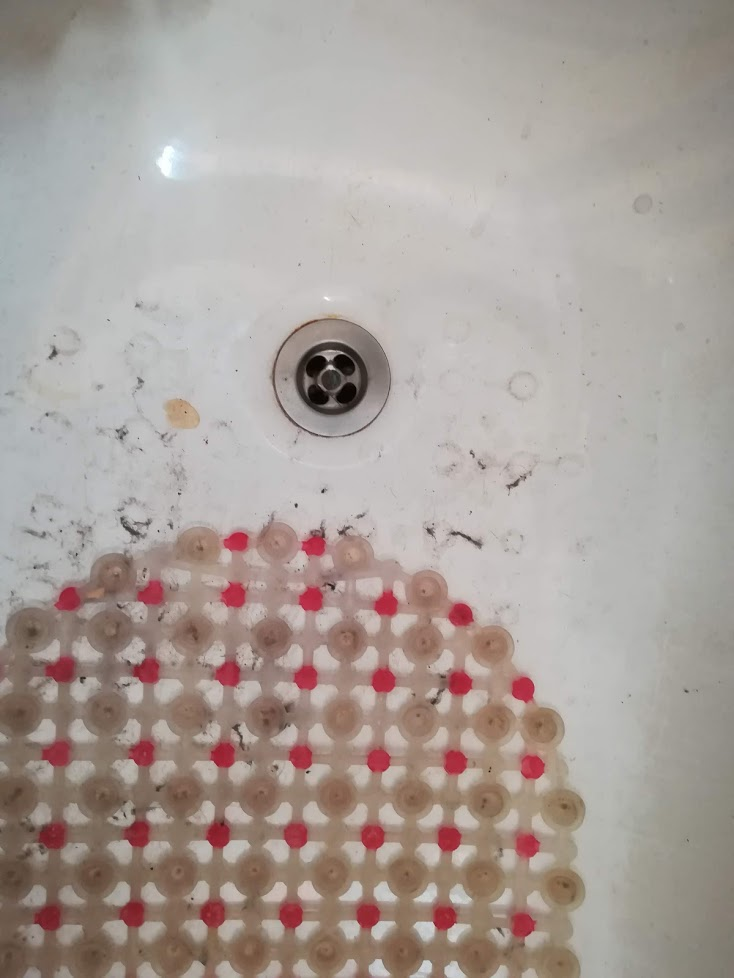
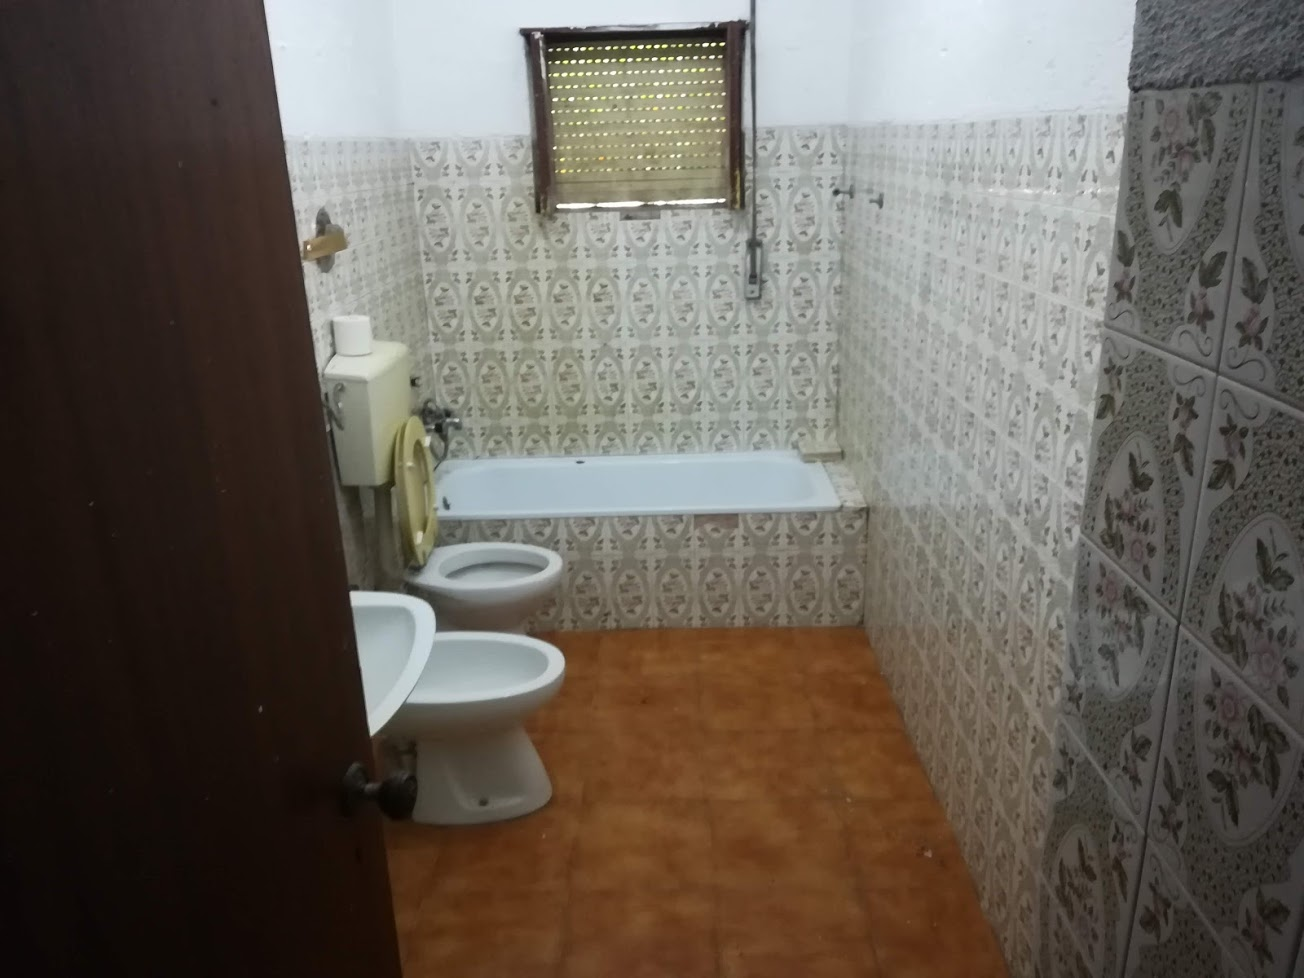
I don’t think I mentioned this before, but I am building a walk in shower. The reason being that I can have a large entrance, so that it would be easier and less effort to go shower.
It also fits well in the space left by taking out the bath, bases for showers can be quite inexpensive, however if you start looking at bases for walk in showers things get crazy.
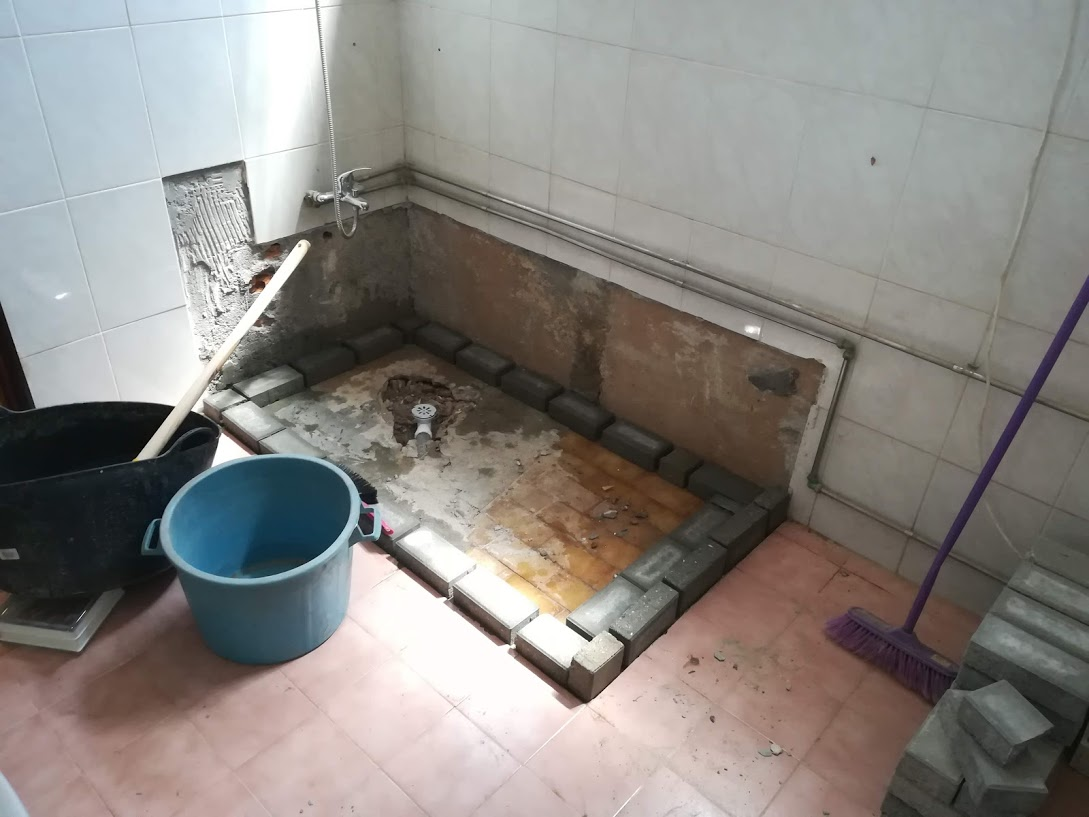
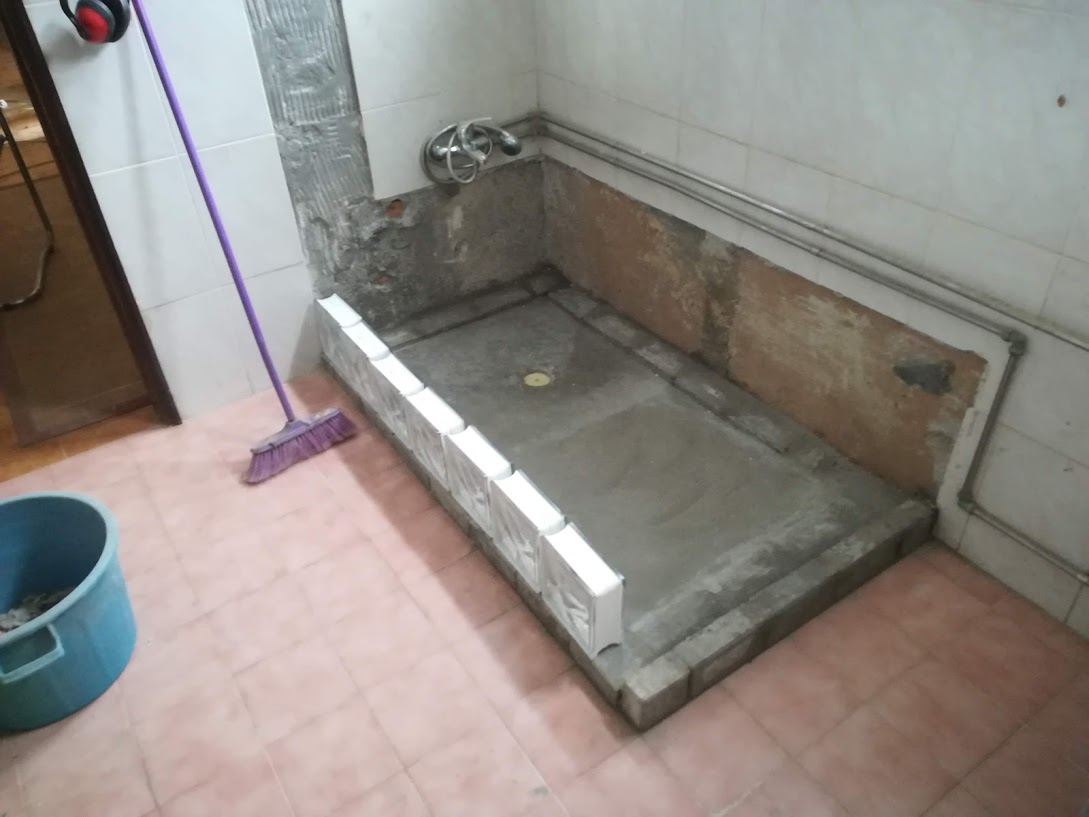
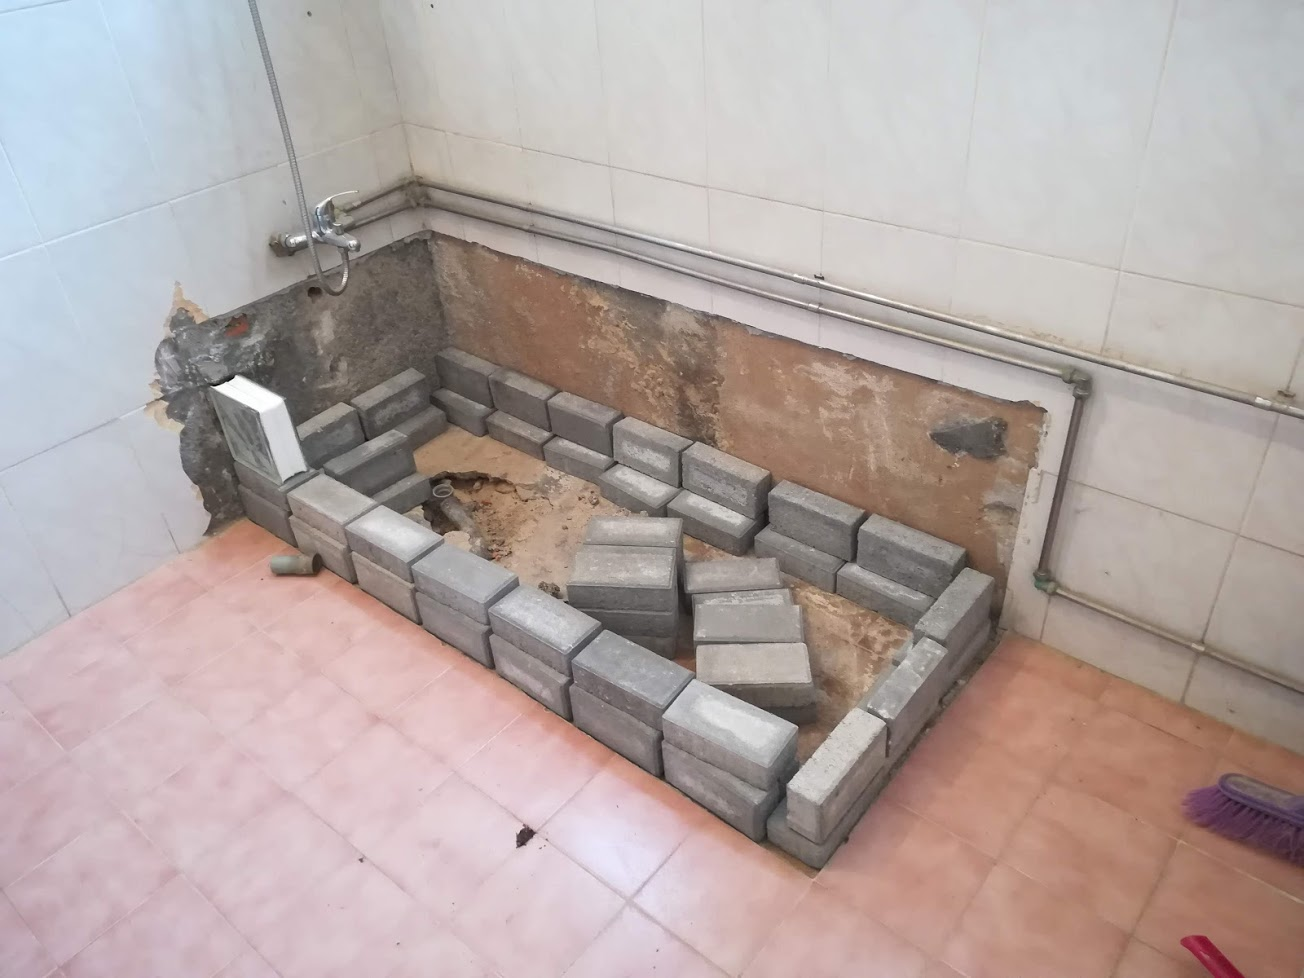
So we make our own. Above is the layout I chose, still having the bricks form the outline of the shower, but arranged differently so that the profile was as low as possible.
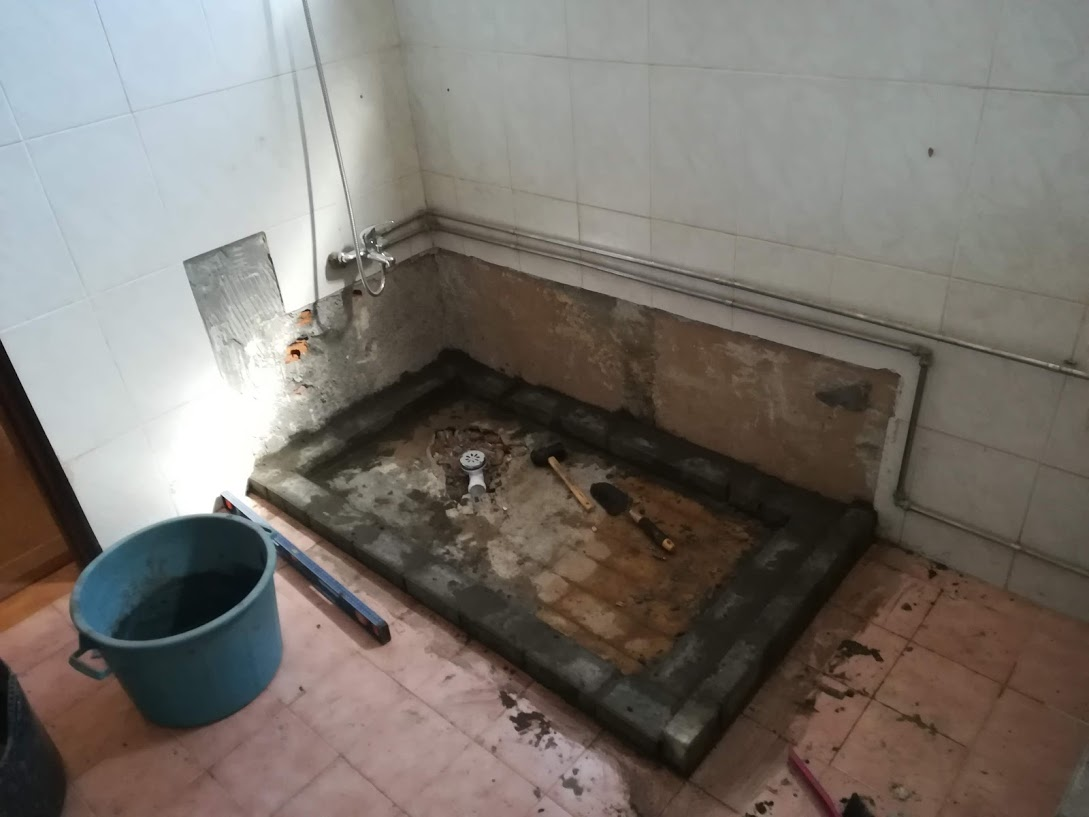
All the bricks mortared in place. I was considering chopping out the tiles underneath but considering that I will be casting cement over it, I doubt it would be an issue.
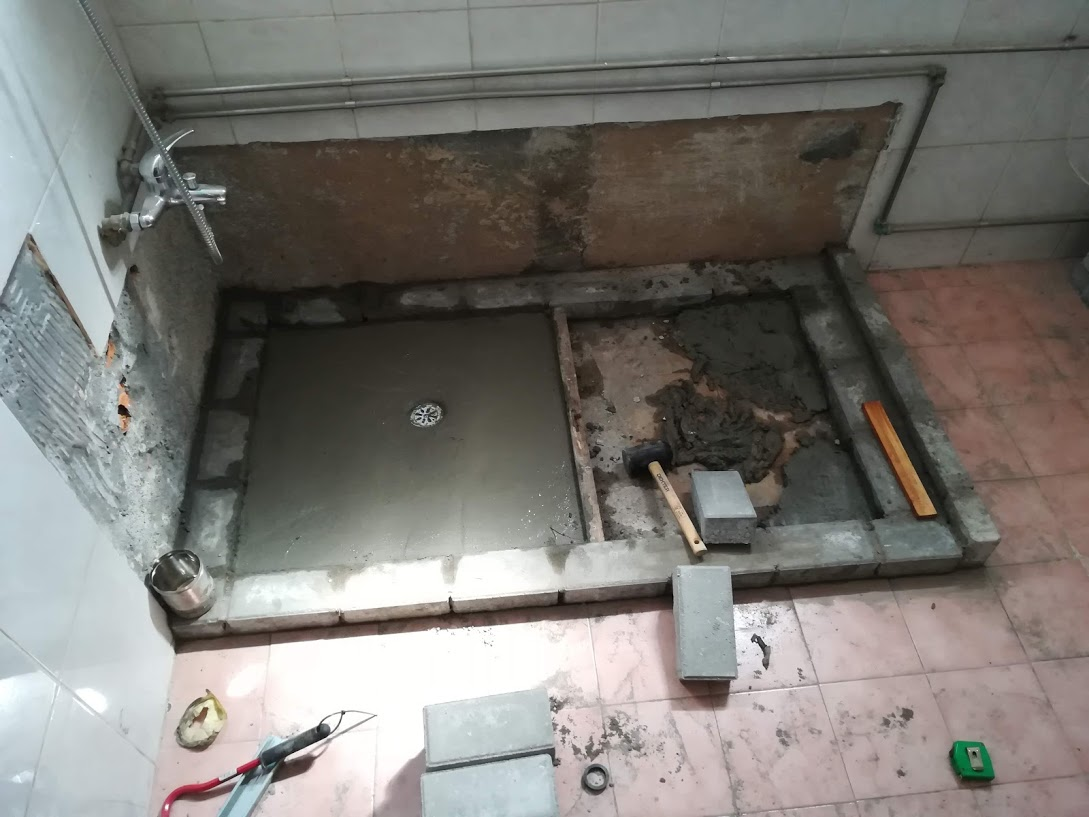
I split the base in two so that I can taper the portion with the drain inward and make sure all the water flows nicely away. The part on the right of the screen will also be tapered, but can have a simple slope which is easier to do.
Remember I am in IT, I am not a builder so I wing it and improvise / learn as I go along.
It was getting close to the time for my mother-in-law to move in, so I was trying to get things done quickly, hence no in between photo’s 🙁
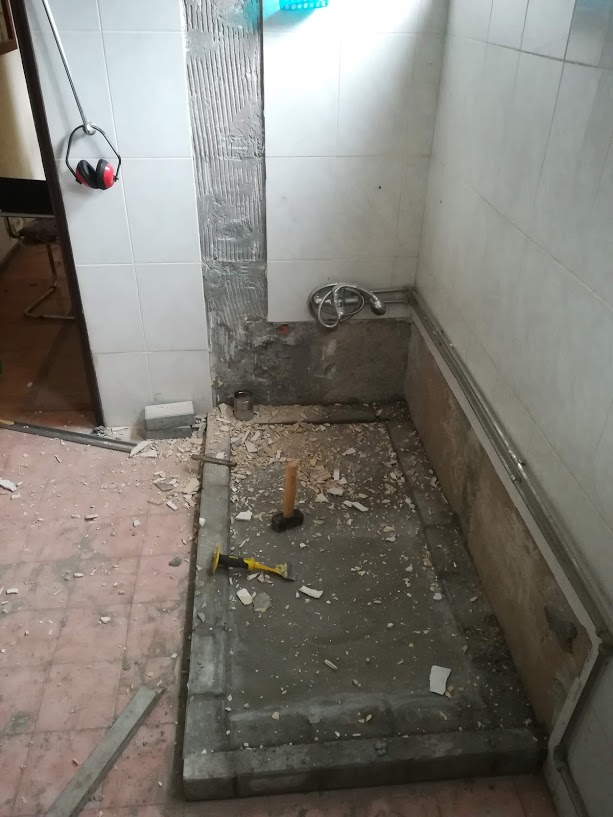
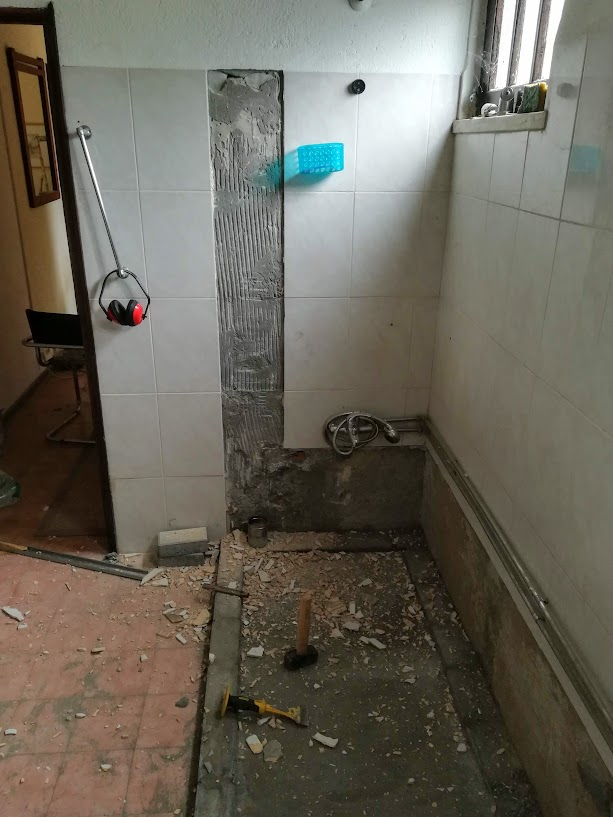
Here I am chipping the tiles away from the wall, I will be building a wall of glass blocks and wanted to make sure that they would be more secure against the wall. Mortar does not stick well to tiles, so they had to go.
Fortunately the existing tiles got up to about the same height as I want the wall to go, it’s as if it was meant to be!
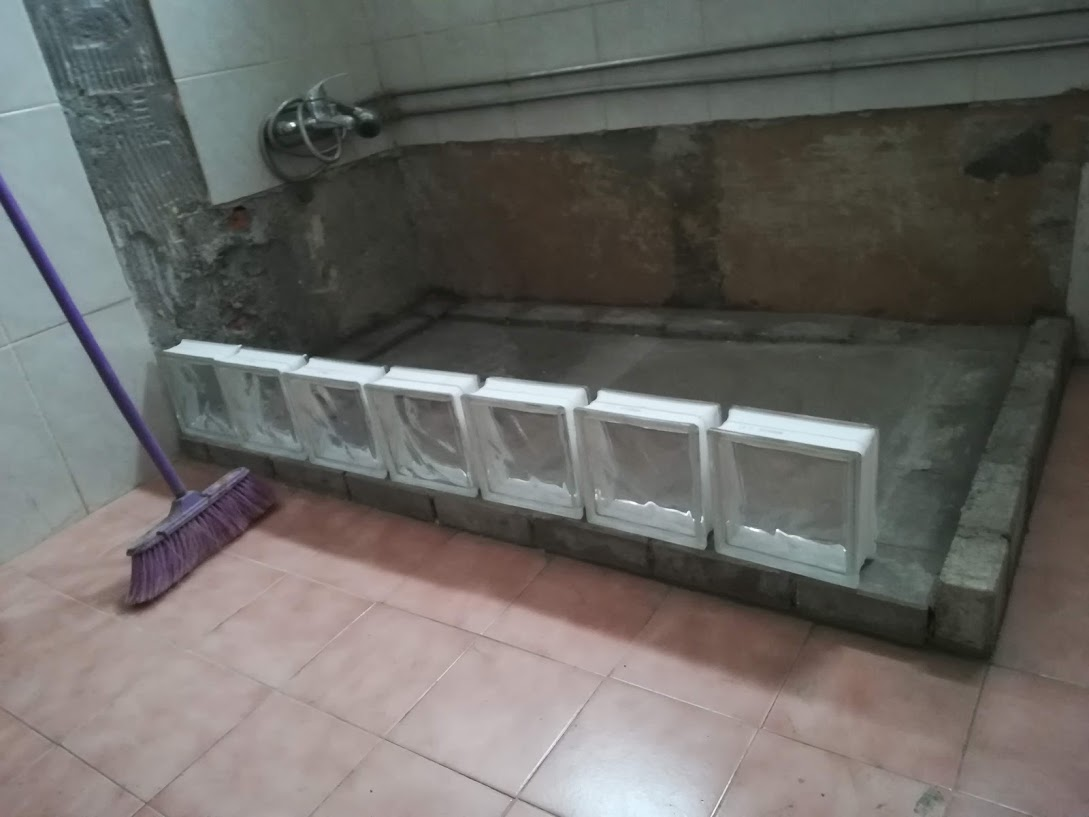
Here I was doing a trial fit to see how well I had calculated the need for the blocks. Even though the length was largely determined by the mark left on the wall where the bath was, it works out ok.
A different view with the blocks. Is it starting to make sense? For me this is the part where this project became more rewarding, seeing how something you had, only in your mind, seeing how that develops and progresses.
This project is actually done, but I went on leave and stayed quite far away from the computer, pretty much because I was finishing this off!
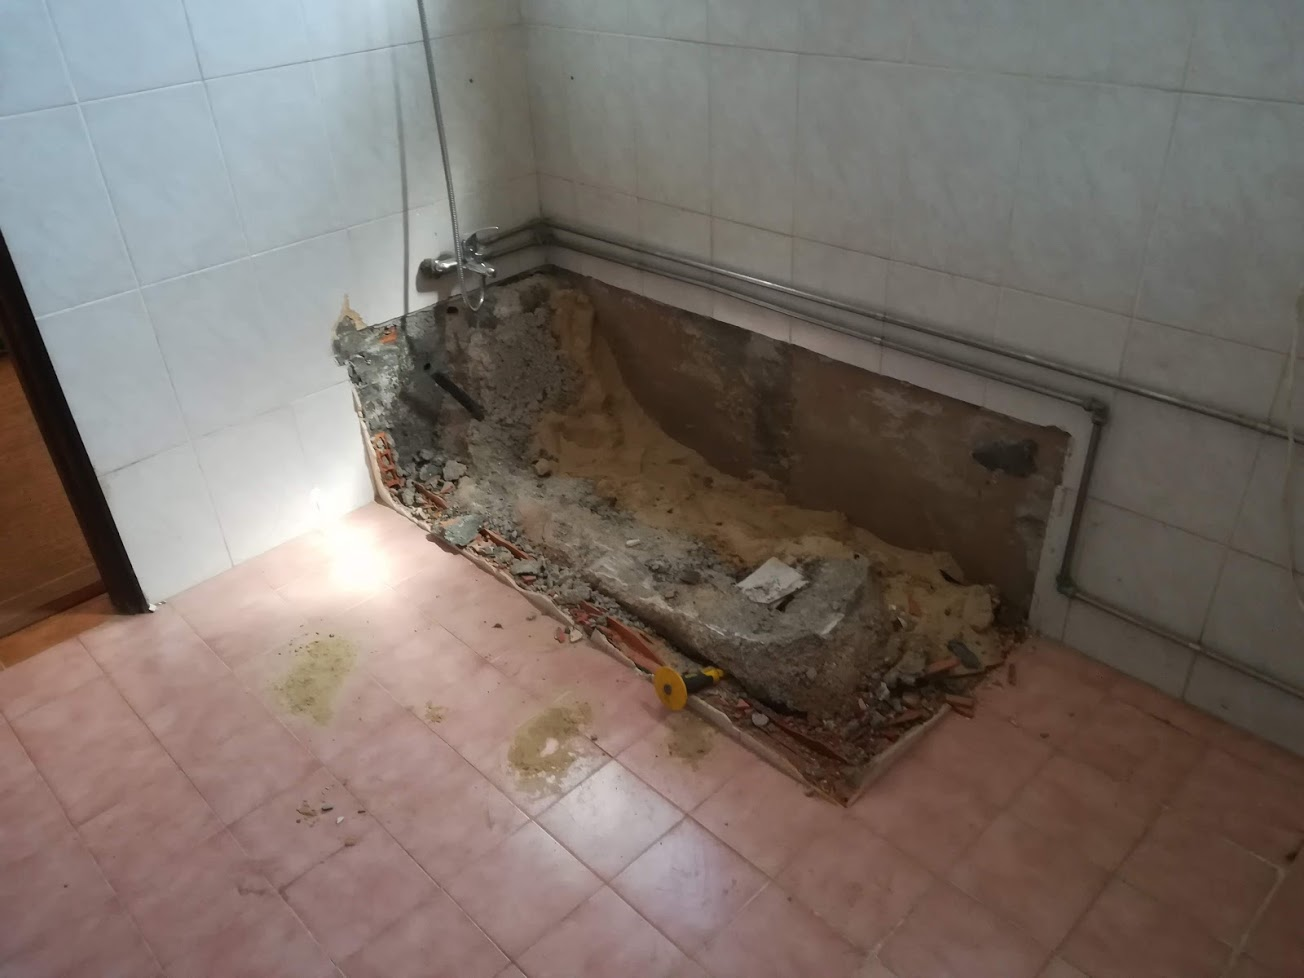
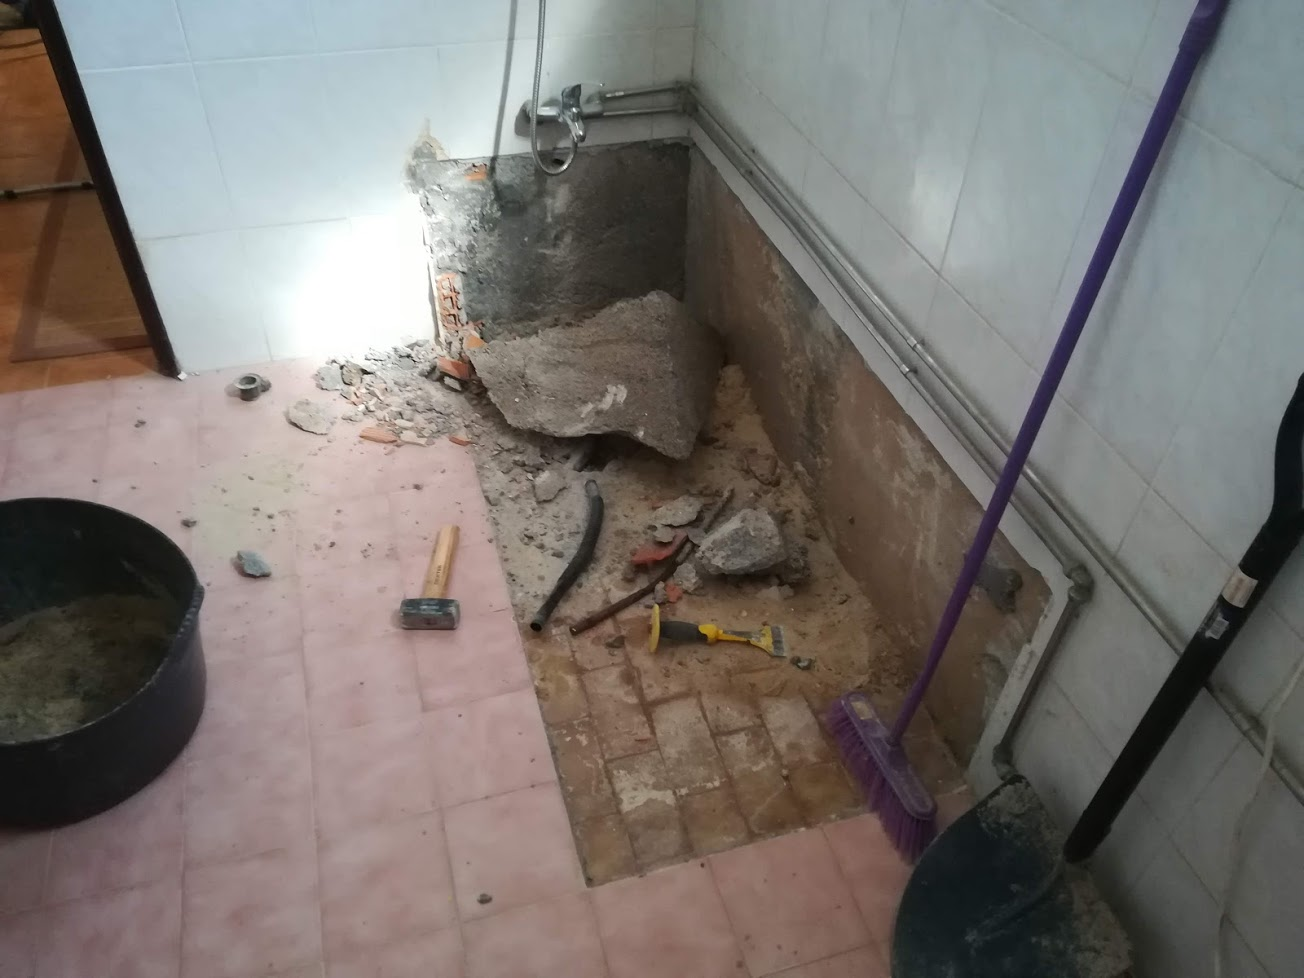
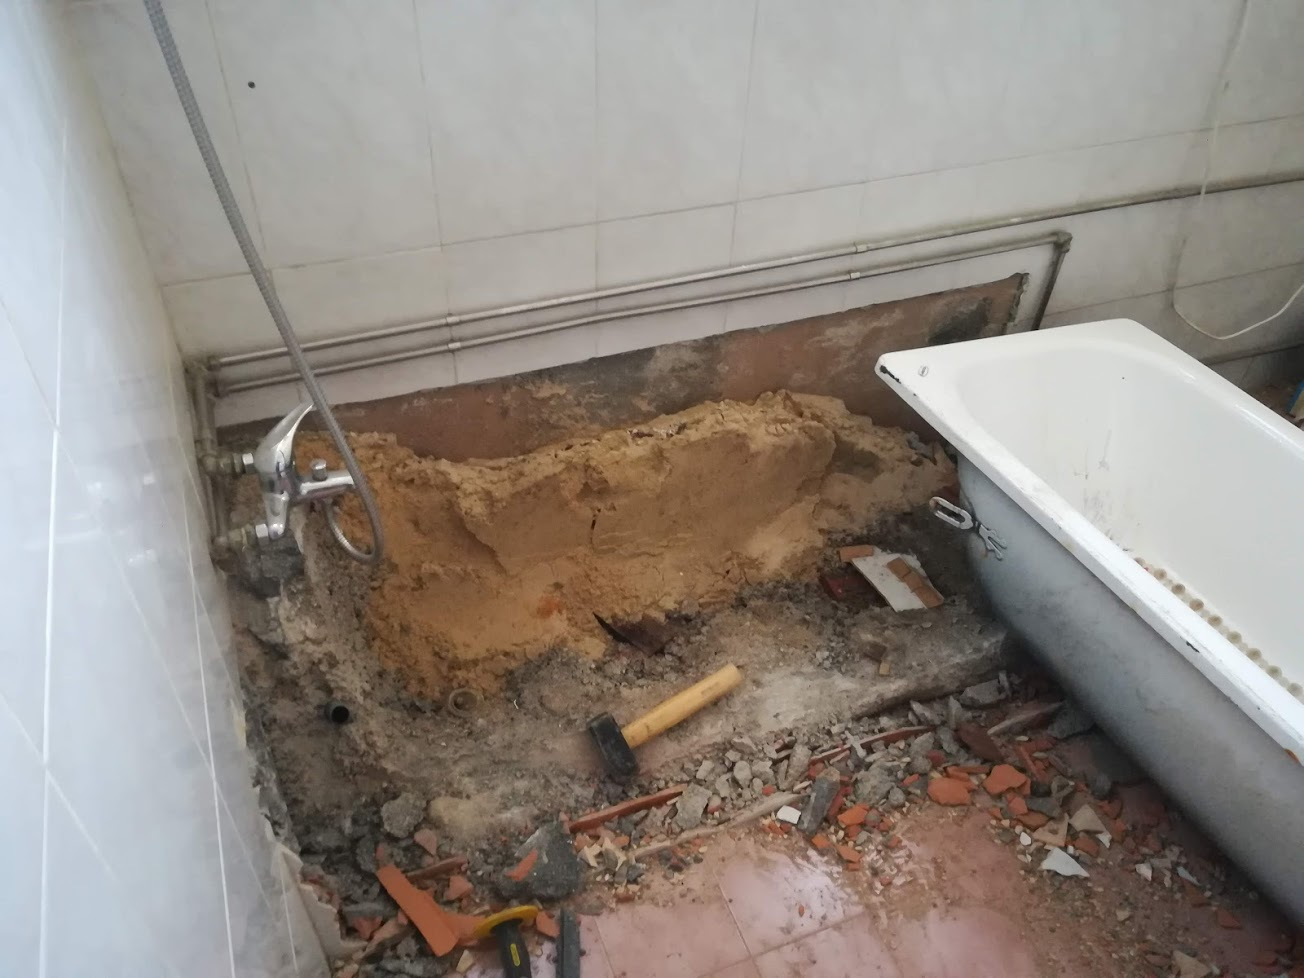
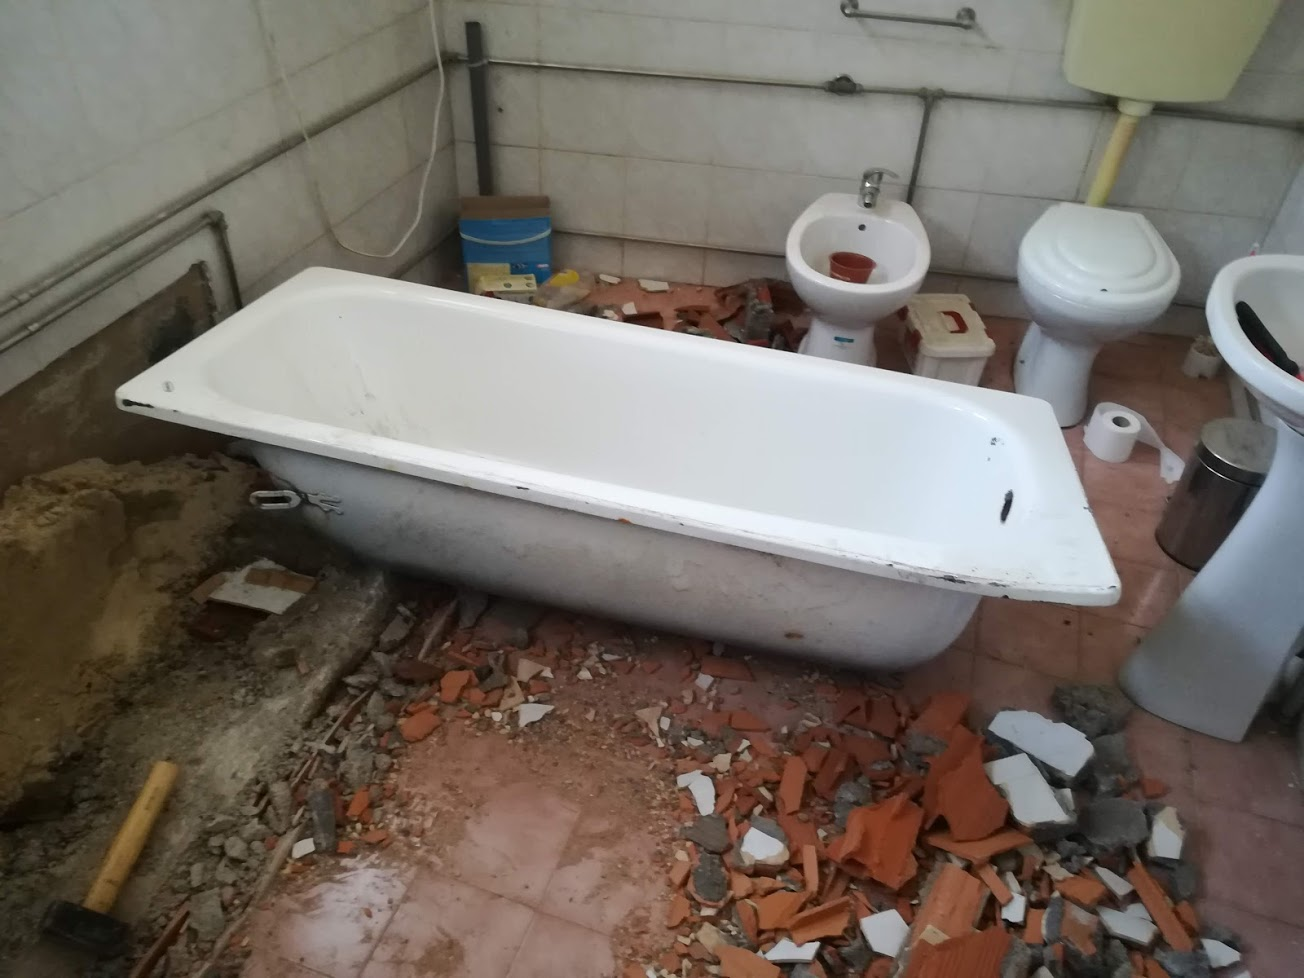
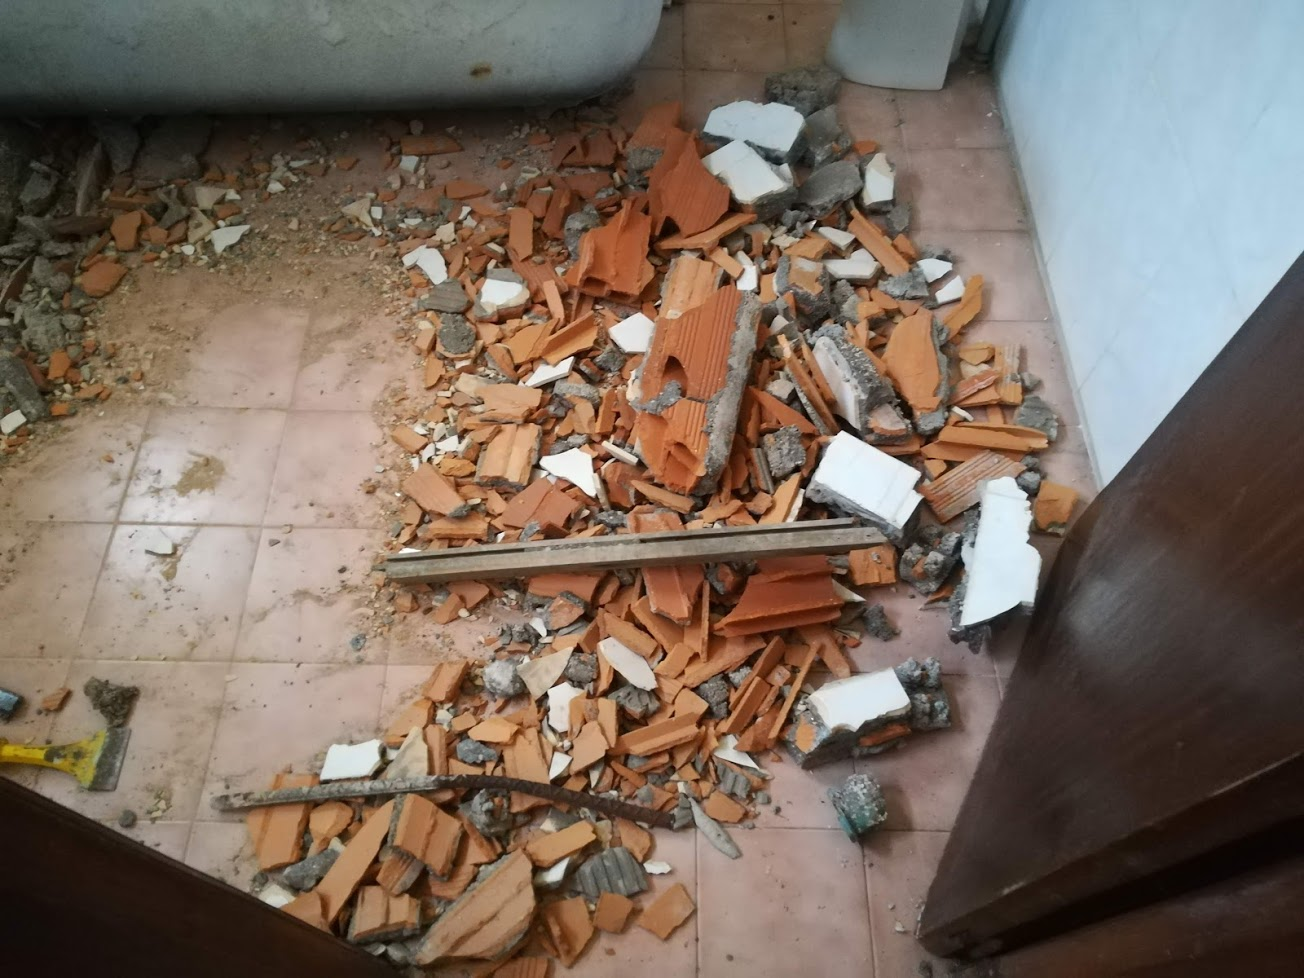
With the bath removed, I moved onto taking out the sand that was behind it as well as the cement that had been cast around it. Fortunately most of it near the foot of the bath was quite weak, and was poured on top of tiles, so it chipped off quite quickly.
The rest took a fair bit more effort, more photos would have been great I know, but I was pretty focussed on getting part this step, so I could see some progress.
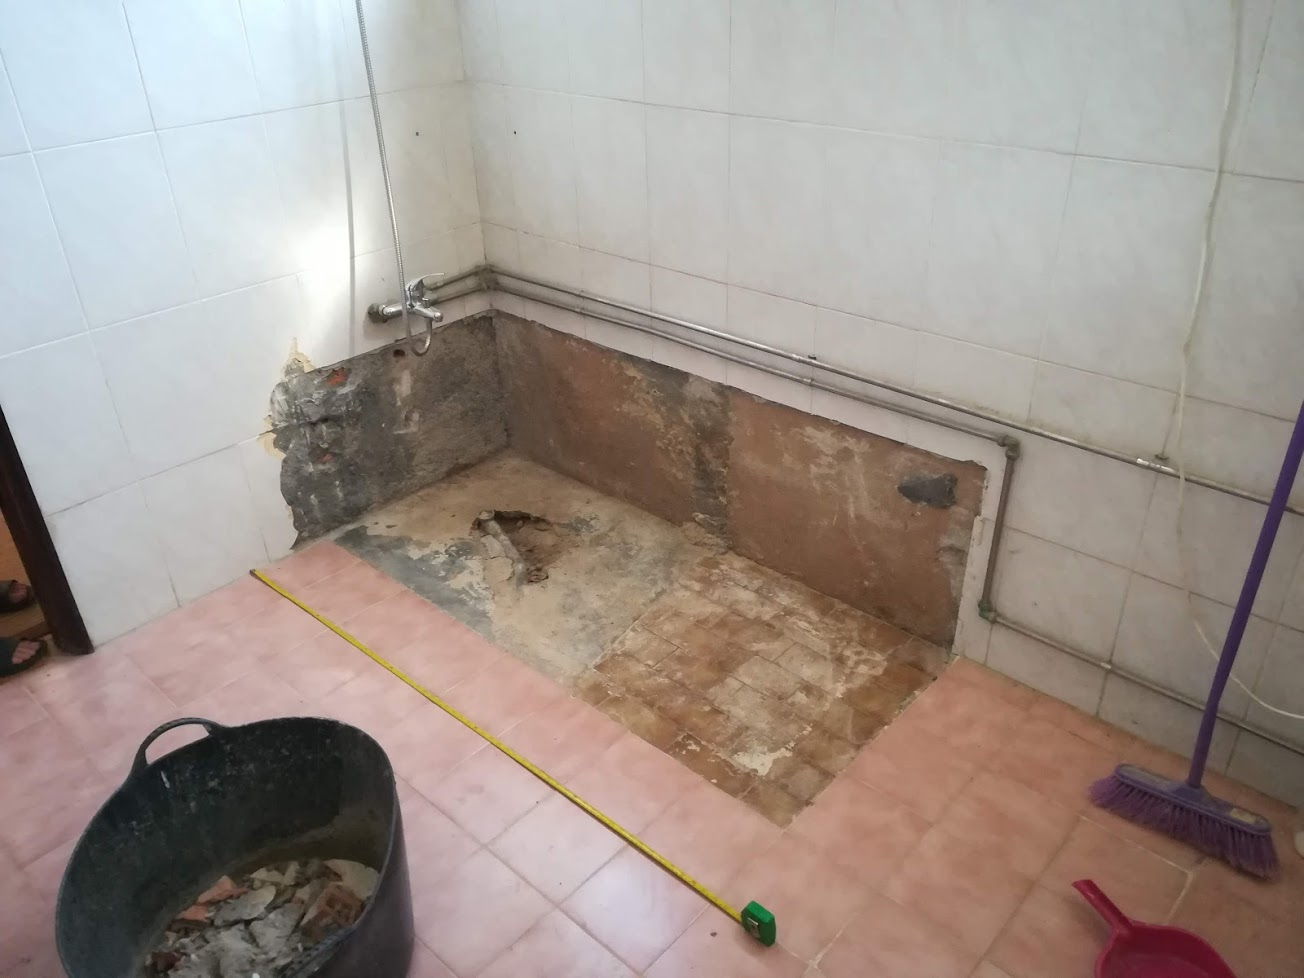
Here you can see I was taking measurements to try work out how many bricks and glass blocks to buy.
A day on and I had bought the bricks and 1 block, for checking sizing etc.
I have always found that holding something in your hands gives a much better sense of the dimensions and how it fits together with other pieces than just having its measurements.
This was my initial idea, the bricks all round form the ‘base’ of the shower, inside I wanted to cast a cement floor. Having arranged the bricks in this way I noticed that you have to step up quite high to get pas the bricks, seeing as it is for my mother-in-law, who has slipped getting into the bath before, I decided in practice this really was not going to work.
I played around with a number of configurations, having the bricks available to make changes and test if it worked help immensely, while the bath was in I had planned it out in my head, but saw quickly that in reality it did not work so well.
Just when I thought I was nearing the end of the work in the granny flat, my wife suggests we replace the bath with a shower.
I could not find reason to argue though as her reasoning is quite sound. Her mother will be moving in towards the end of August, so we are trying to make sure it’s all cleaned and sorted by then.
So why add more work? Well my mother-in-law is not as young as she used to be, recently she slipped getting into the bath when she lost grip. That got my wife thinking, what will it be like for her to get into a bath in a year or two’s time? We discussed installing bars for her to hold on to, but that depends on her having enough strength in her hand to hold herself up.
With a shower it would be much safer in the long term, so the decision was made.
No dogs were harmed in the removal of the bath!
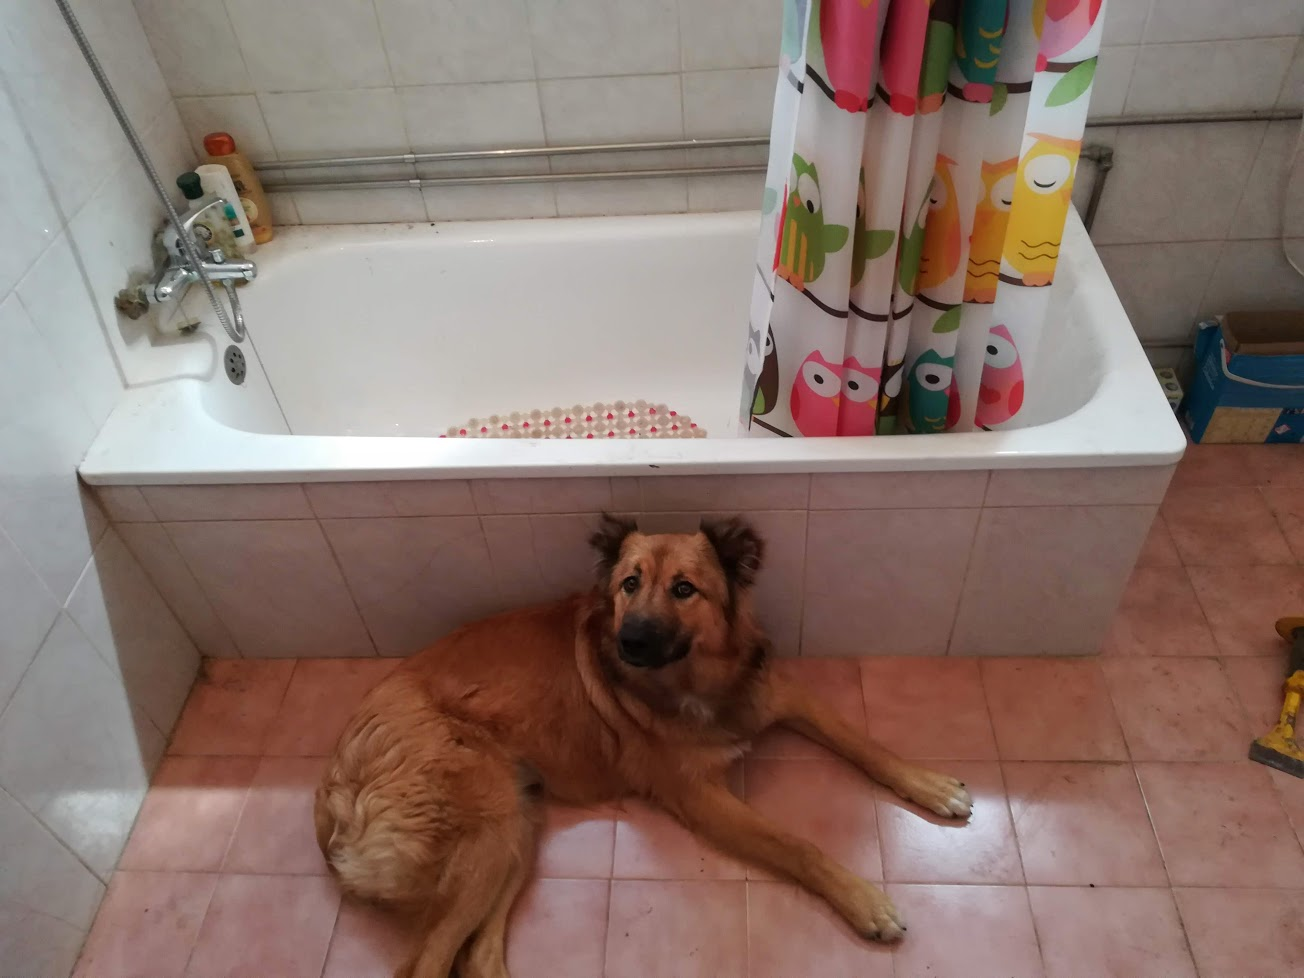
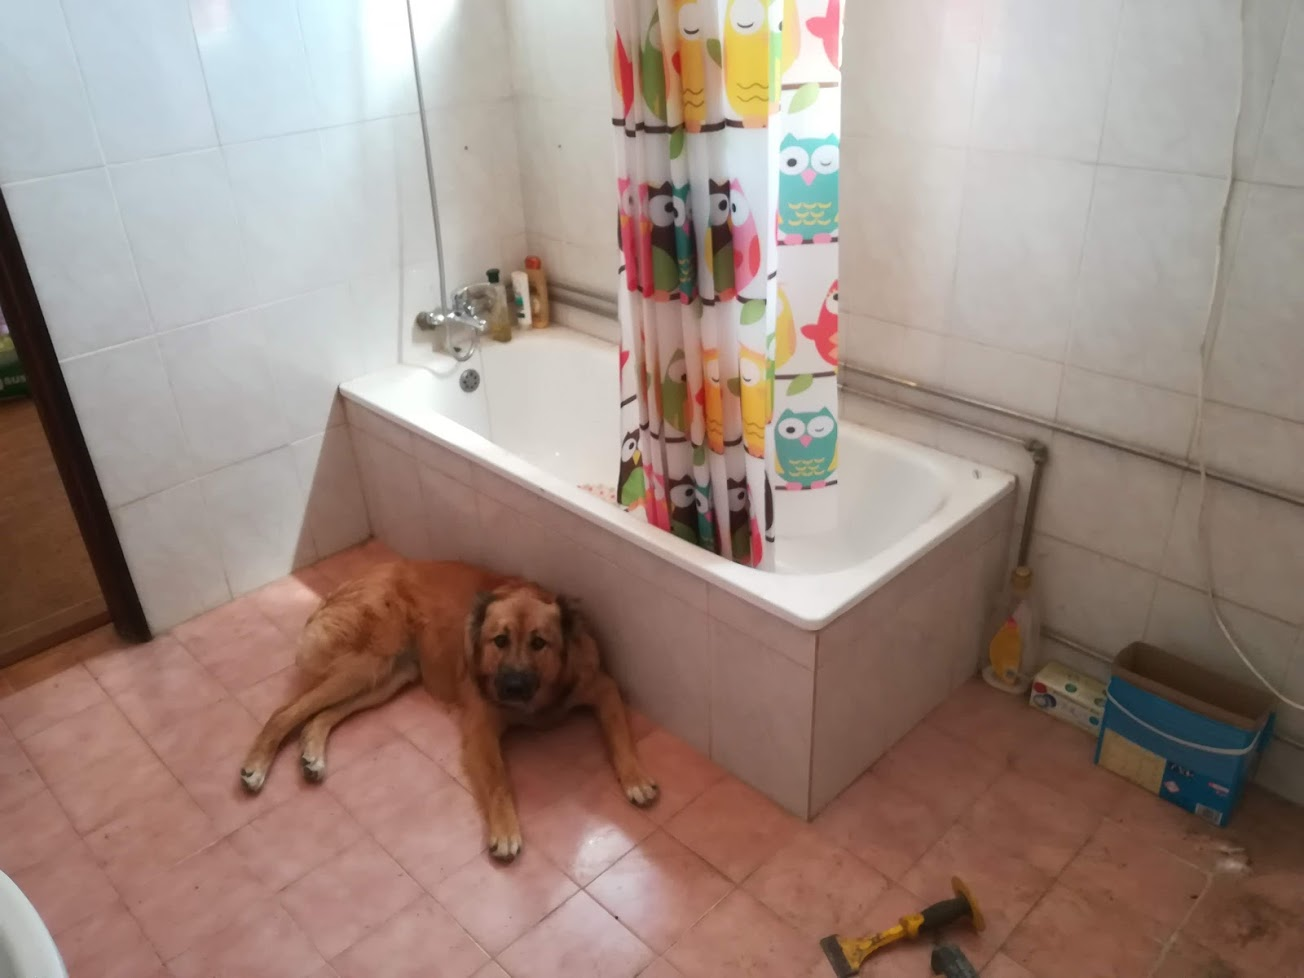
Roxy is a rescue dog and decided she wanted to be in the photo of the bathroom before the demolition. Here’s the bath in pretty much the same state it was when the previous owners tenant moved out.
Here we go from another angle and just an excuse to include another photo of Roxy.
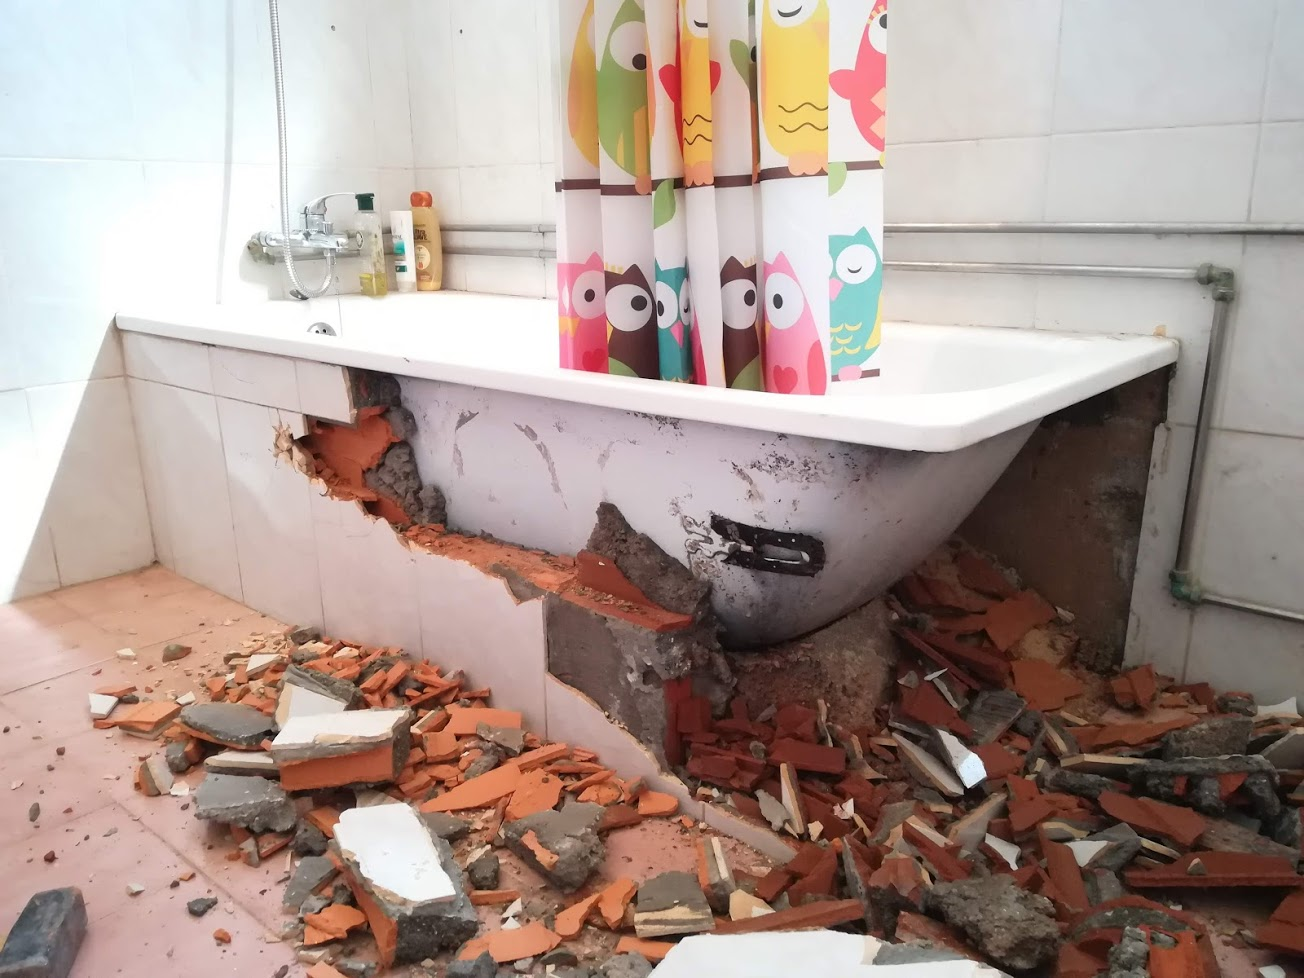
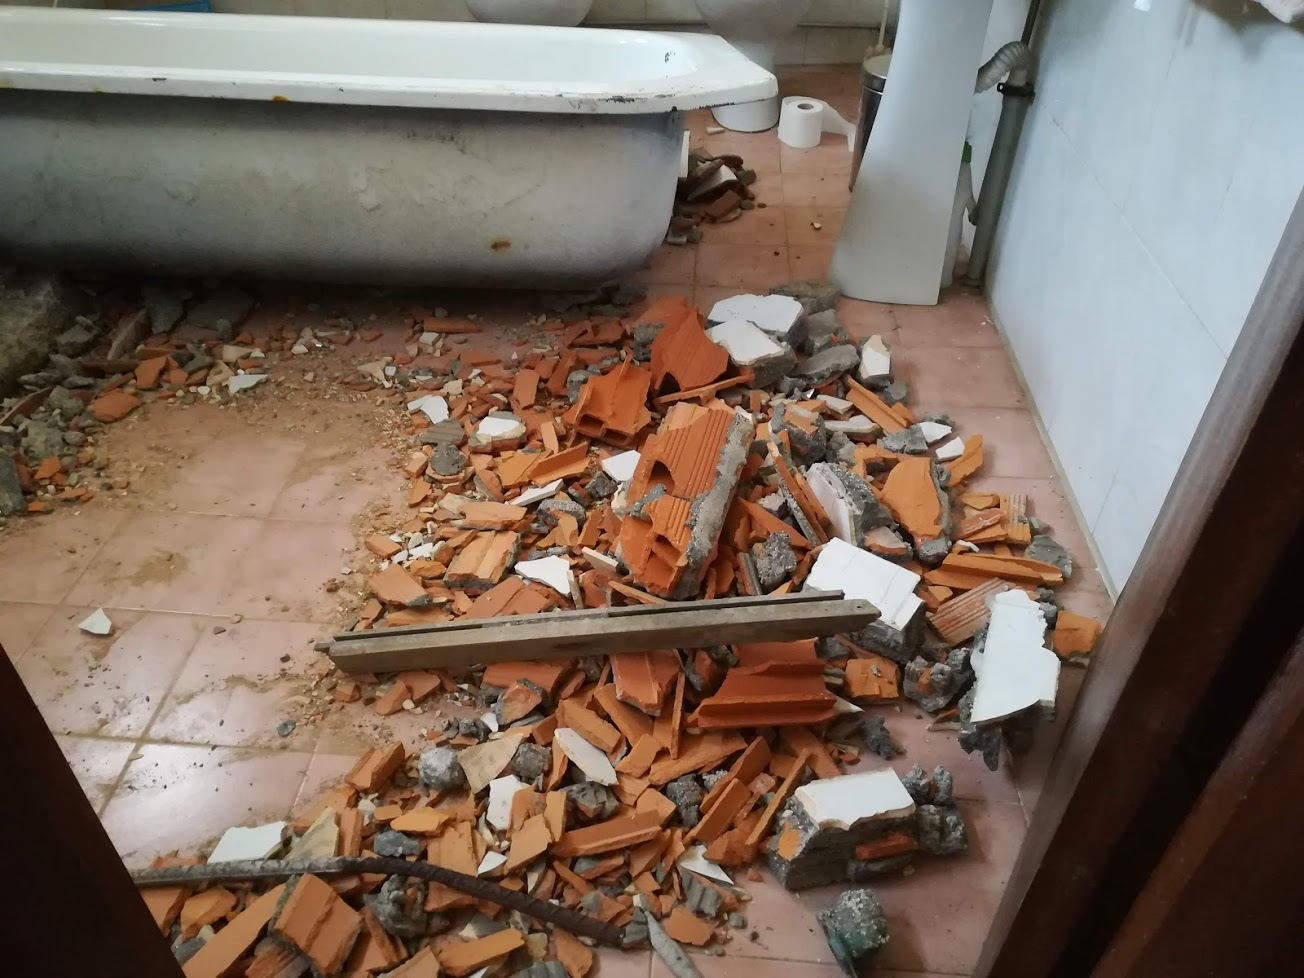
The destruction was underway, I started in the corner, where I thought there would be the most hollow space behind the bricks and tiles. I was hoping to get the bath out in a good condition.
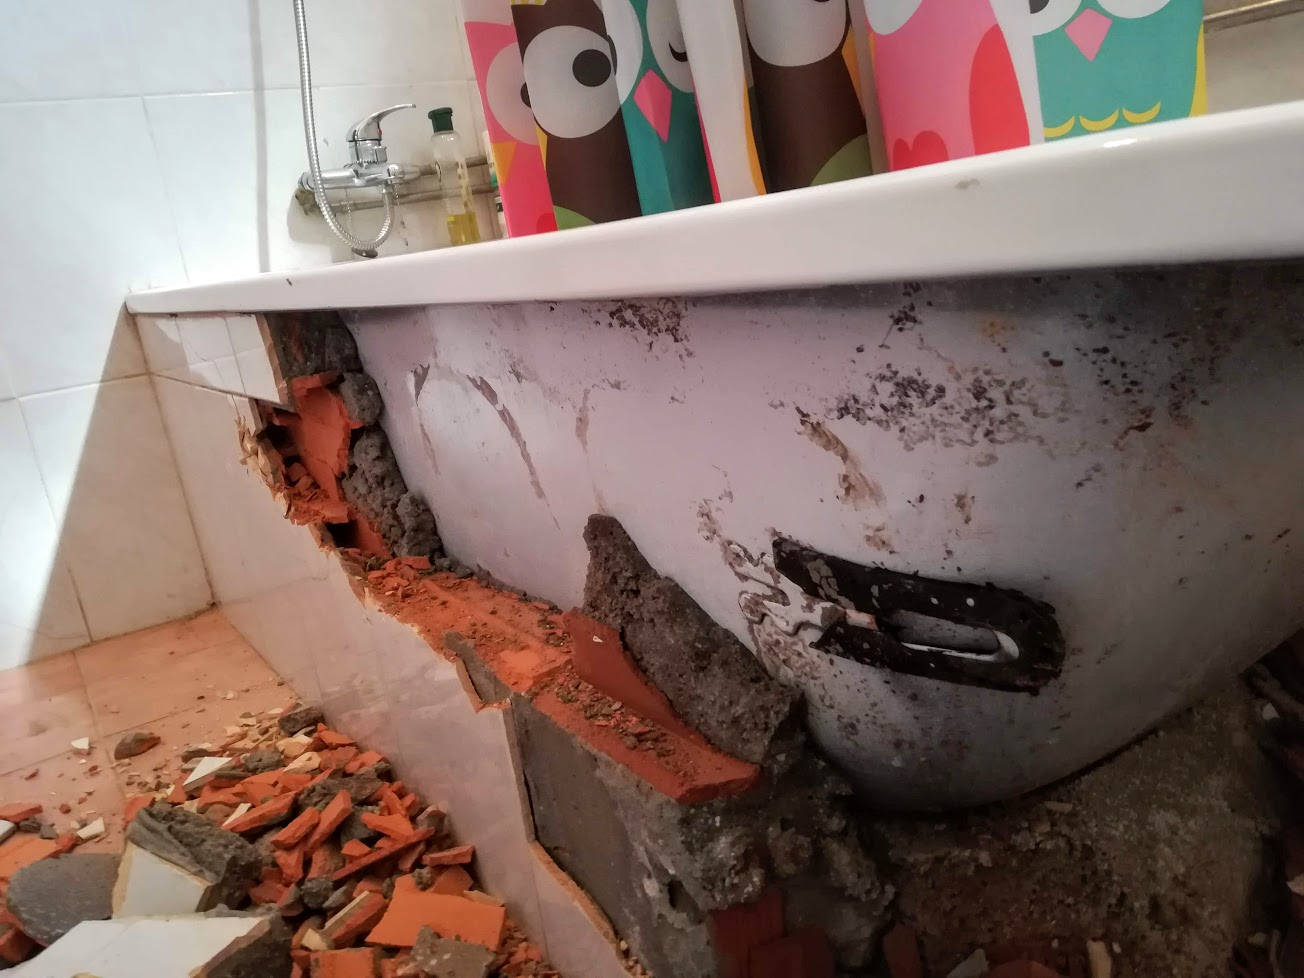
A close up view of the side. I was pretty much just hitting the tiles directly with the hammer, the bricks are hollow and after a few blows, they would break into smaller pieces and crumble. At this point I really had not had to swing the hammer very hard.
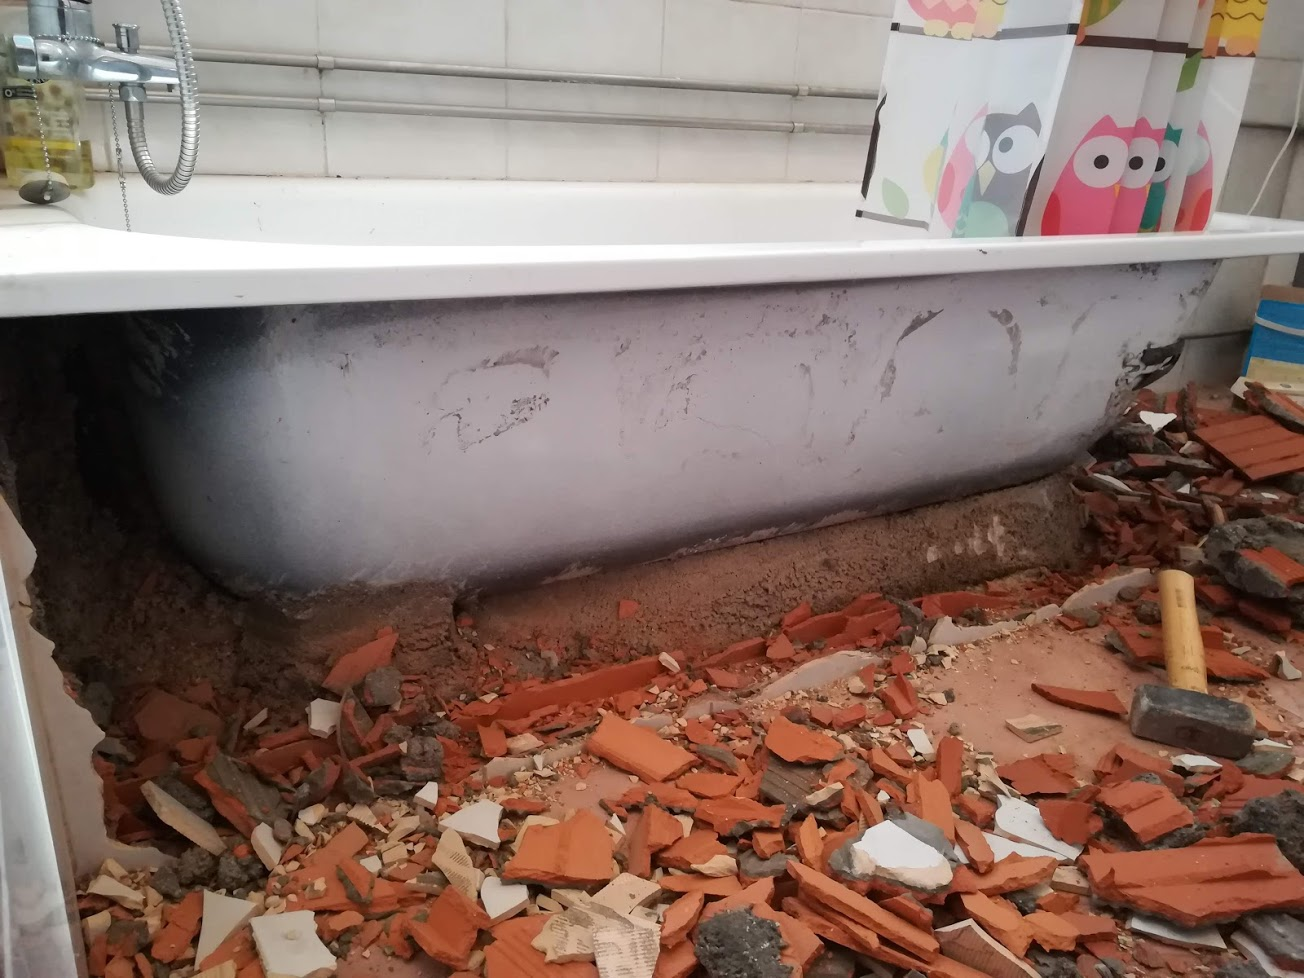
Up until this point things had gone pretty easy, my arm had started tiring from swinging the hammer, but no damage done to the bath.
The drain has a cover screwed into a part which is most likely cast in cement, so I removed the screw so it would not prevent the bath from moving.
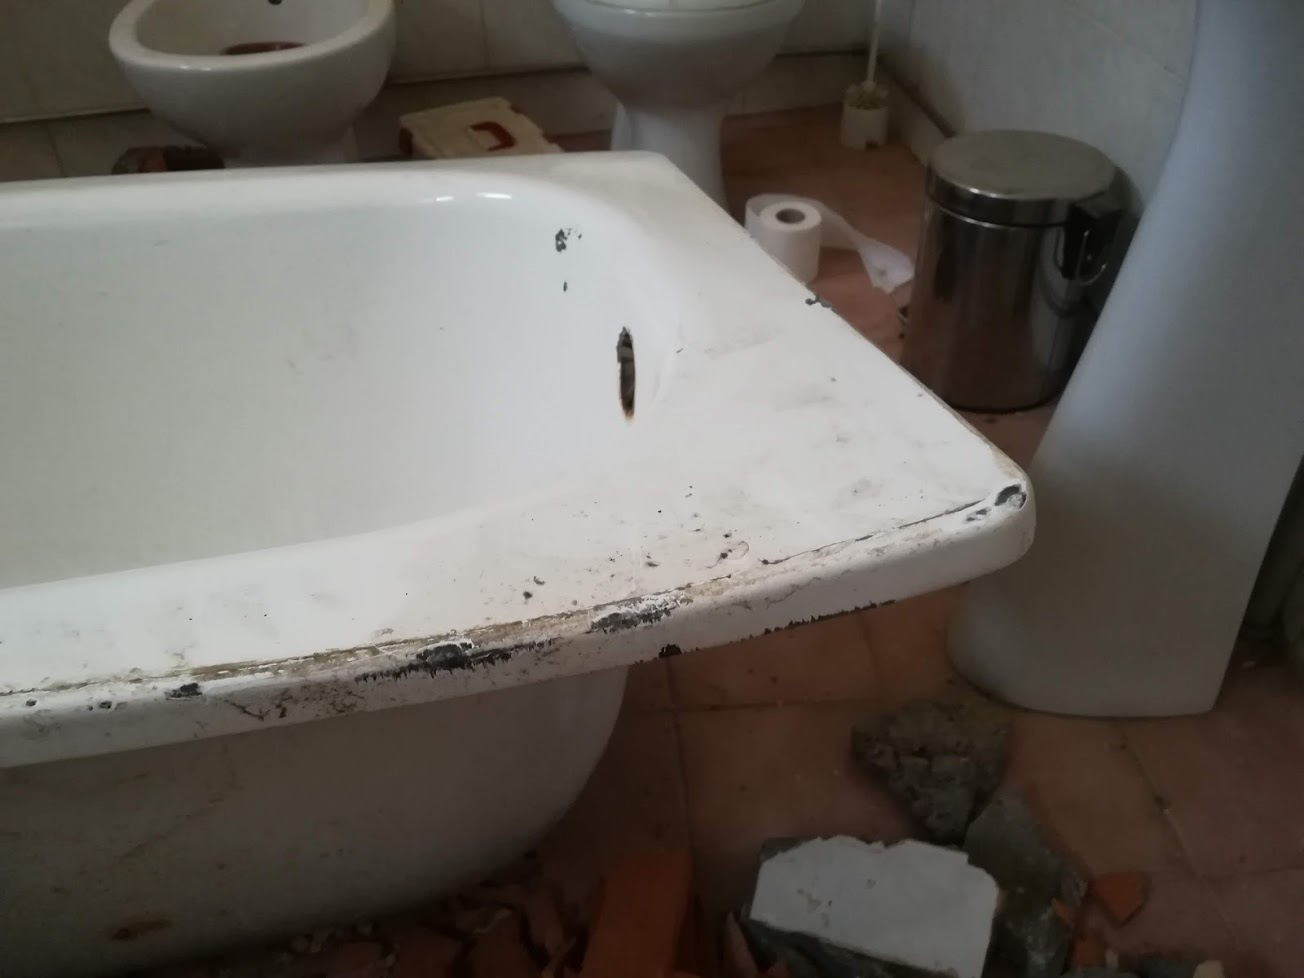
Wow, if I could carry across the amount of effort and perspiration that went into getting to this point! I struggled for quite some time as the bath was caught between the tiles and the cement at the bottom of the bath. I chipped away at the cement bit by bit, unfortunately I managed to chip some of the enamel of of the bath where the cement was forced into the bath with a hammer blow.
On the closest corner of the bath on the right hand side you can see how I deformed it by bending it up and shuffling the bath out. The bath is made of steel, and the edges are rolled over such that there is a lip at the bottom.
Somehow when the bath was installed, cement was forced into that lip and it held the bath quite tightly up against the wall.
First job before continuing is to clean up this mess. But not at that point I was incredibly tired and disappointed as I had damaged the bath whilst trying to get it out.
Will take a few loads with a bucket to get it all picked up. The tiles help with cleaning so its bound to be a quick job. Chopping up the rest of that cement however…..
The chips and bend on the bath in closer detail. I am pretty bummed about this. I guess we will have to see what we do with the tub now.
My wife has already hinted at using it as a planter for vegetables, so we may get some use out of it anyway. I hate throwing away perfectly usable stuff.
On to chipping out the cement so that we can plan our way forward. We already have an idea of what to do, with the bath out of the way we can make more plausible plans and put them into action.
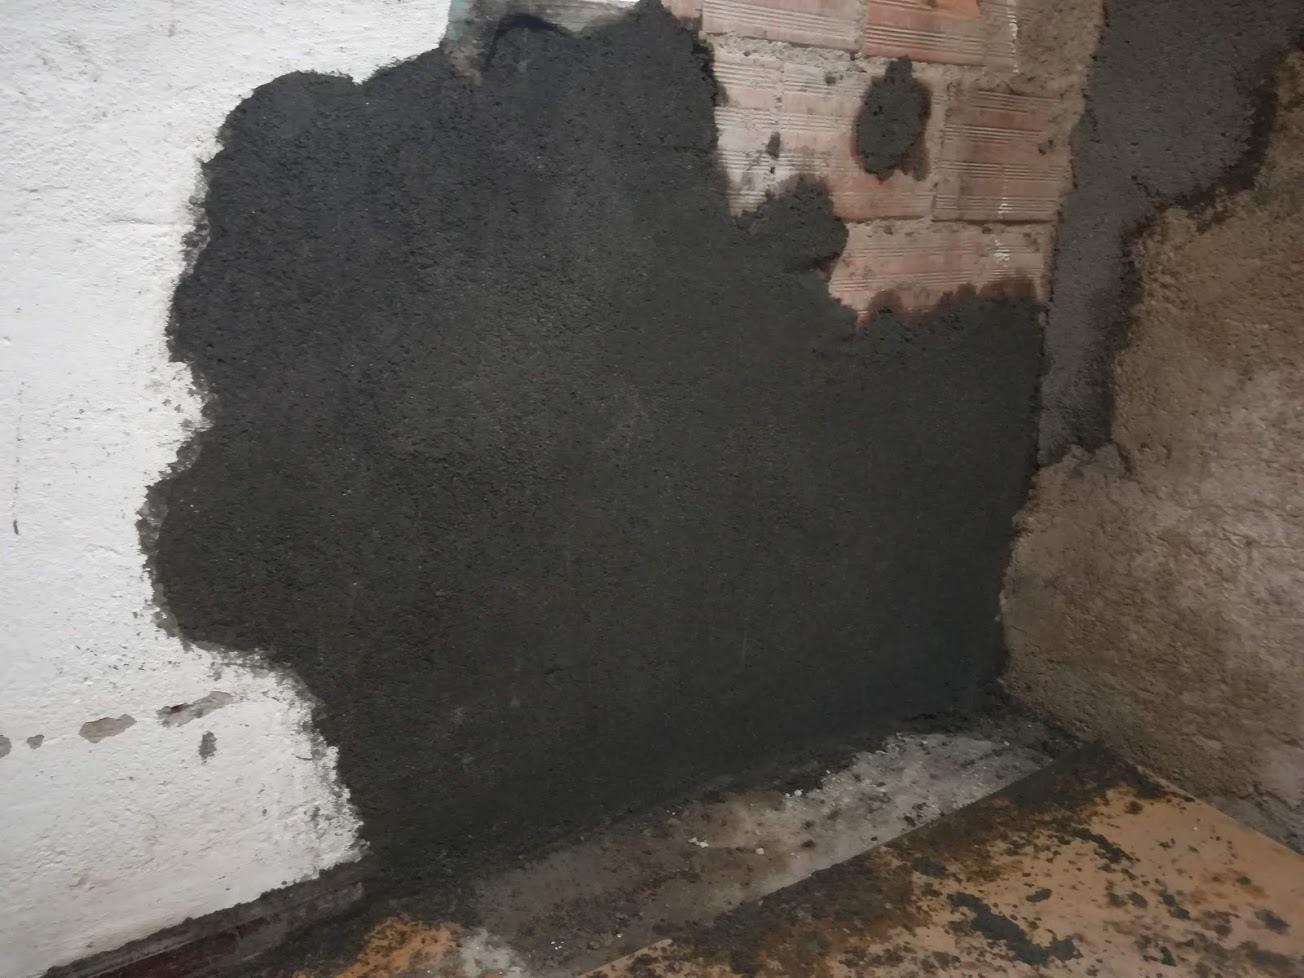
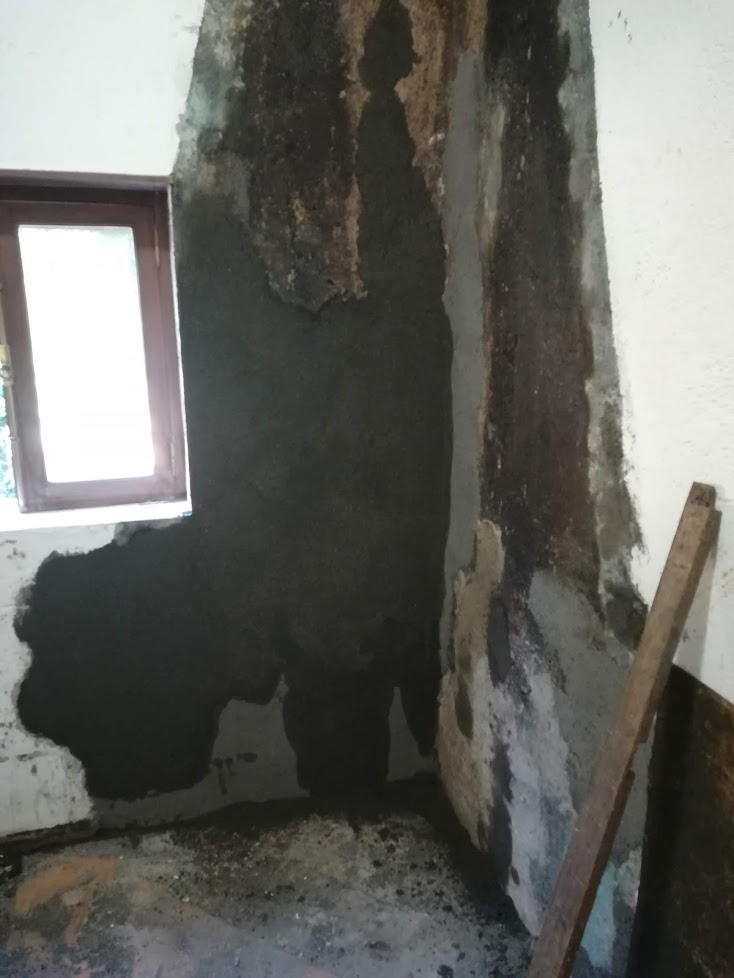
This was meant to be separate posts but my progress was so slow I thought it may as well be one. Now keep in mind I have no training in plastering or rendering, all I know I learnt by trial and error.
To start off with I bought two 25 kilogram bags of river sand and five kilograms of cement. I ran out of cement in no time at all.
Moreover, the cement I bought was some ultra fast setting cement, so I had very little time to work the plaster before it would start setting. This was a pain and led to a really bad finish.
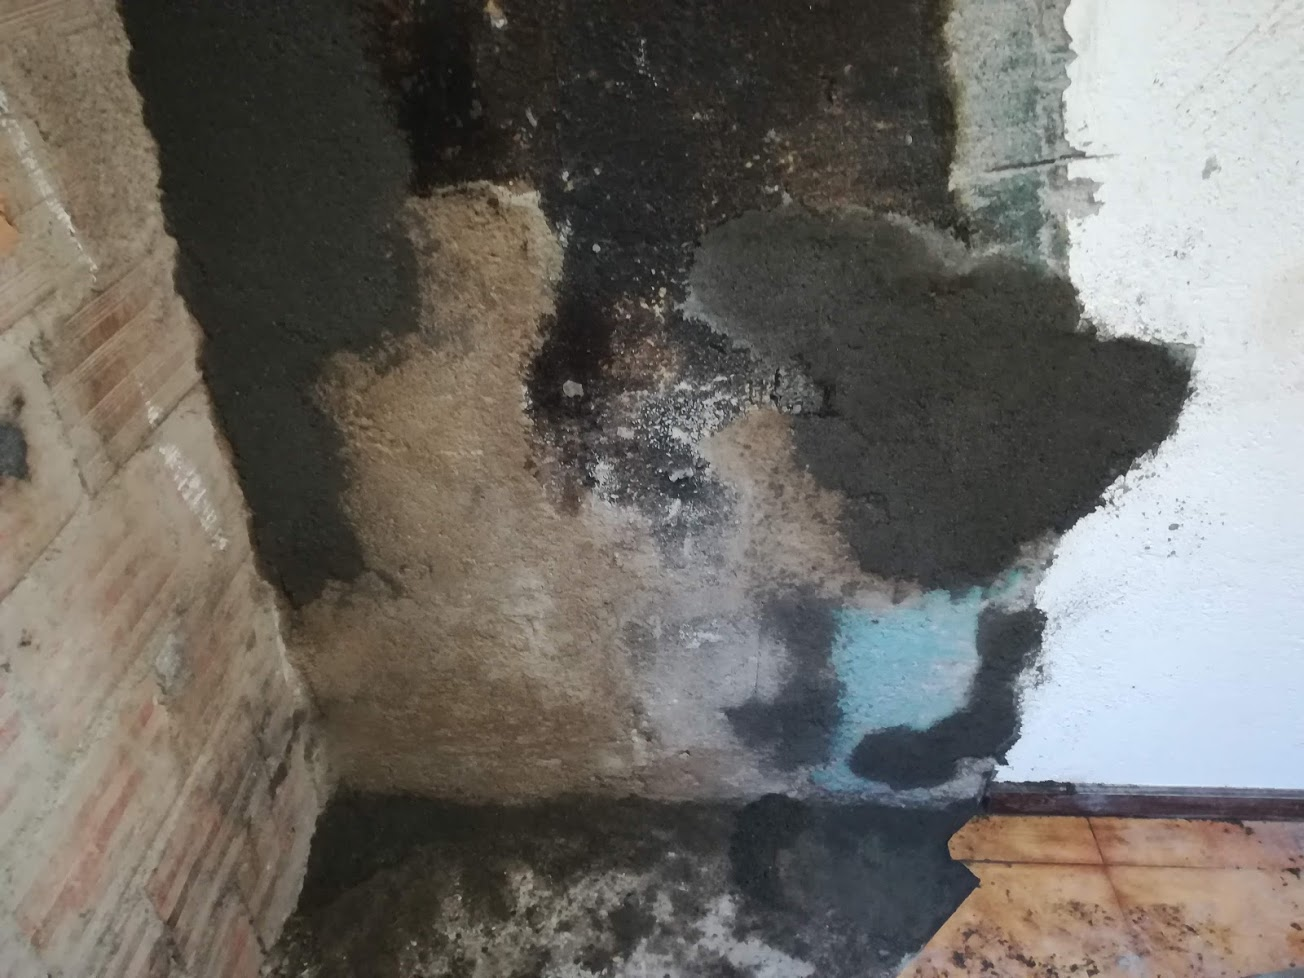
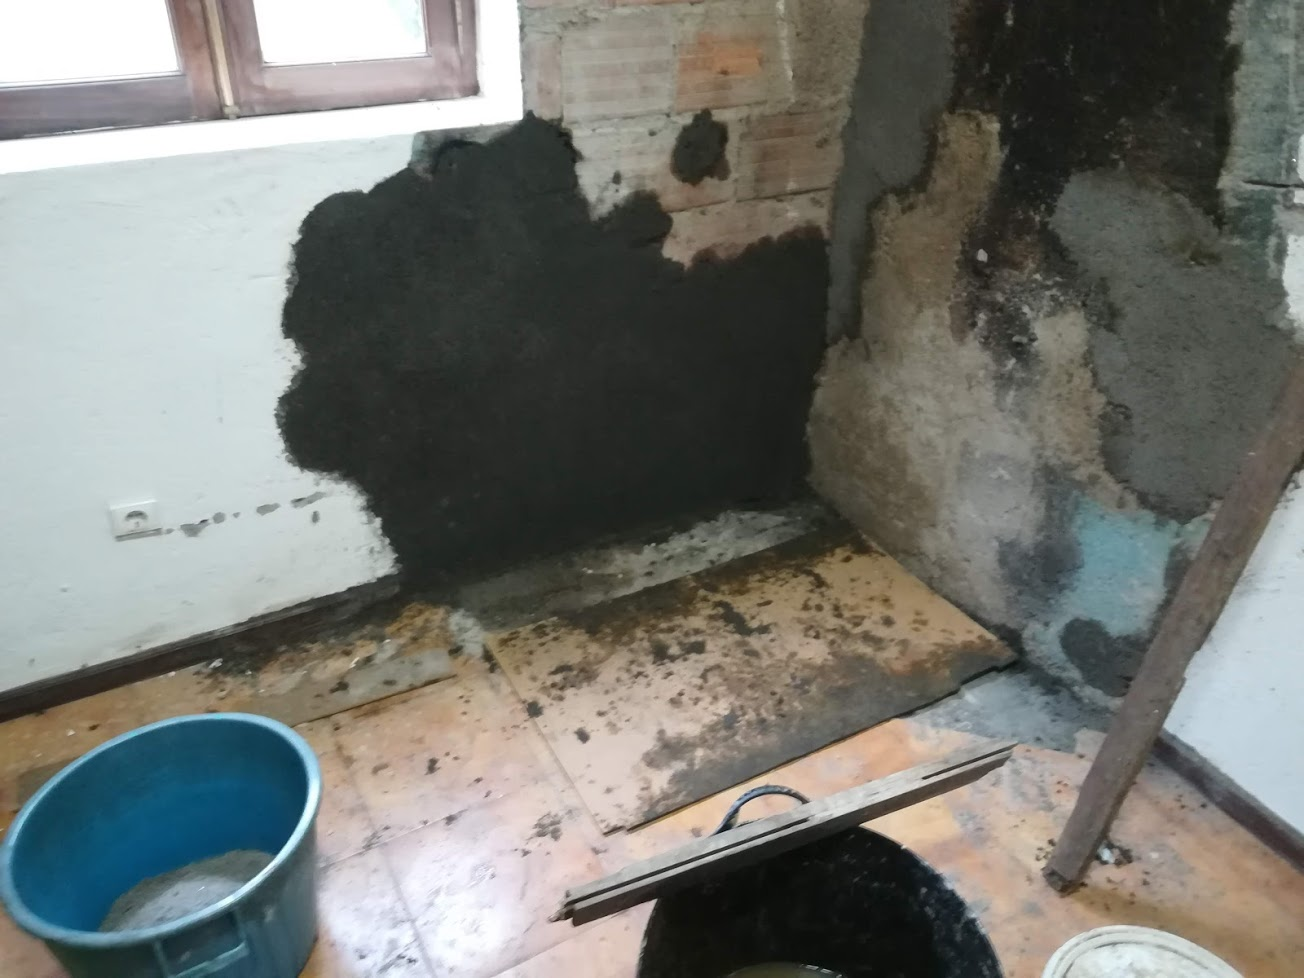
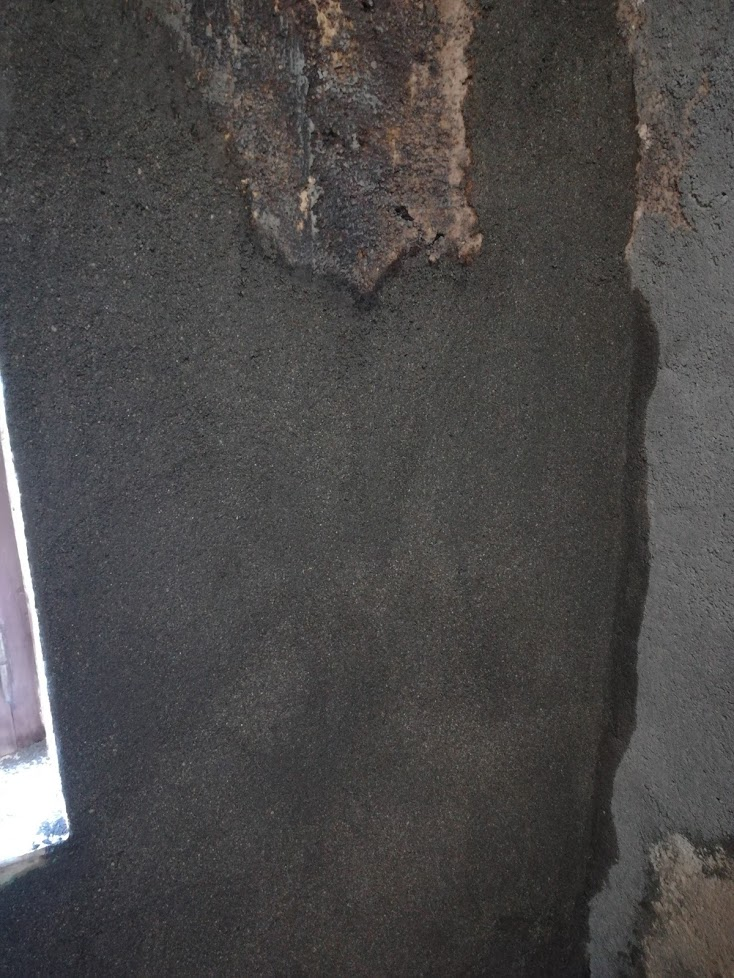
The fact that I have not plastered in years also did not help. Here you can see the results of my efforts. It does not look good at all.
I ran out of that cement pretty quickly, so asked my wife to buy more, this time a 25 kilogram bag. The hardware store unfortunately sold her refractory cement. I noticed as I was taking it out of the car, my wife did not as someone else helped her and put the bag into the car for her.
Well, the city is not exactly close, so I decided to work with what I had, if it did not work then I would have to just buy another bag. My haste stems from the fact that I am doing the bulk of the work after hours, so any delay basically sets me back a day.
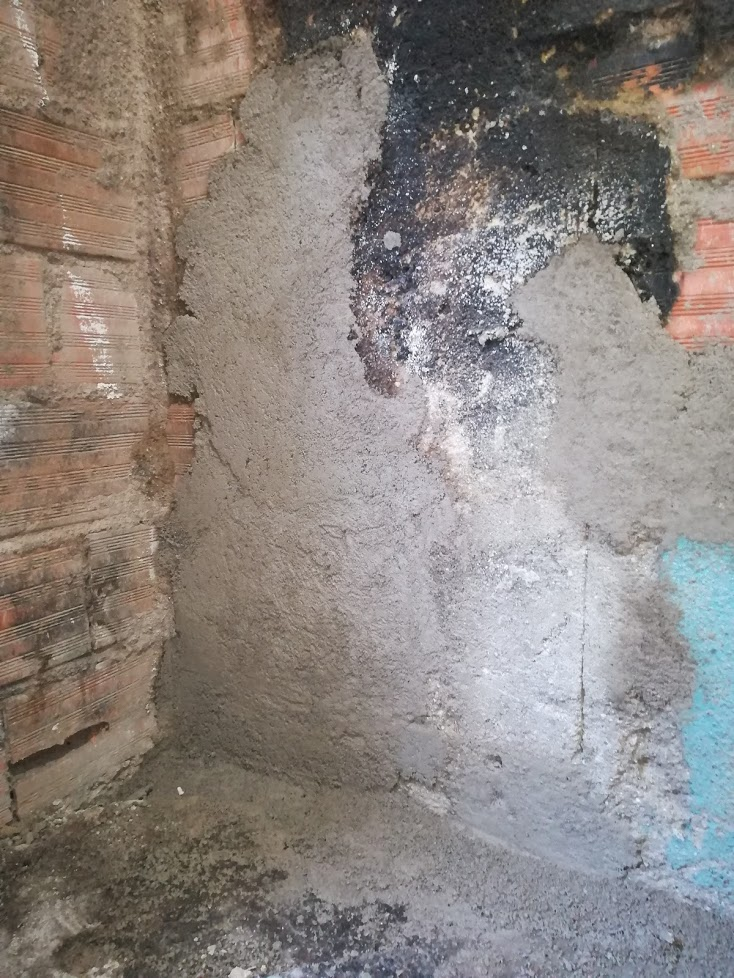
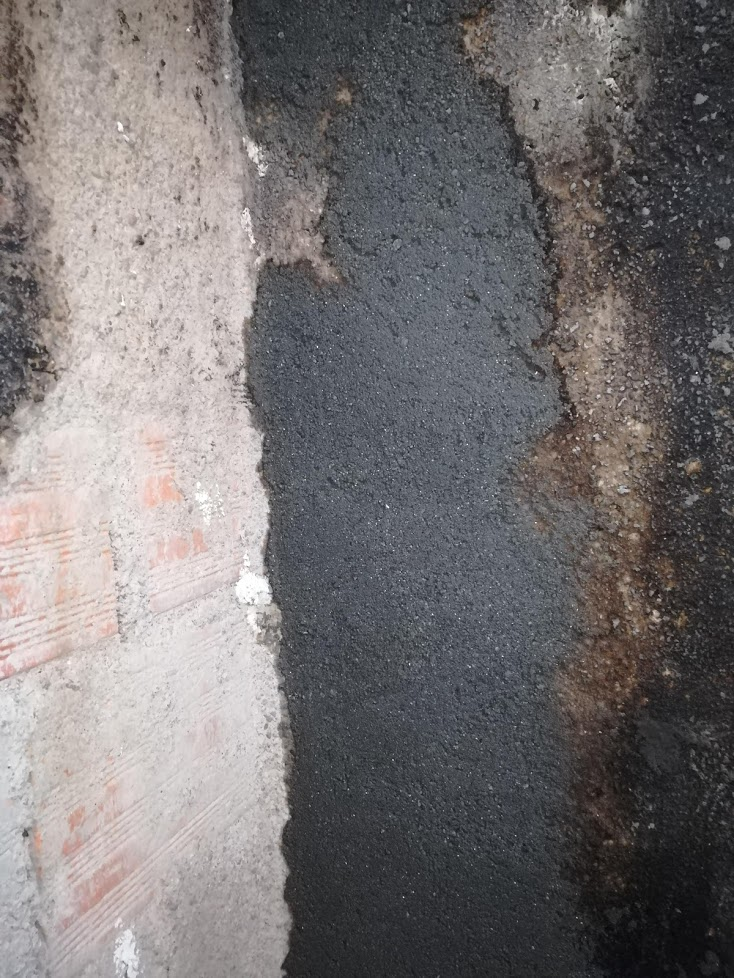
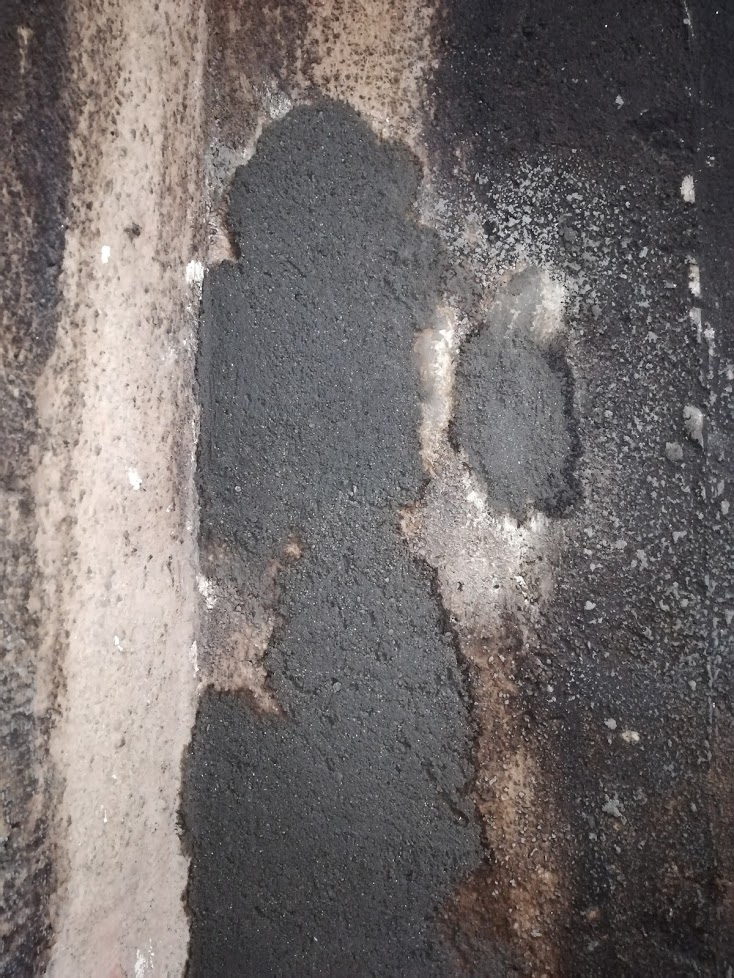
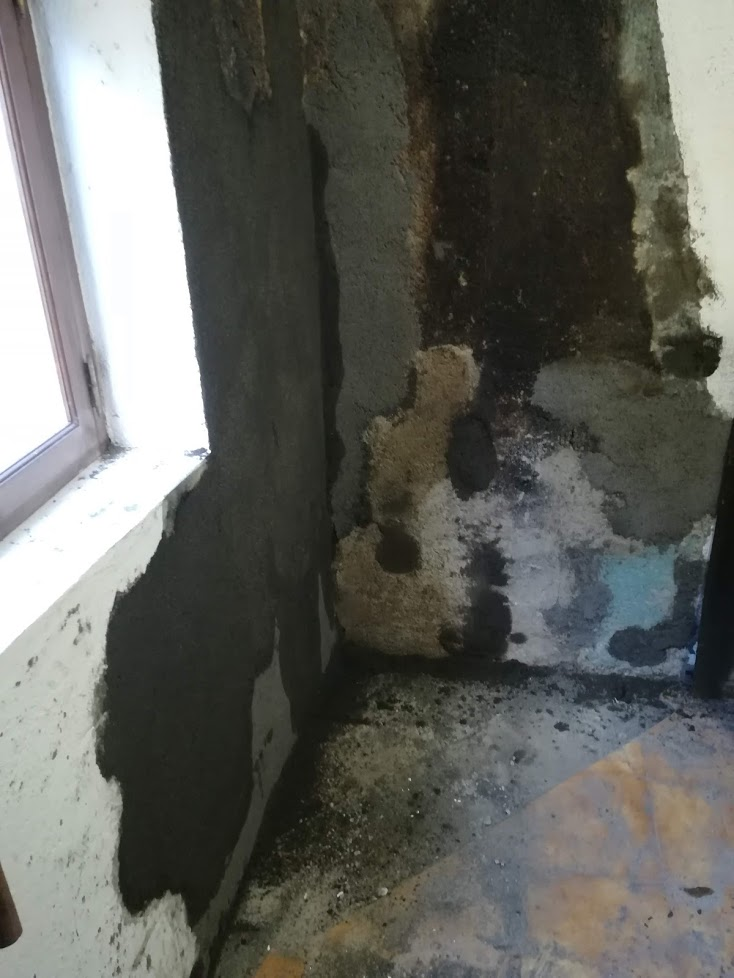
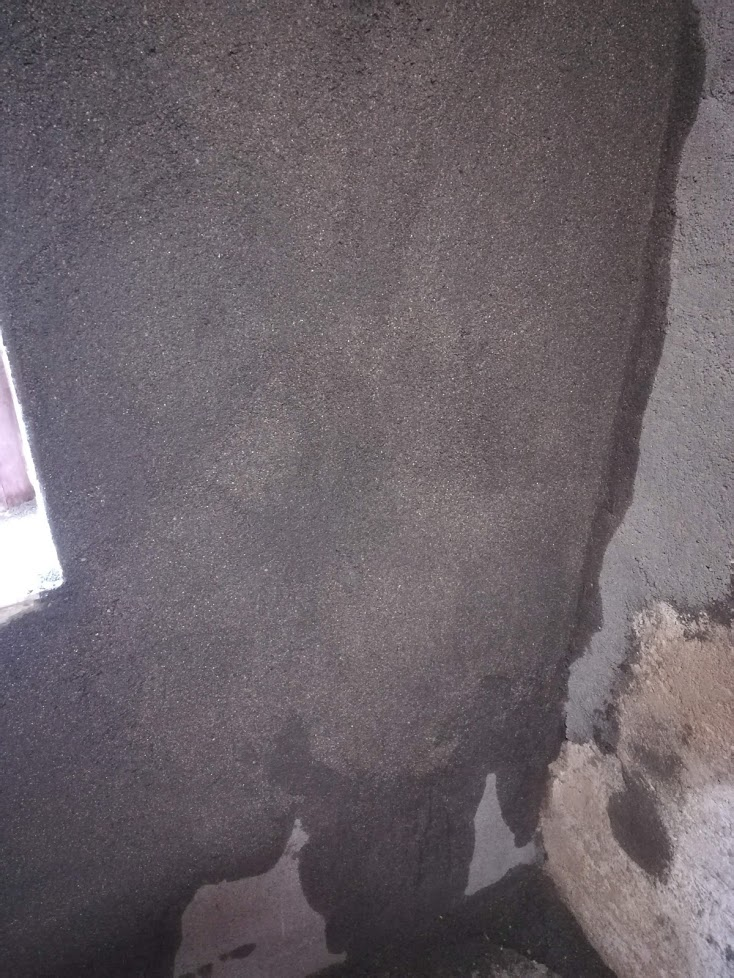
As you can see in the above 2 photo’s it seemed to actually work pretty well.
It was still not great and I put that down to the sand. I managed to work through the 2 bags I had bought earlier. Again my wife went to buy the supplies for me whilst I was at work. The sand she bought from a local hardware supplier had a much finer aggregate. More sand and less pebbles.
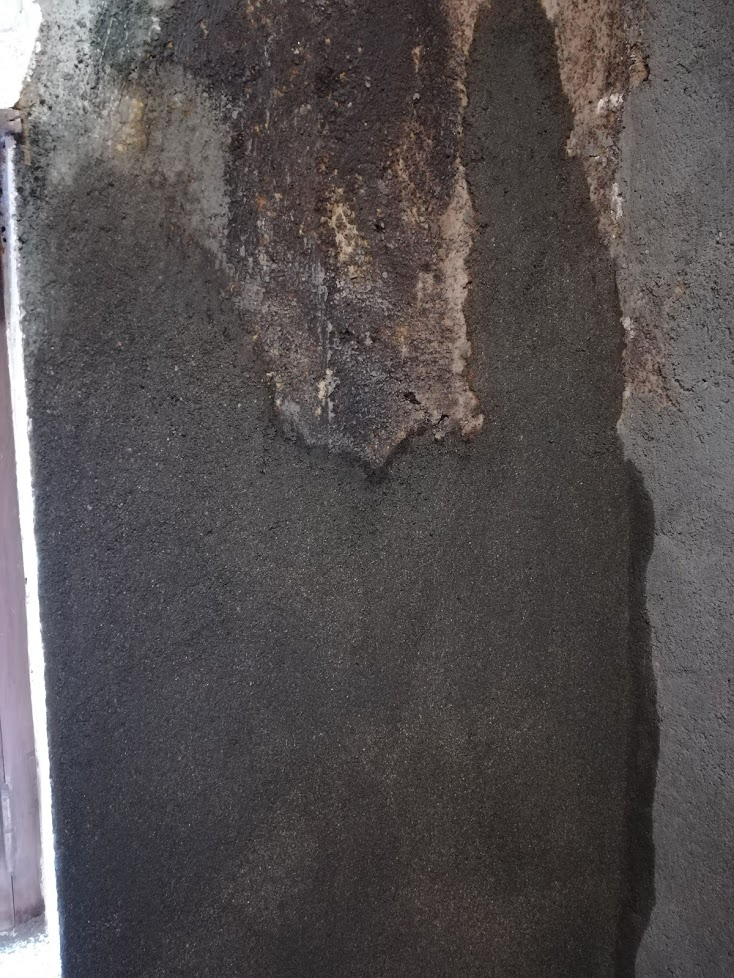
With the new sand and the darker cement I finally managed a finish that I felt was good enough. I had enough time to work it, and still go back and integrate the multiple batches that I had applied.
Nearing the end, getting the new cement and the old to match has proven difficult as the old plaster is quite uneven and rough. I blended it as best I can.
There are still some ugly patches, these will be hidden by the stove though. If it is really bad once painted I will make an attempt at fixing it though.
A few closer pictures of the wall. What remains now is to paint and patch some tiles in the gap left by the fireplace. I will take a photo of the tiles and try get a box that at least matches the existing tiles closely.
At least the bulk of the hard work has been done. I am looking forward to slapping some paint on it, once the plaster has had a few days to dry though.
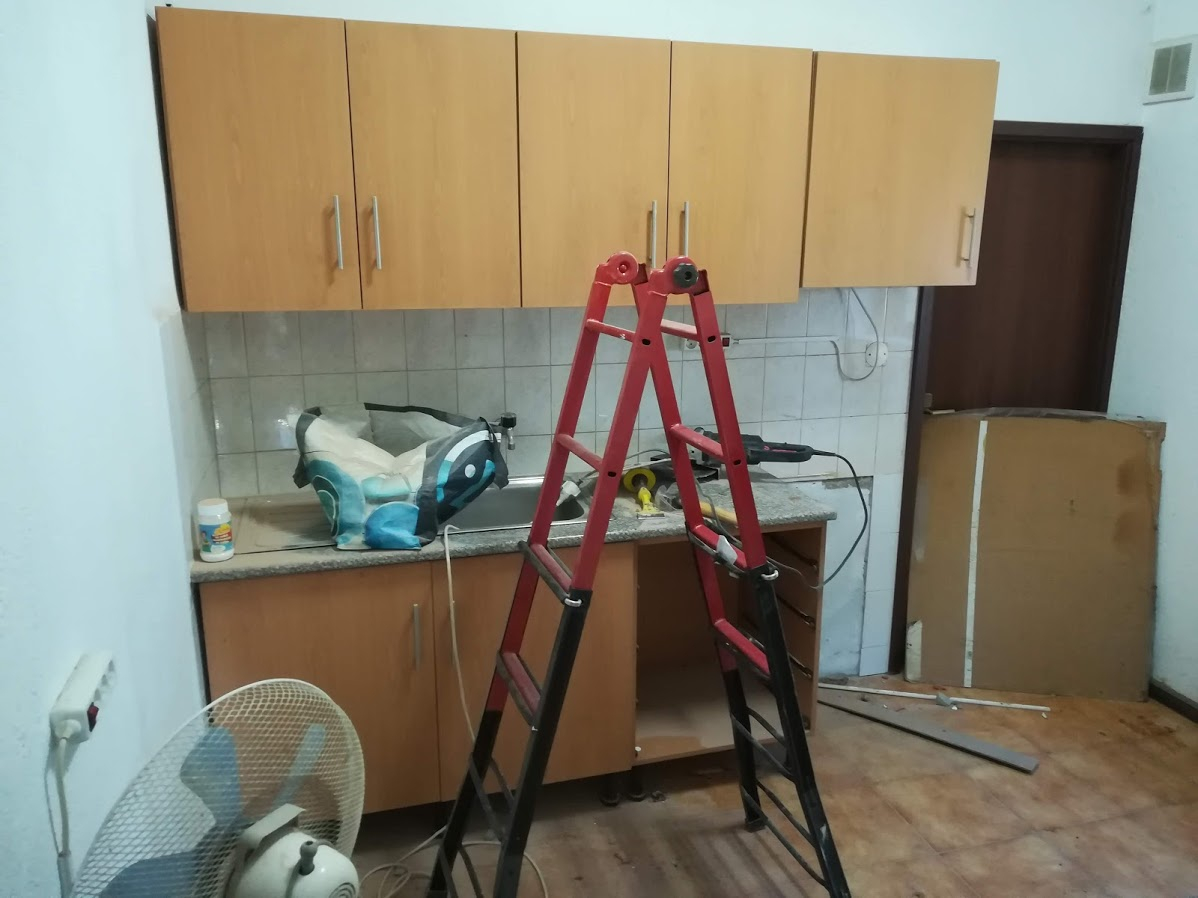
Every now and then you do something that makes you stop and think, ‘wow I have grown up a bit!’, I got that whilst cleaning the kitchen, again…
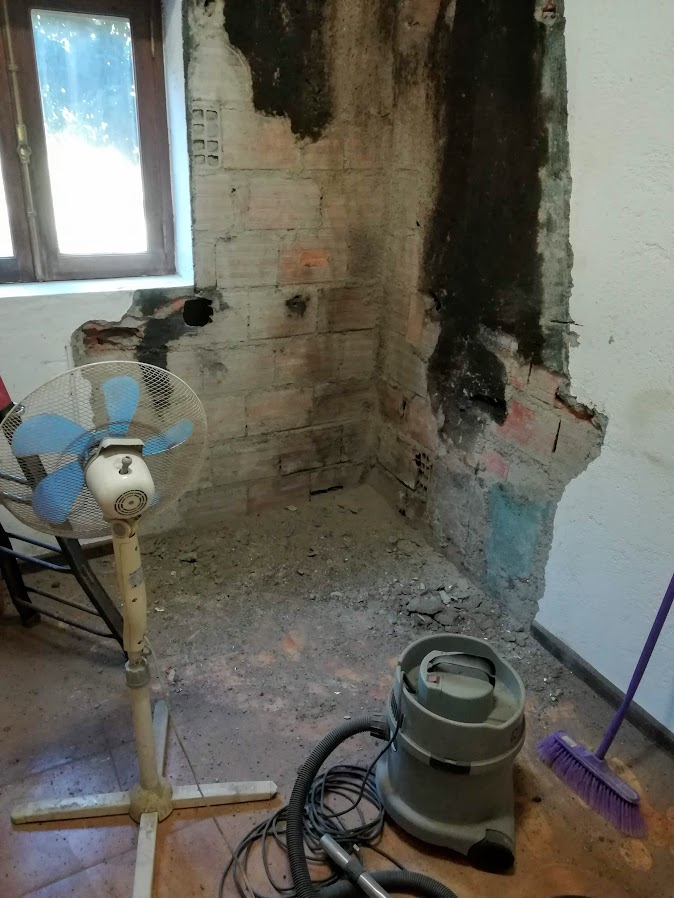
Once I got the bulk of the breaking out done, I switched to clearing out the rubble, very mature. In my youth I would have just worked on top of it, stumbling and cursing as I went.
No, it’s not perfectly clean, but the floor is free from rubble, I even vacuumed! Well, the main are where I am working.
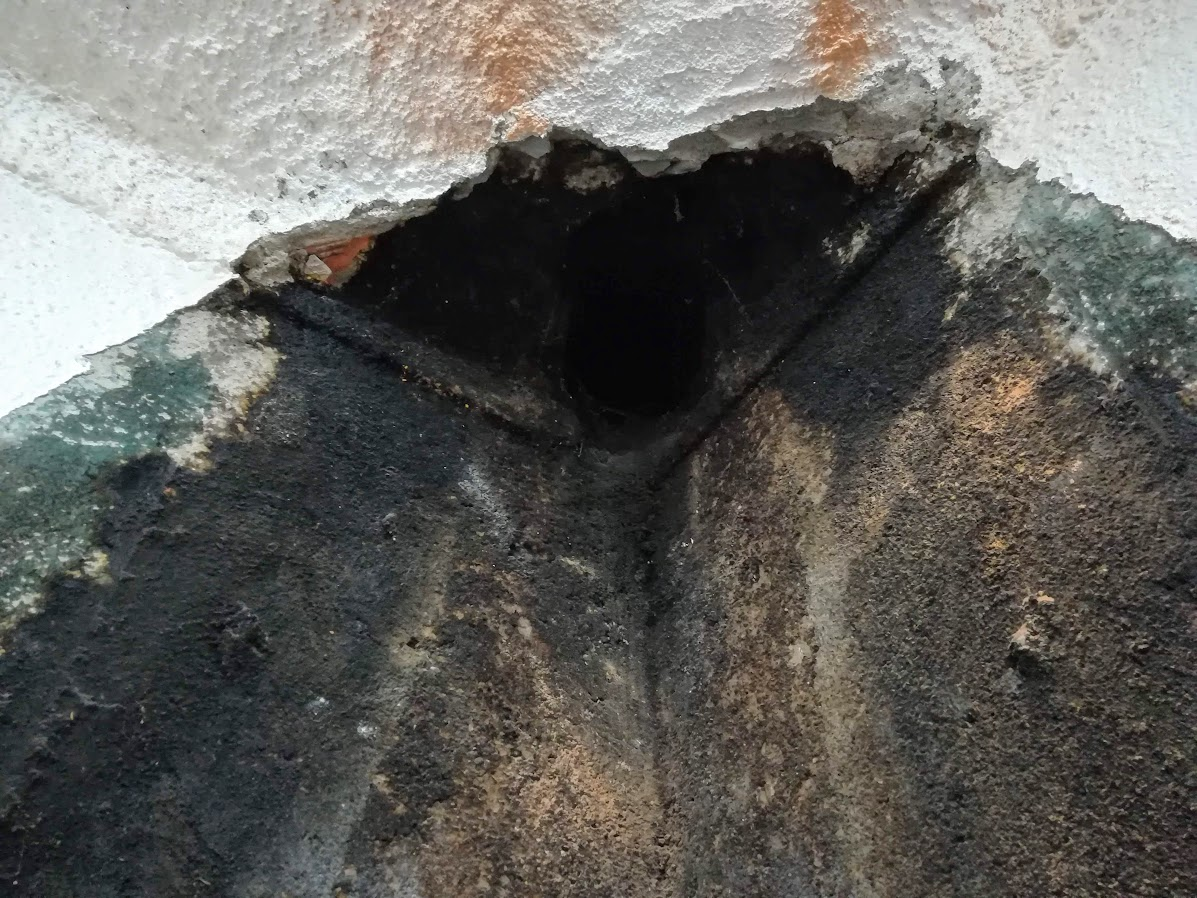
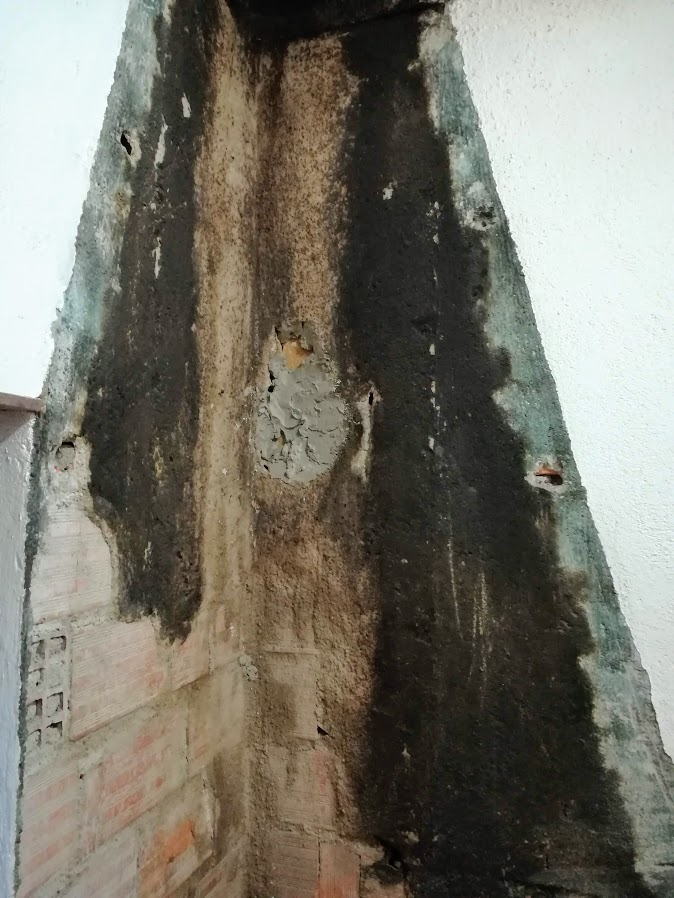
Here you can see there was already a cornice, which made me sure the fireplace was added later. I still don’t know why.
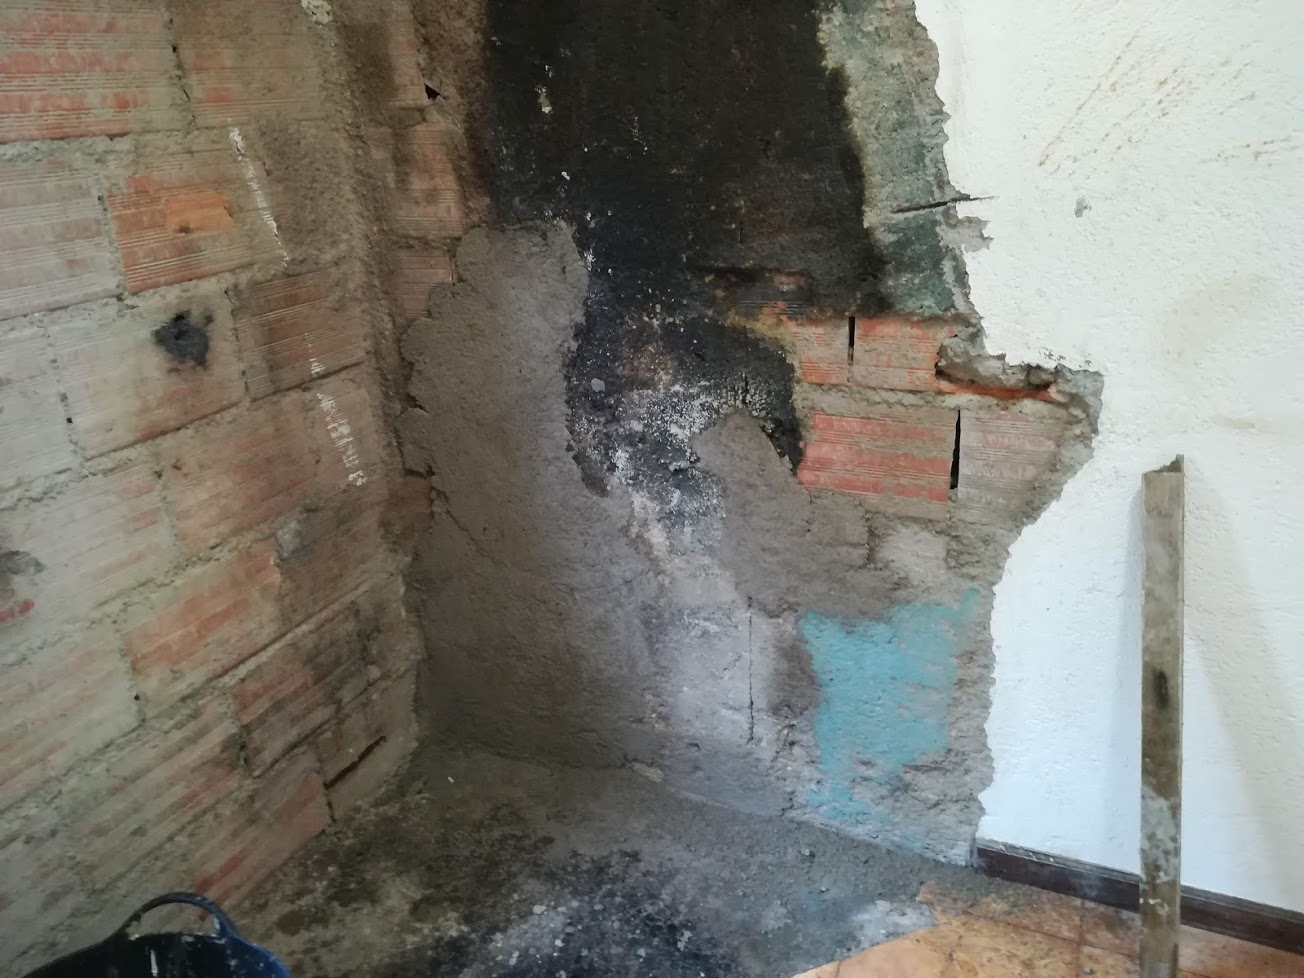
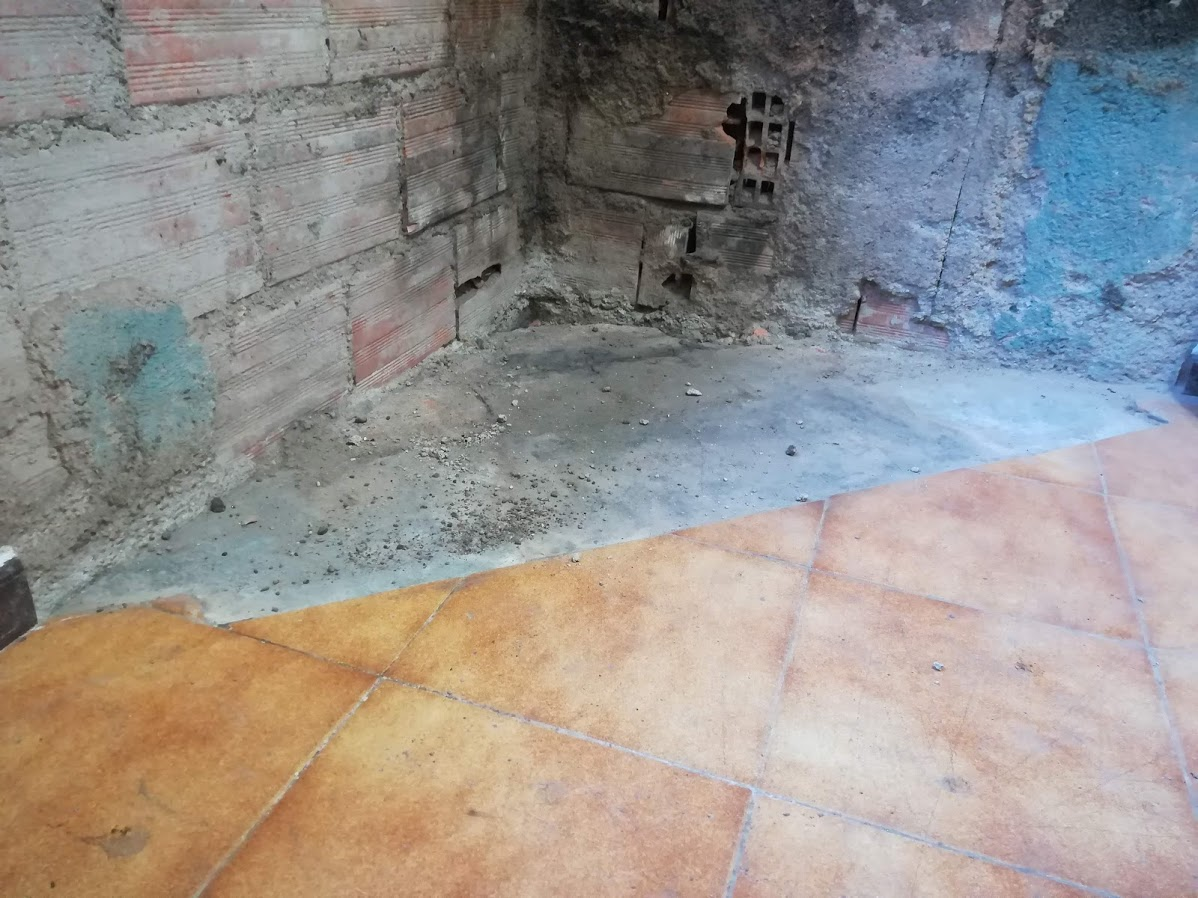
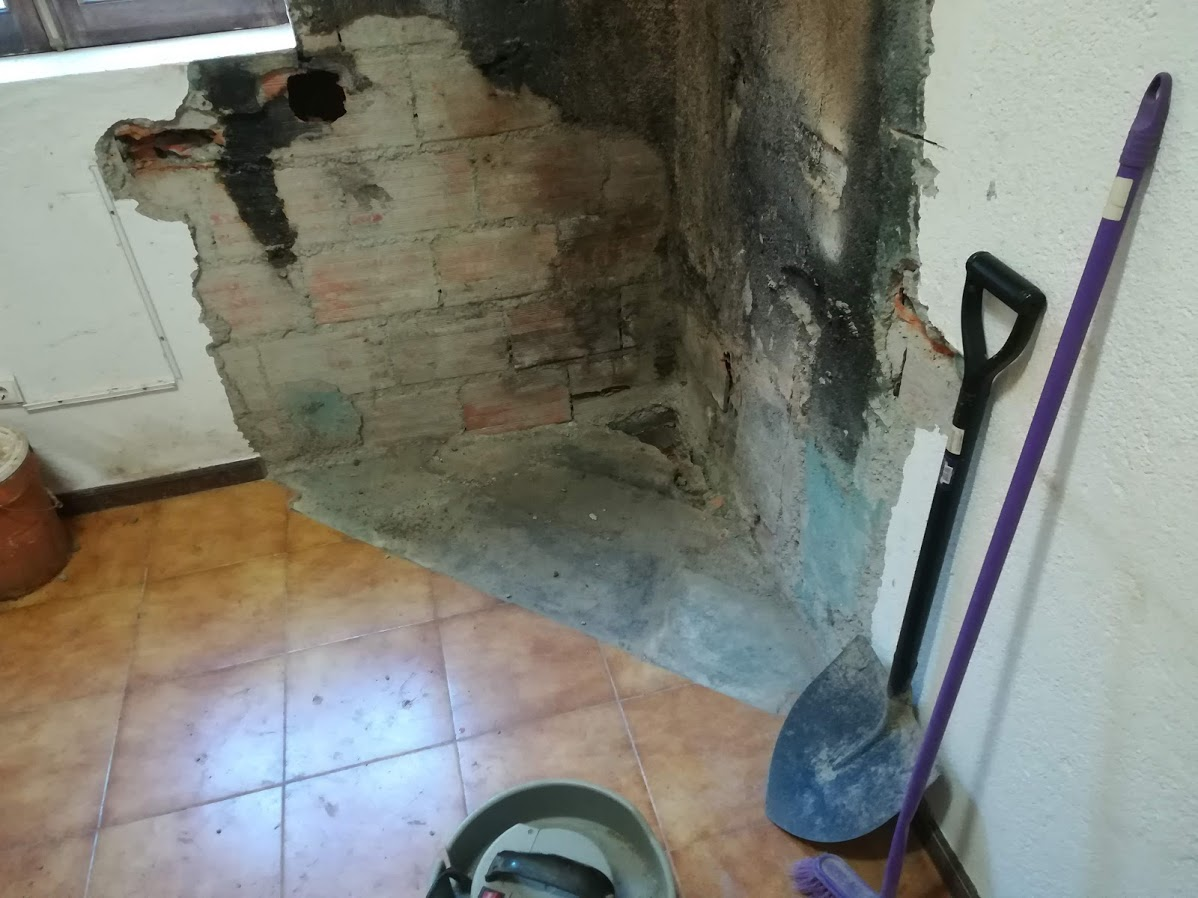
I took this photo after cleaning up a bit and vacuuming, but I had already started knocking some loose plaster off of the wall. Heat from a fire is usually enough to weaken cement quite a bit, it seems it did affect the plaster on the walls, some of it crubled off like sand. I continued hitting the wall with a hammer to take off the worst bits.
Comparing this image, with the one below, you mat see there are chunks of plaster missing in the lower image. In many places a few well placed taps with the hammer were enough to have the plaster fall to the floor. You can see how fine it broke up when breaking off the wall. Additionally I used a wire brush on the whole portion of the wall where the fireplace was, that removed quite a bit of loose and weak cement too.
Before doing any more work, I stopped again and cleaned up that mess. I must be getting old! It is much less of a chore when your work are is clean though.
I was so keen to get some plaster over this big hole that I forgot to take photos of the process where I made a board to fit inside. That way the plaster will stick to the board and not just be swallowed up by the large hole. This saves cement and time.
Here you can see a bit of the board. I was adding cement in stages so that it would not be too heavy and fall off.
I did take a photo of another hole where I did something similar, It’s much smaller so I simply broke up some smaller pieces and arranged them to stop the cement falling in.
This hole does not go through the wall, so I skipped trying to block it. Probably just because I got lazy here…
There is still much to do, I am not a builder so I figure things out as I go, sometimes it means taking 2 steps back and re-doing stuff, but I am learning as I go and improving.
I could have paid someone and it would probably be done already, but where’s the fun in that?
We are learning that one of the joys of living on the outskirts of a village is that you cannot take anything for granted. This includes things like having enough water pressure to take a shower. The water gets to the shower, however after a short period the geyser cuts off and the water runs cold.
It took me a while to figure out that it’s a safety feature on the geyser. It’s a gas geyser, so my reasoning was that the water keeps the heat exchanger from overheating and melting the solder etc. If there is not enough water, the heat exchanger starts getting too hot, which is when the flames are turned off and we get cold water.
I have swapped out the geyser so was quite sure it was not just in need of maintenance.
I also thought the pipes were rusted to such a degree that they were impeding the flow of water. I now have a pipe going directly from the source, to the upper floor of the house, but this made no difference.
The last thing to do was buy a pump.
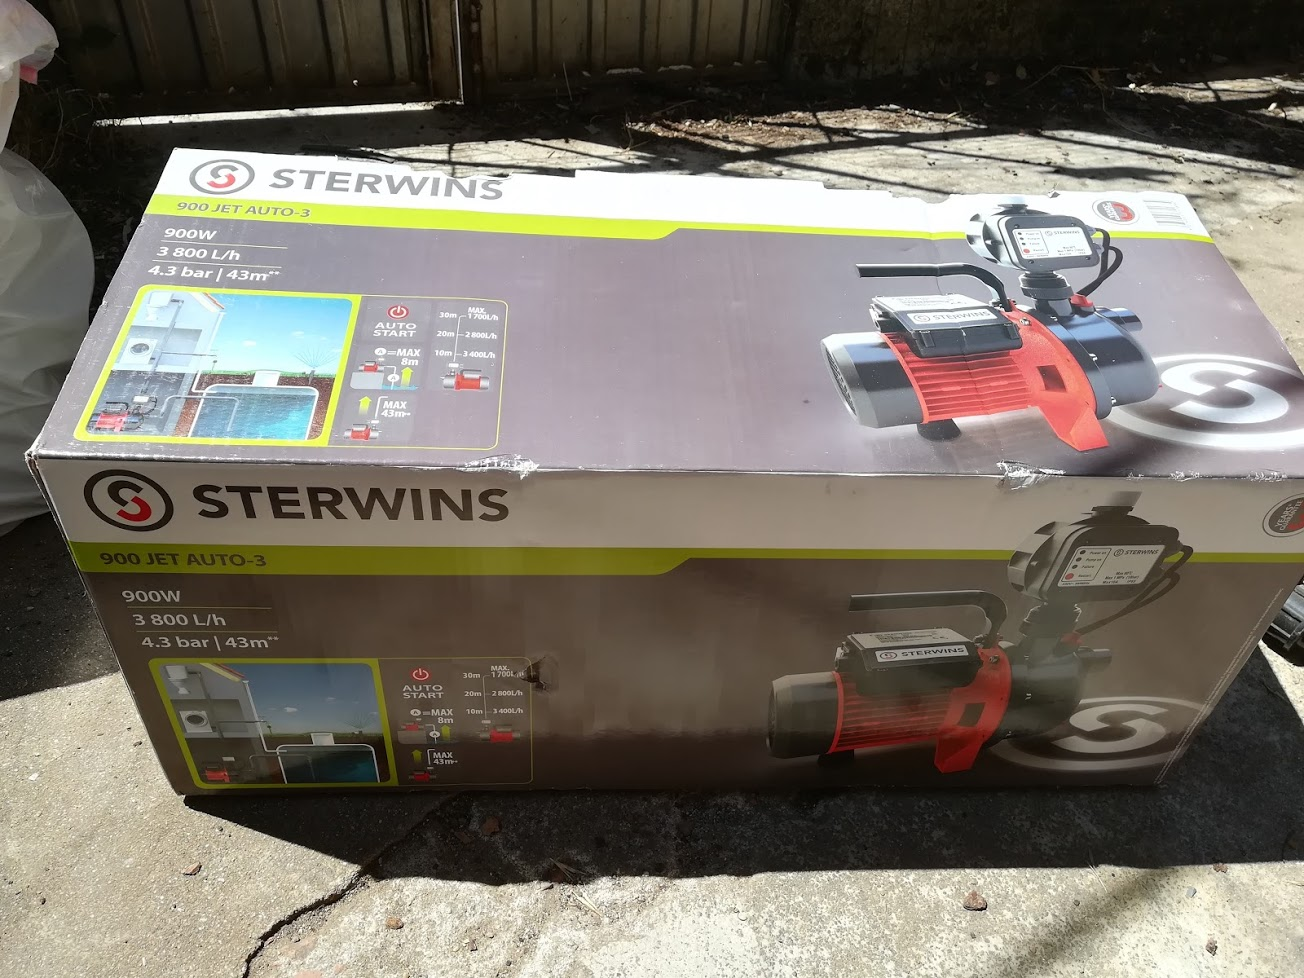
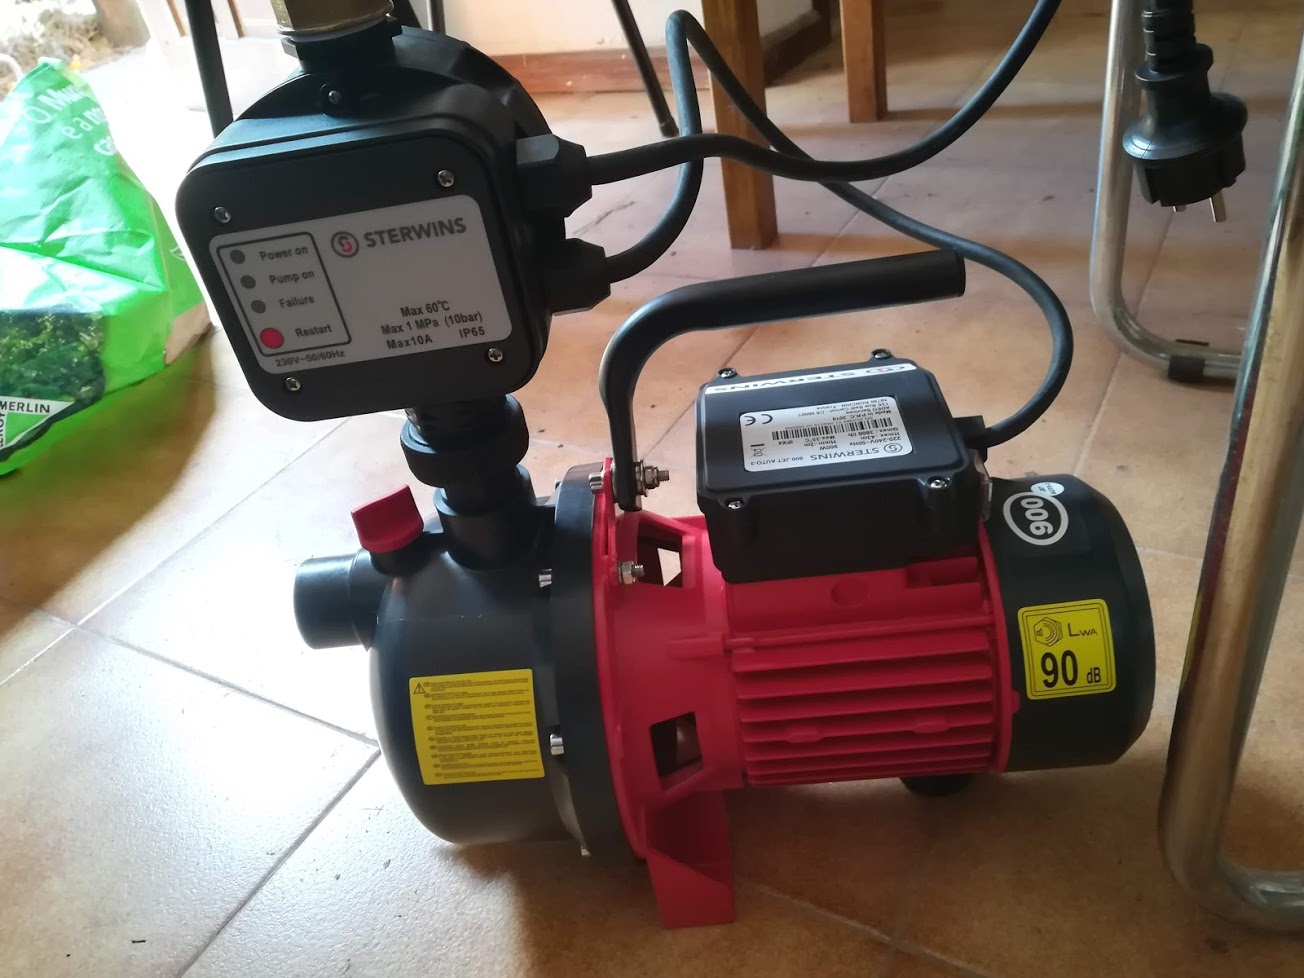
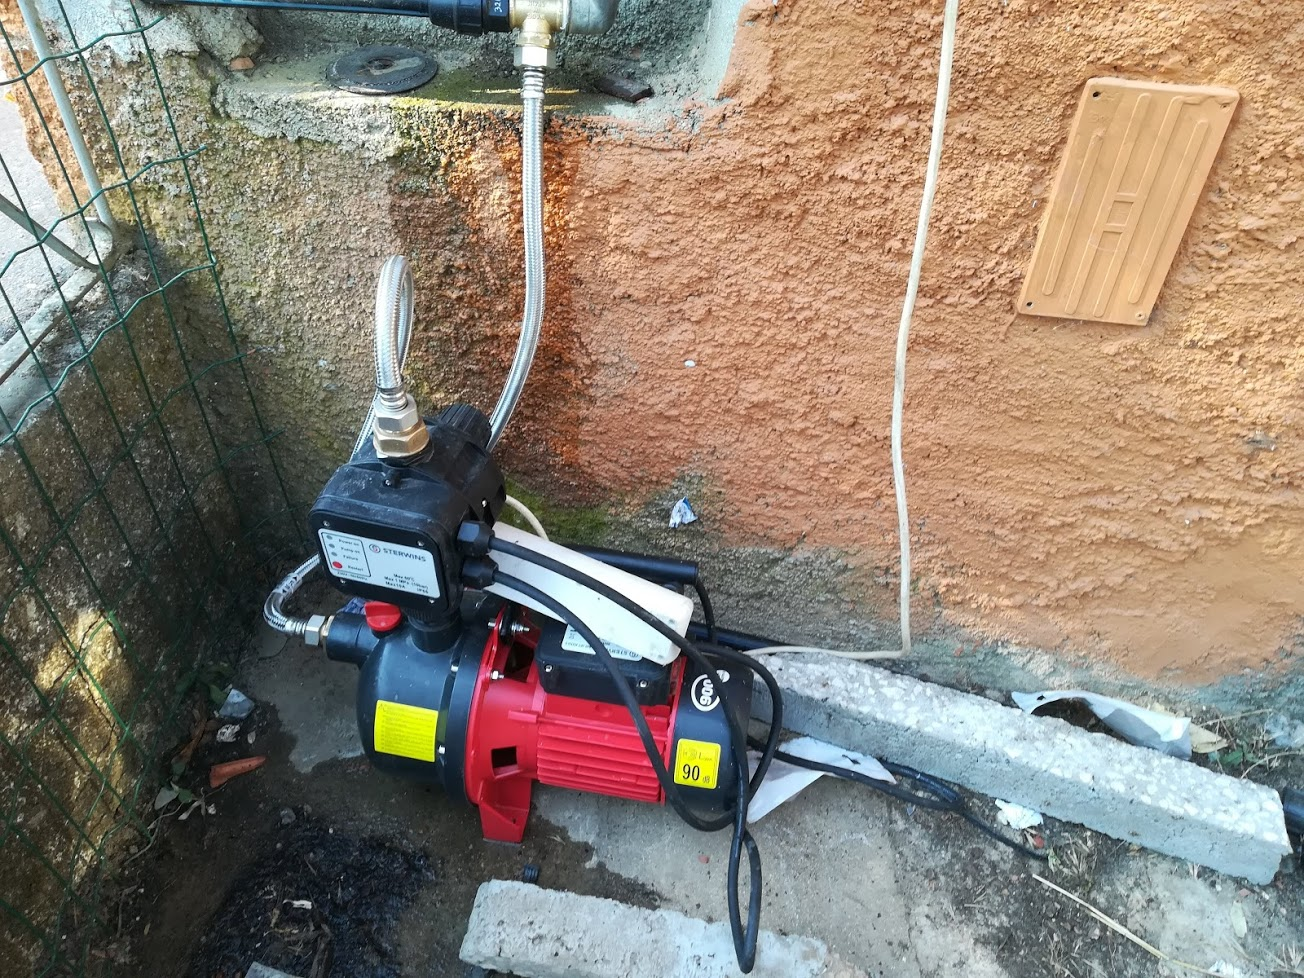
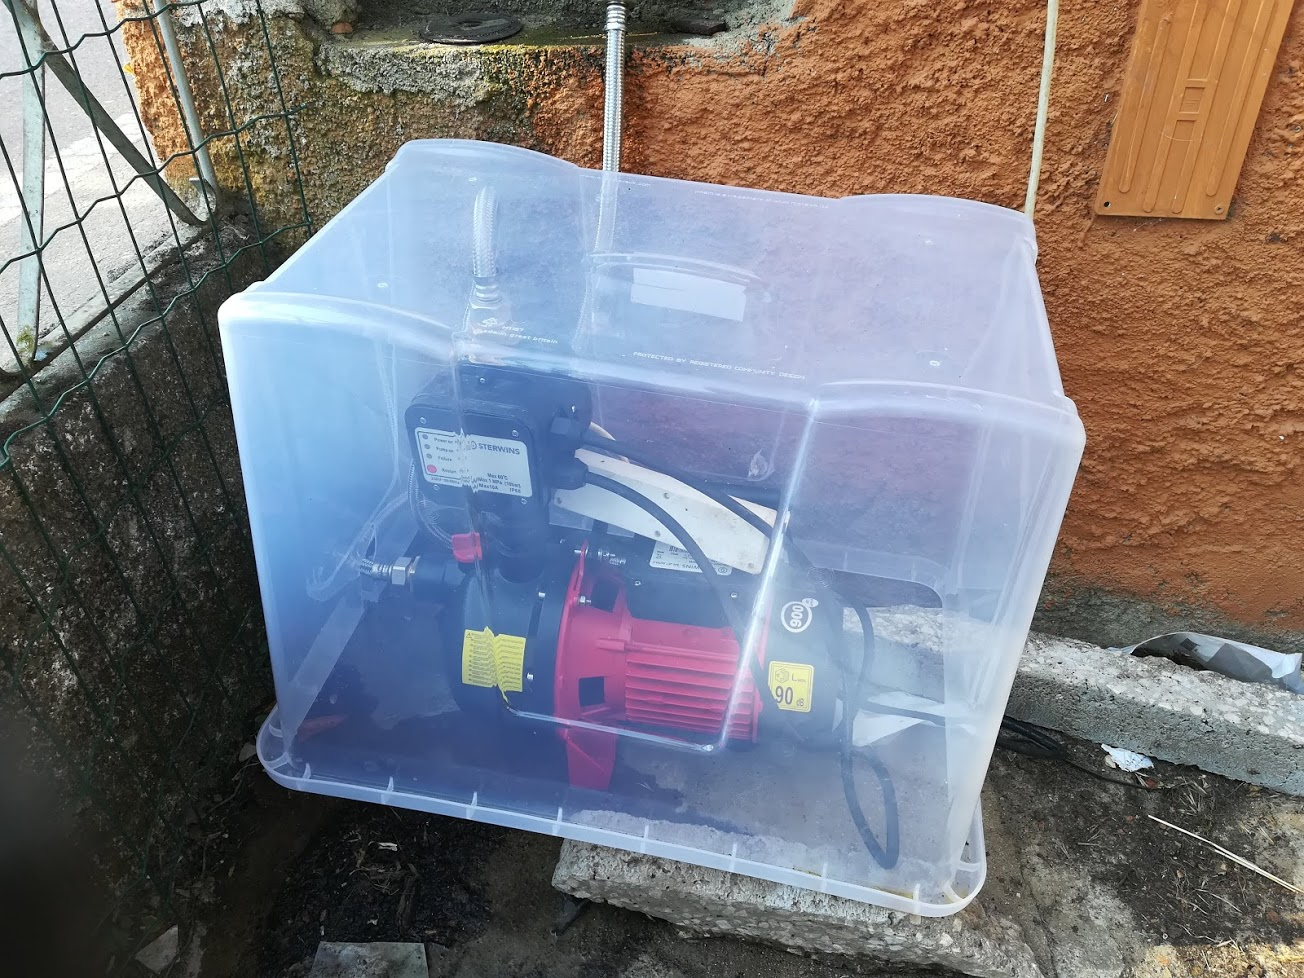
Heres the pump we ended up with, it has an attachment that turn the pump on automatically when the pressure drops, i.e. when you open a tap. It can apparently pump up to 4.3 bar of pressure at a height of 10 metres. The highest the pipes in the house go is around eight metres, so we should be getting the full 4.3 bar.
Thats almost 50% more than the pressure we get from the council, which is 3 bar. I also think it does not maintain that values as you could visibly see the pressure drop the longer you kept a tap open.
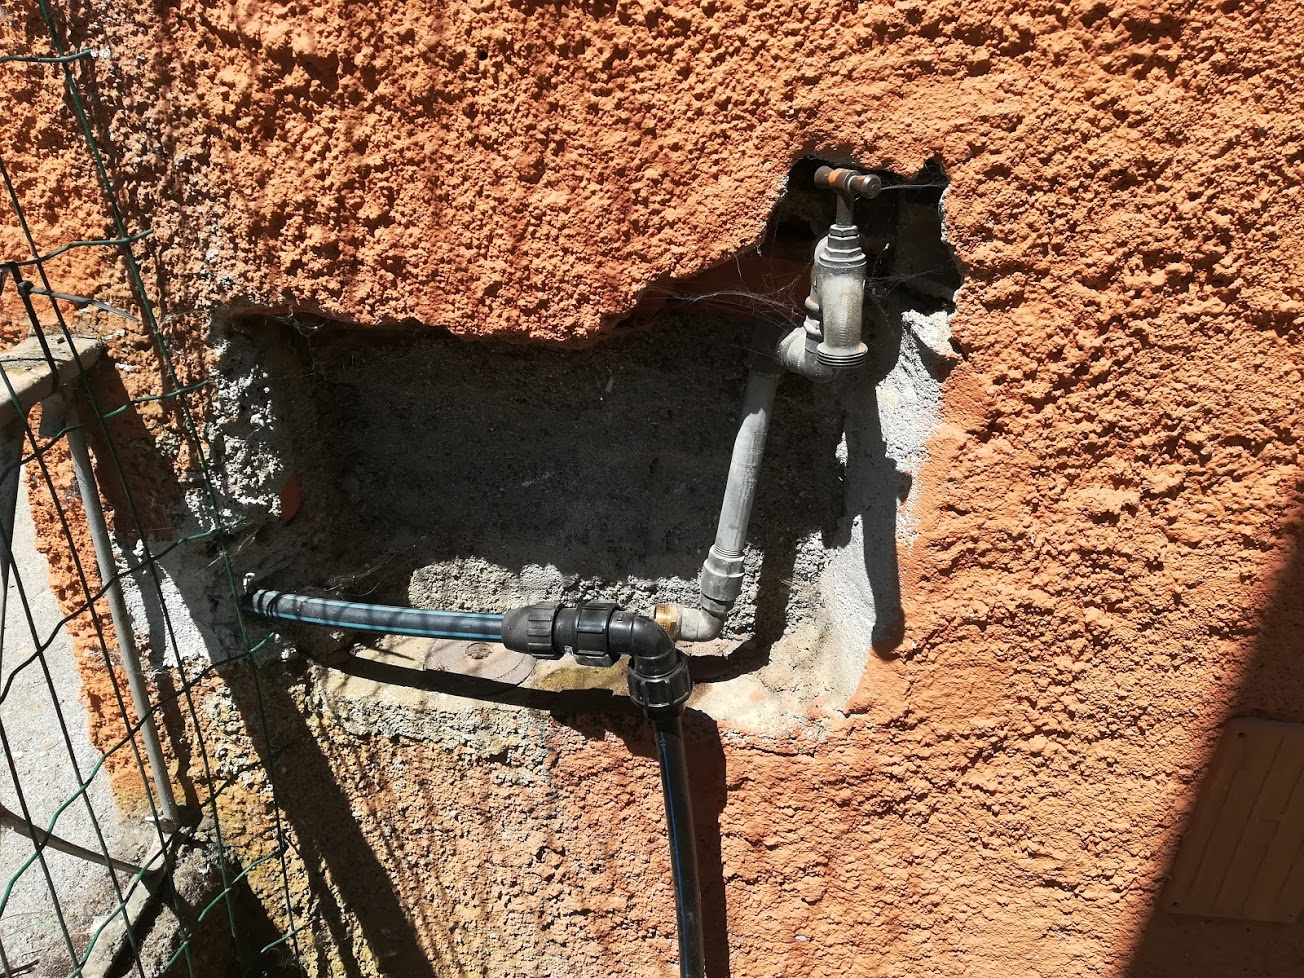
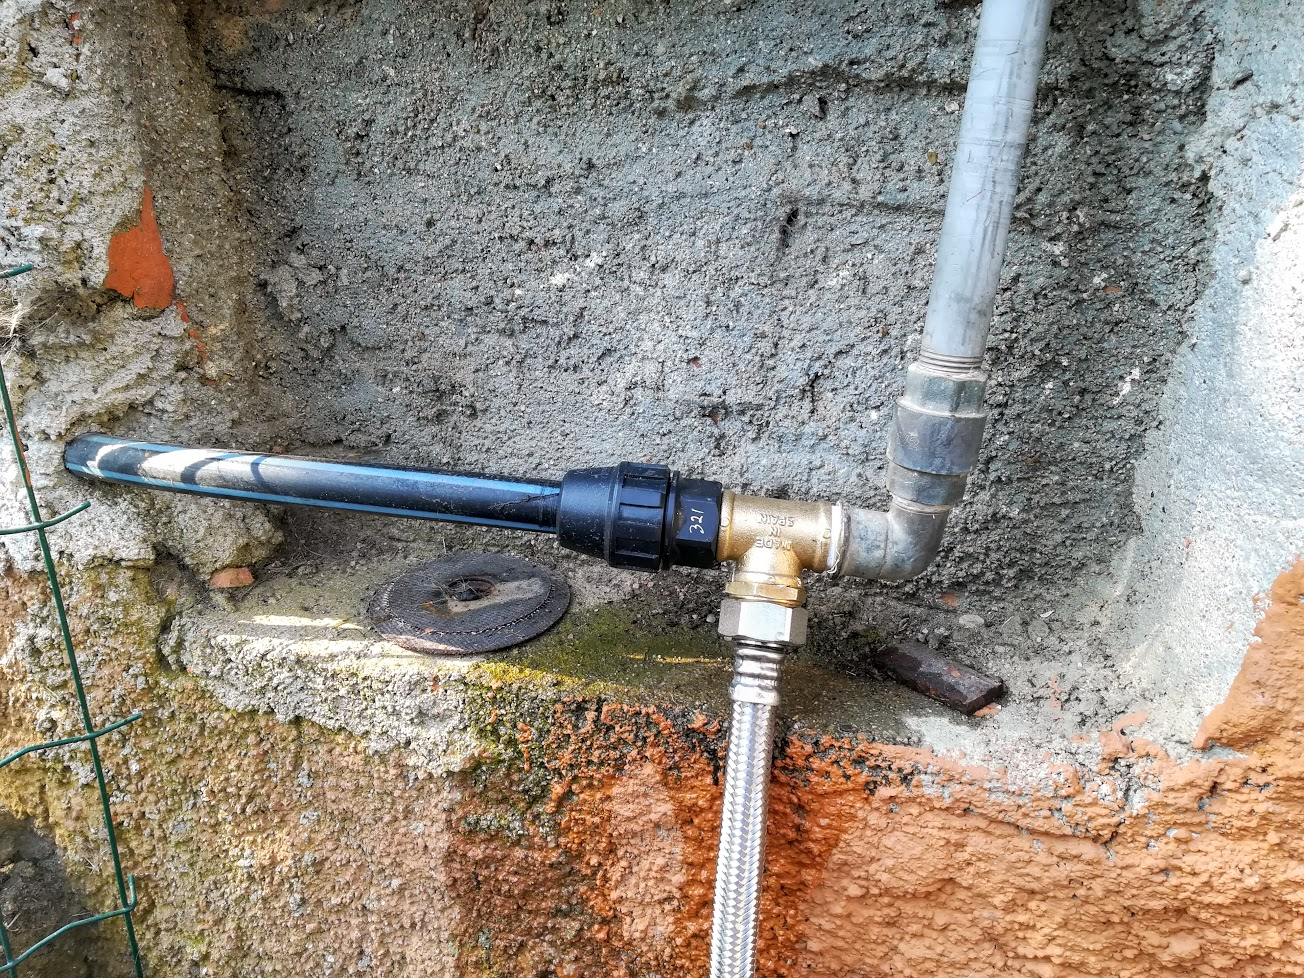
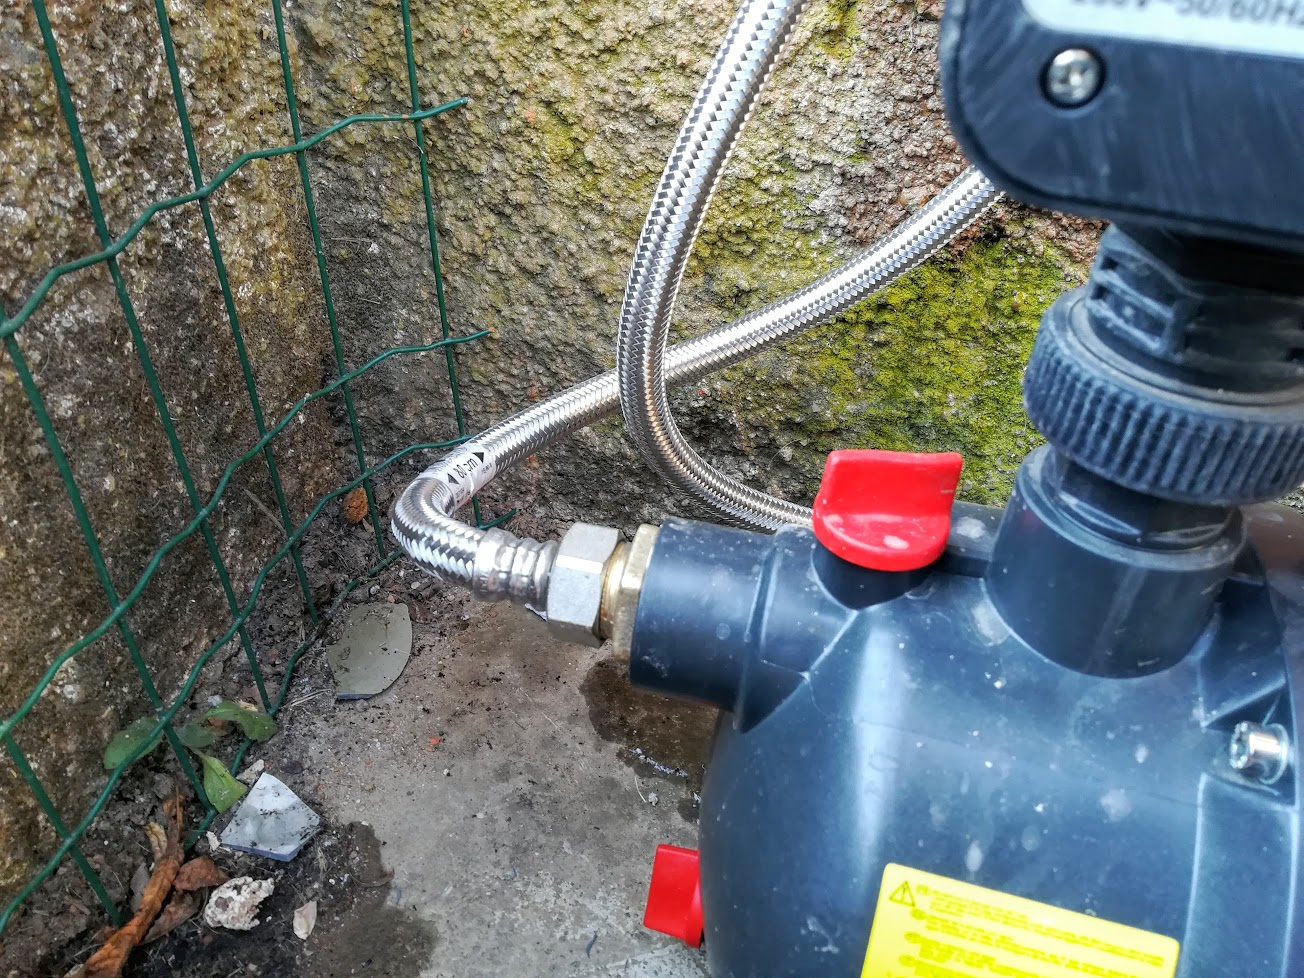
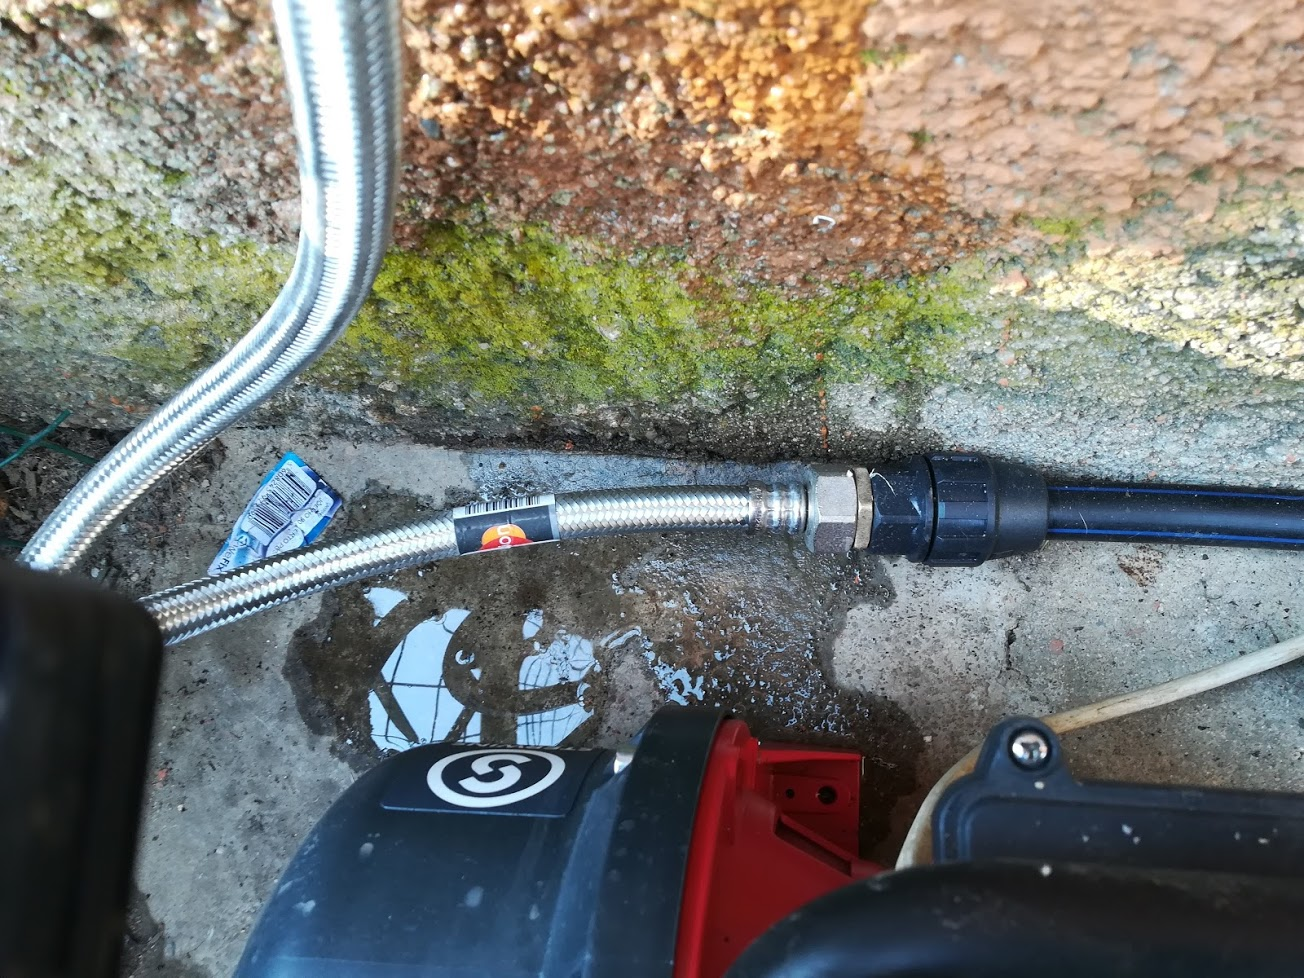
Here is where it’s going to be connected. You can see I am bypassing the lower floor by having connected another plastic pipe and routed it around the outside of the house.
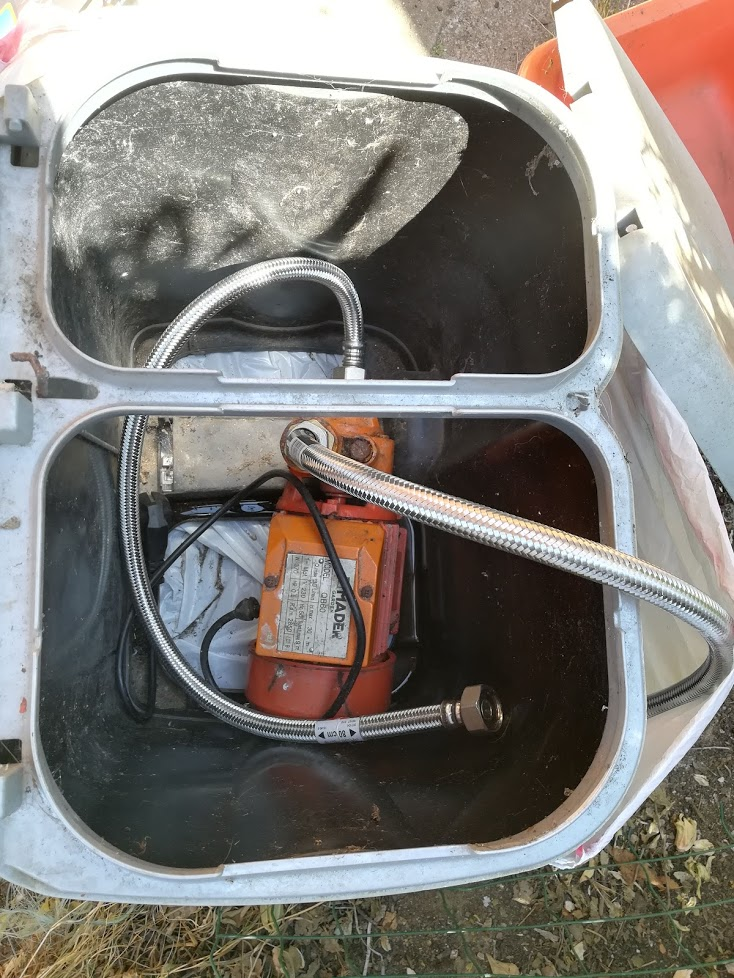
We also previously tried using this, a pump that we had at the well which is used to pump the water out from the well. At 250 Watt it just does not have the oomf to boost the pressure. I am reusing the fittings and the braided hoses.
It was one of those really warm days, so I assembled the pump indoors, away from the heat and the sun. At this point I had made a trip to the hardware store to buy a fitting, as the pressure switch has a male connector and I was expecting a female, like on the pump and the smaller pump too.
I needed to connect the water at the bottom too, so I used a t-piece with nipples and reducers to get to the correct size. Plumbing is a lot like a jigsaw puzzle for me, having to choose between different bits and pieces then assembling them to get what you need.
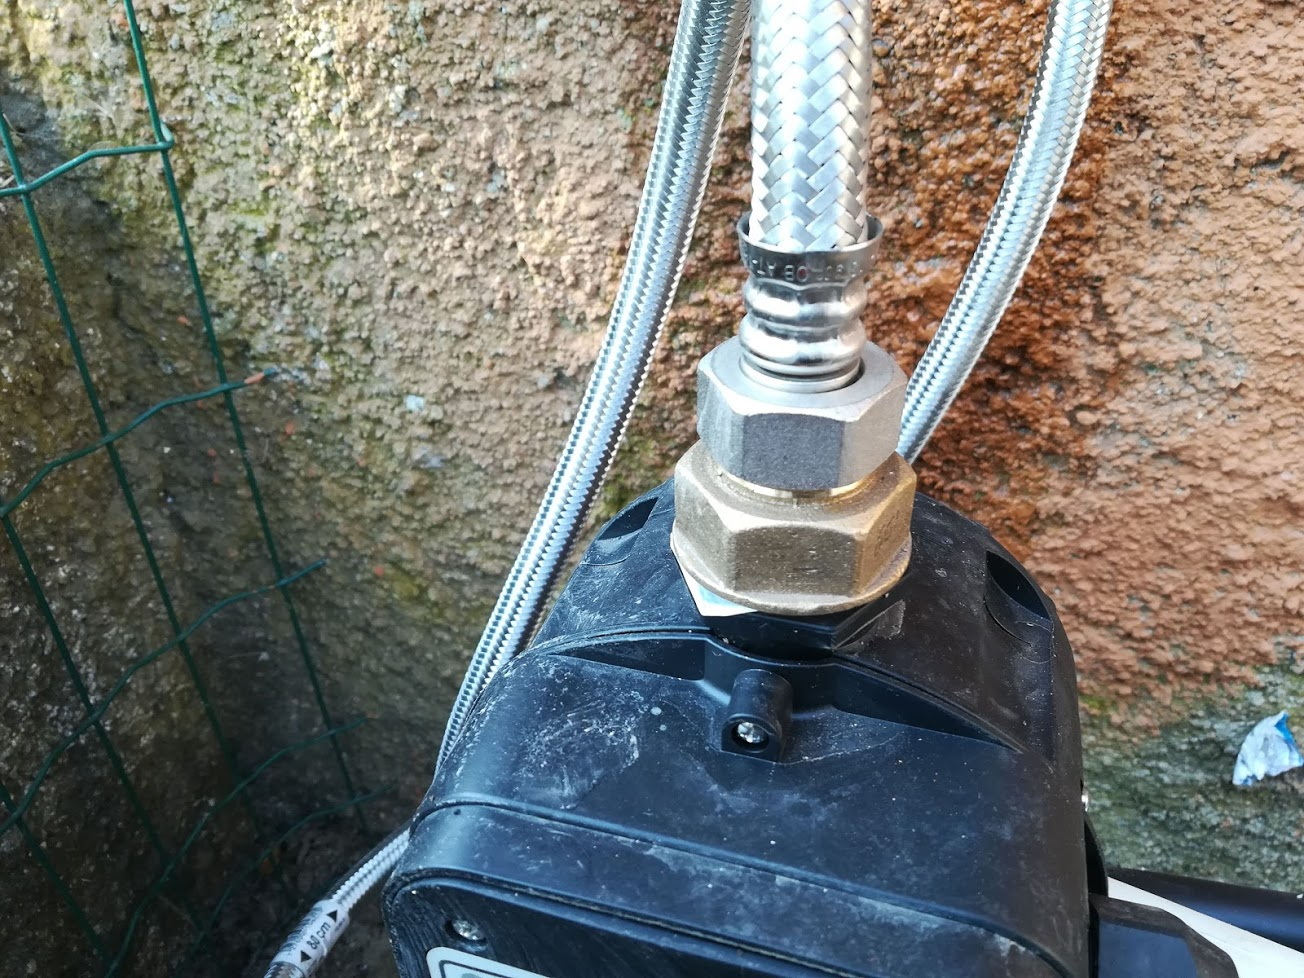
The reducer to go from 1″ to 3/4″, it’s funny, countries that have been using the metric system for many many years still reference plumbing fittings in inches. The braided hoses have allowed me to be more flexible (har har) in where I put the pump and how it’s connected.
The outlet is also a braided hose. These pumps should not be run dry, so you are supposed to fill them using the hole where the red top is. Because I am connecting it to the council water, I just opened the top a bit to get the air out, as the water will be forced in anyway.
Finally connected to the new supply for the upper floor, again through the appropriate reducer now from 3/4″ to 1/2″.
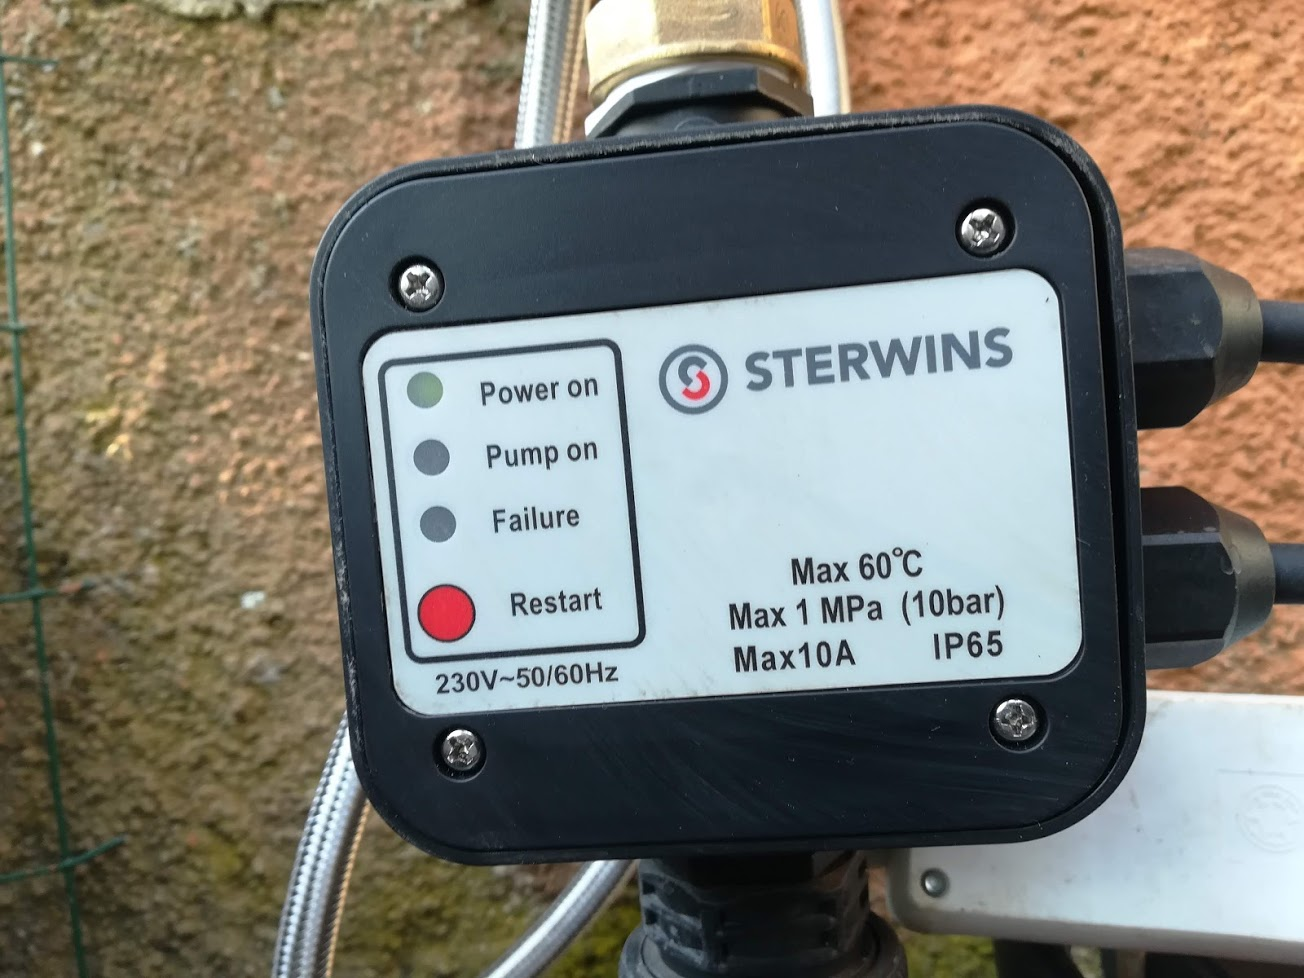
I did not get many pictures of the actual process of installation, as is usually the case I start working and only remember to take phots at the end. Here you can see more of the pressure switch, green when it has power, open up a tap and the centre light turns n as well along with the pump.
This is a semi-temporary position, I will move it to the back of the house soon, as well as bury the pipes in the ground. Thats going to take a fair amount of wok and other things are higher on the priority list.
What an amazing shelter! This too is temporary and is primarily to keep the water off. It is right by the street (almost no pedestrians, but still) so it’s a bit obvious and these pumps are not cheap. So I really need to make a plan to disguise the fact that there is a pump here.
Great news is that the water pressure is significantly higher, so high in fact I could switch my geyser from the lowest pressure to the highest. We have gone from not being able to take a decent shower, to taking POWER showers!
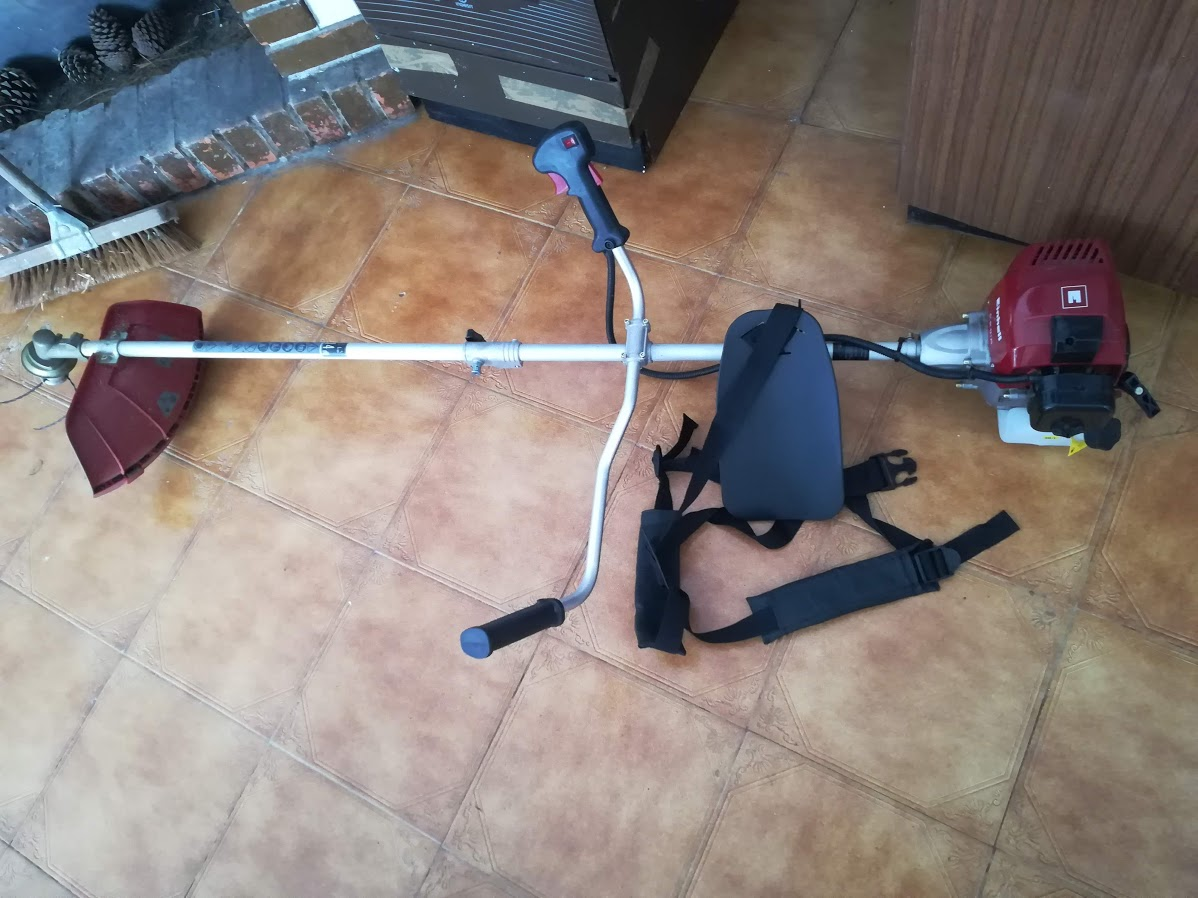
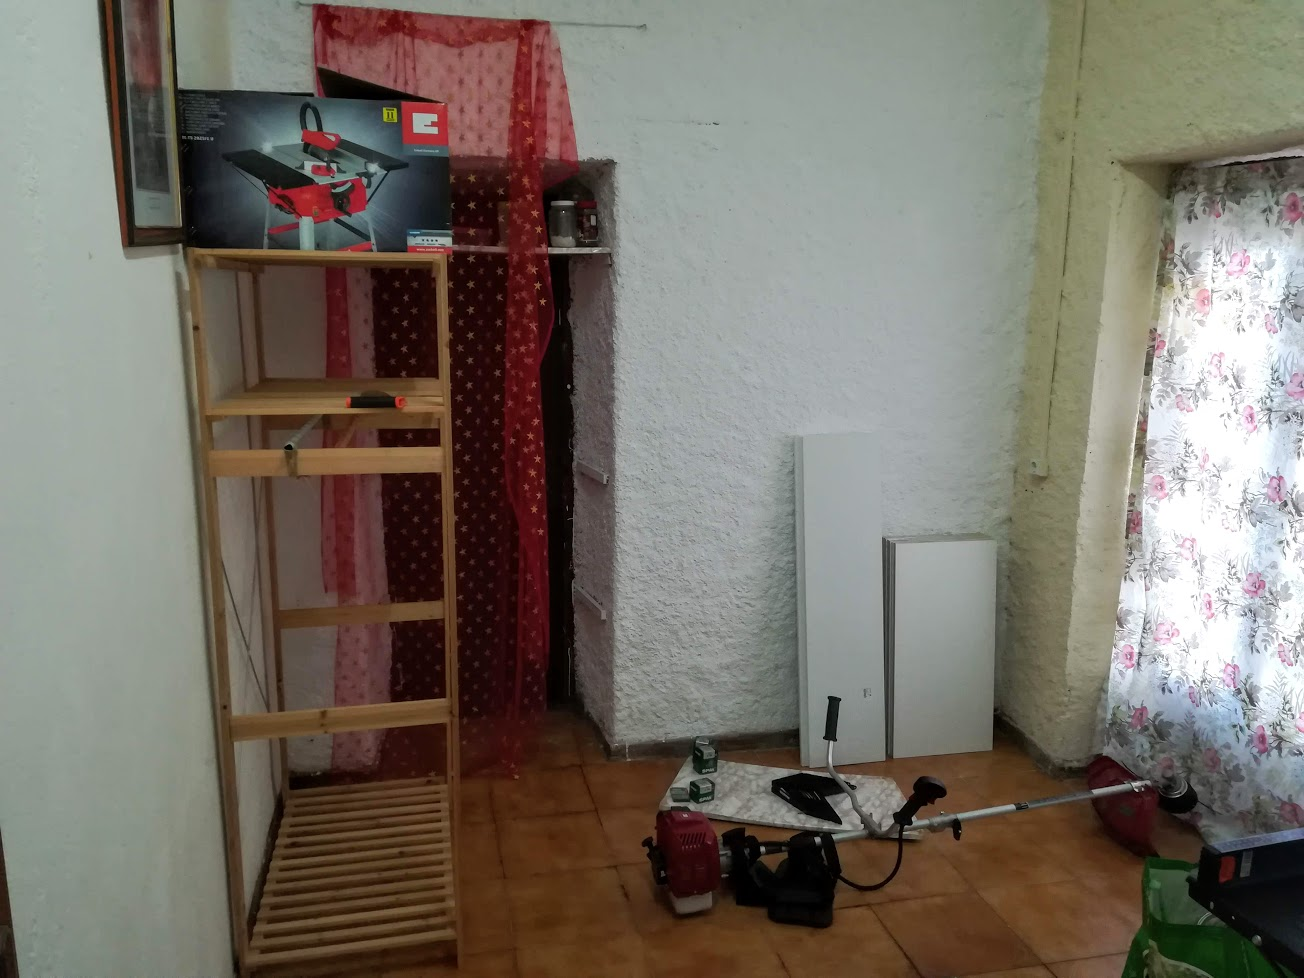
About a month back I bought a petrol powered strimmer, so I could maintain our yard and the border around it as well. Summers in Portugal also unfortunately mean fires and in areas where the fires were quite damaging the last few years, the policing of properties is quite active and fines are steep if your property is overgrown.
We got a guy in with a tractor to do most of the cutting, as the grass was quite tall, but I still need to clean the edges as well as the part between the trees which has so much wire, we asked the guy to just skip it.
The strimmer came with a metal blade, which I have not used (more on that later) as well as the normal auto-feeding kind, that you get with pretty much any weed whacker. This makes use of a nylon cord that auto dispenses when you push the end onto the ground.
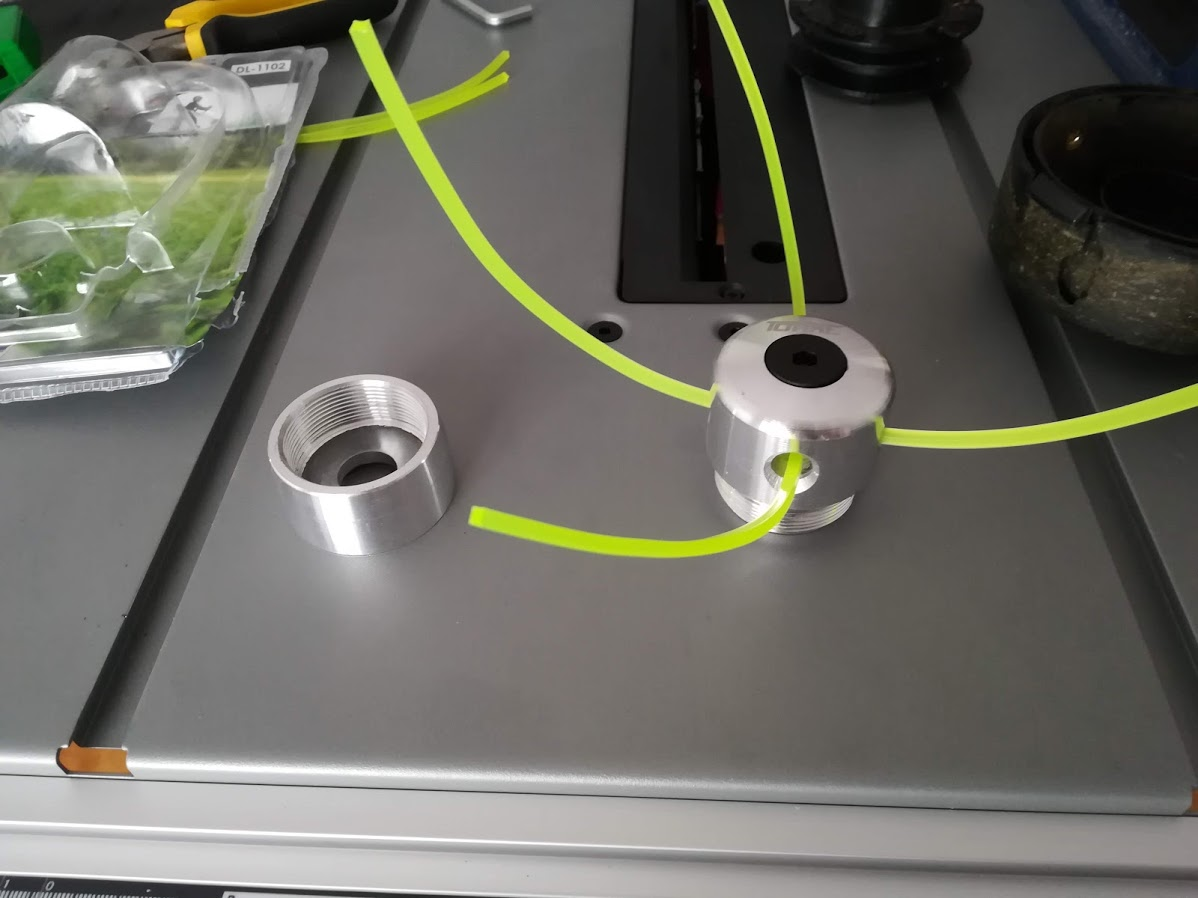
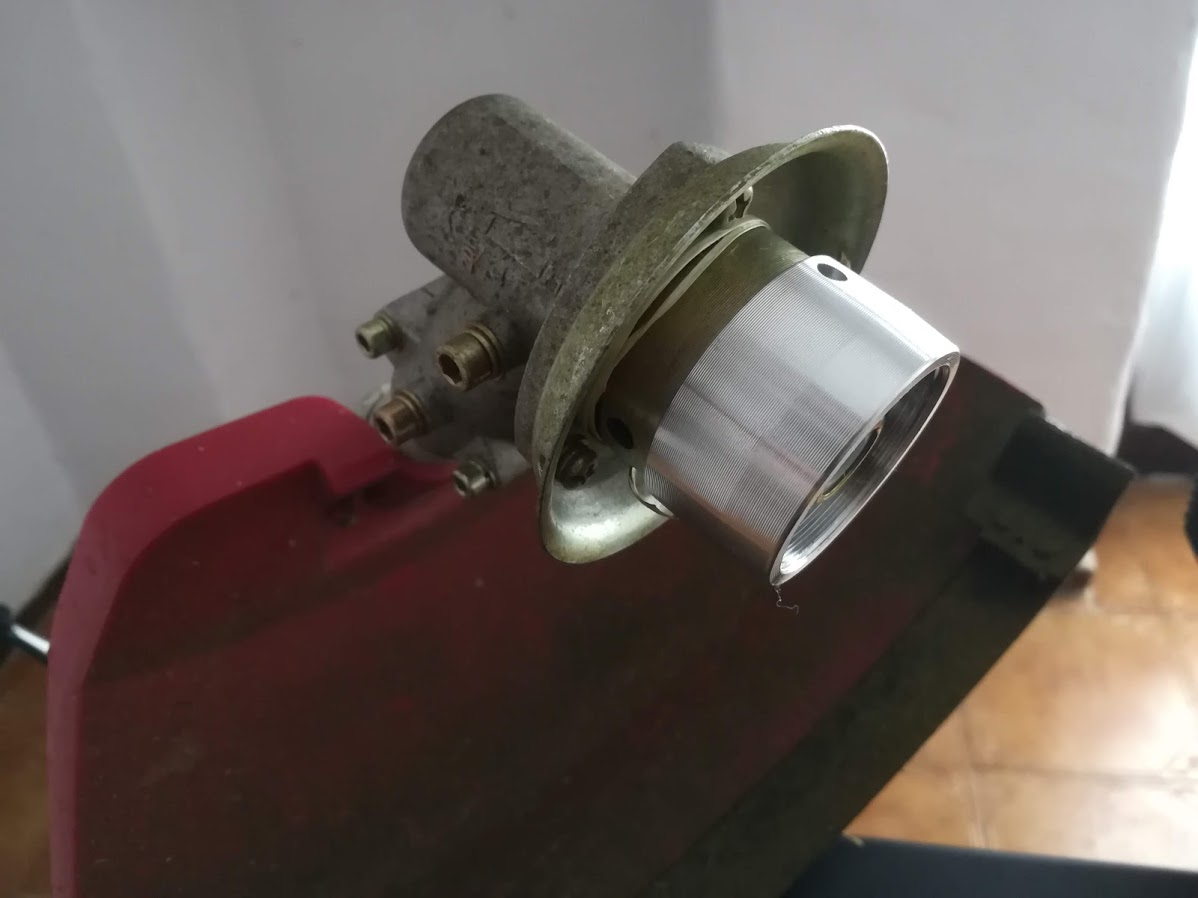
I ended up buying a replacement made out of aluminium. At €10 it was not the cheapest, but still about a quarter the price of a ‘quality’ plastic one.
Here it is almost finished installed. I do love the look of turned metal!
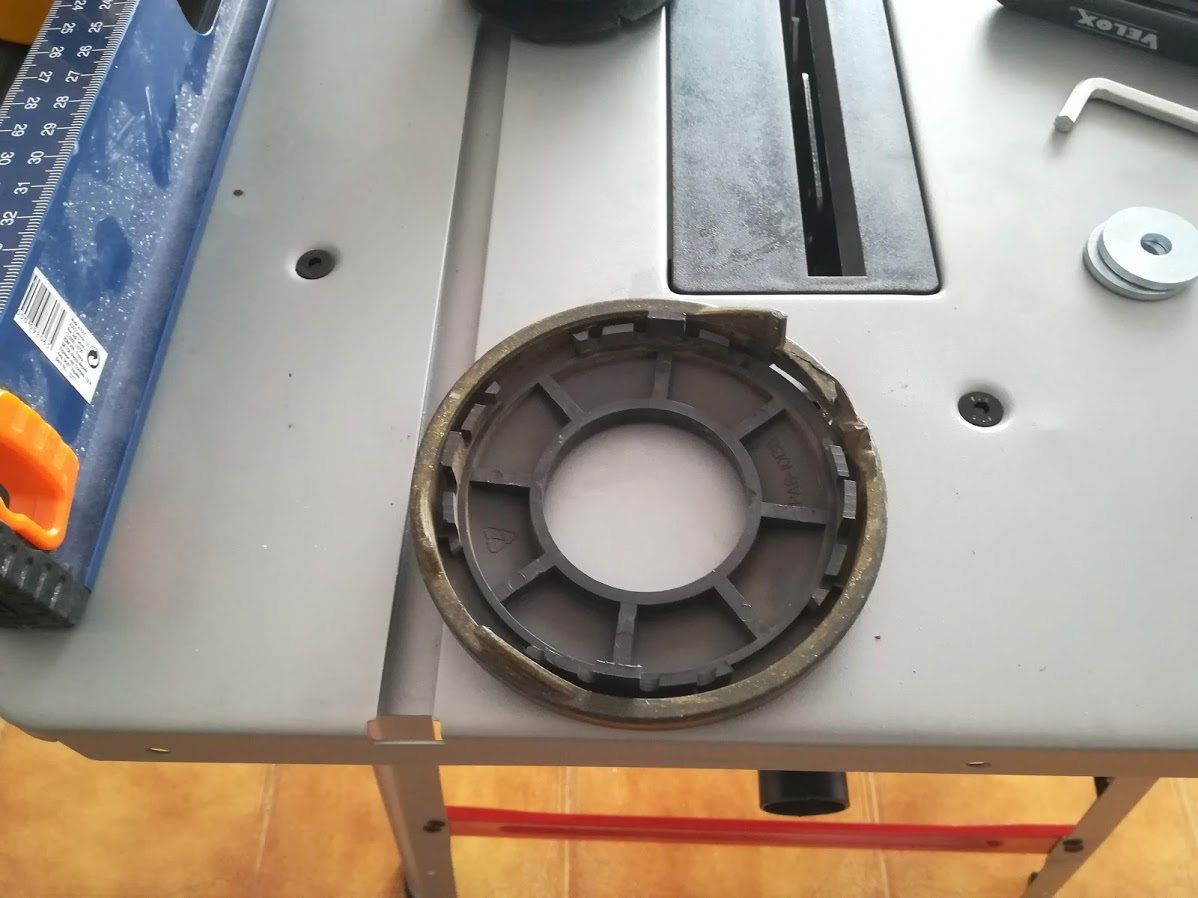
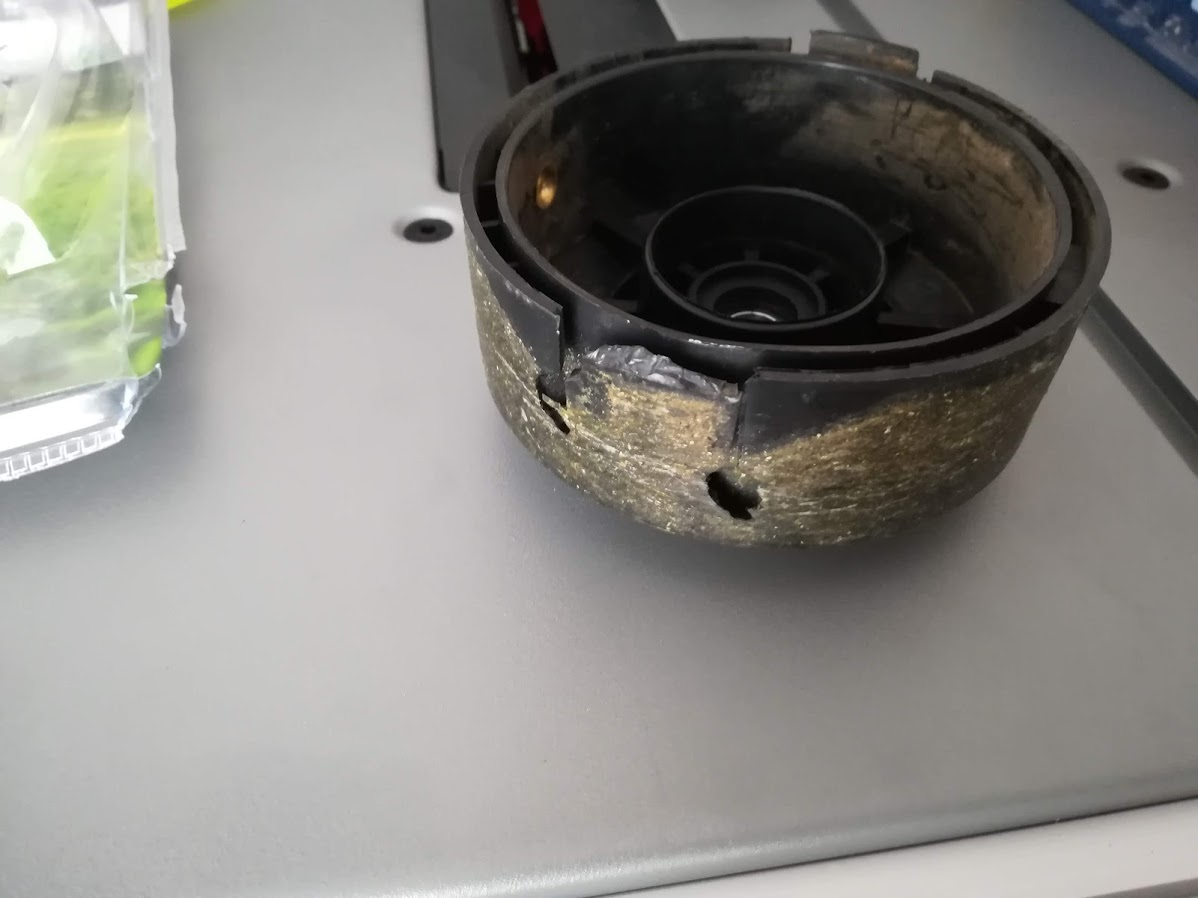
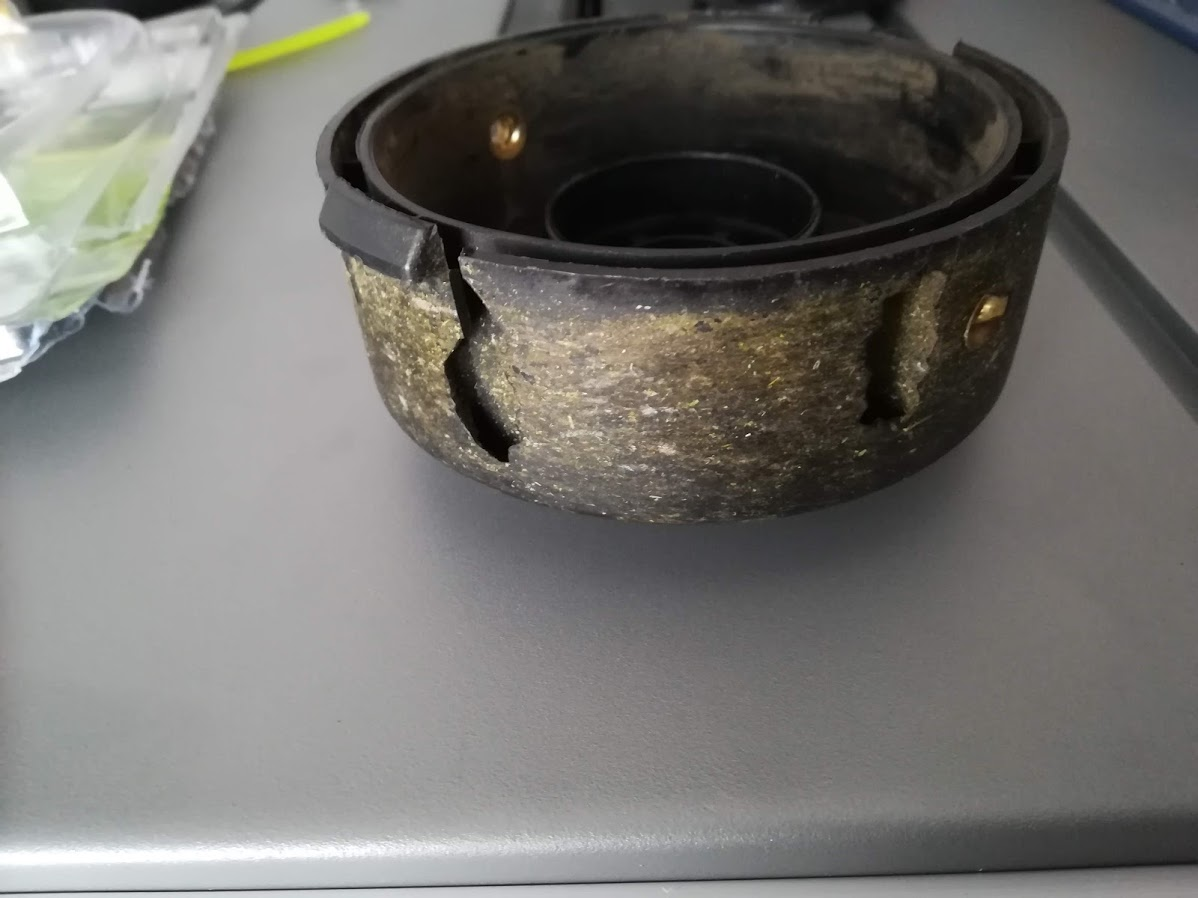
Here’s whats left of the plastic one that came with the strimmer. It flew apart as I was cutting some grass, I am missing some of the parts, like the spring and two washers.
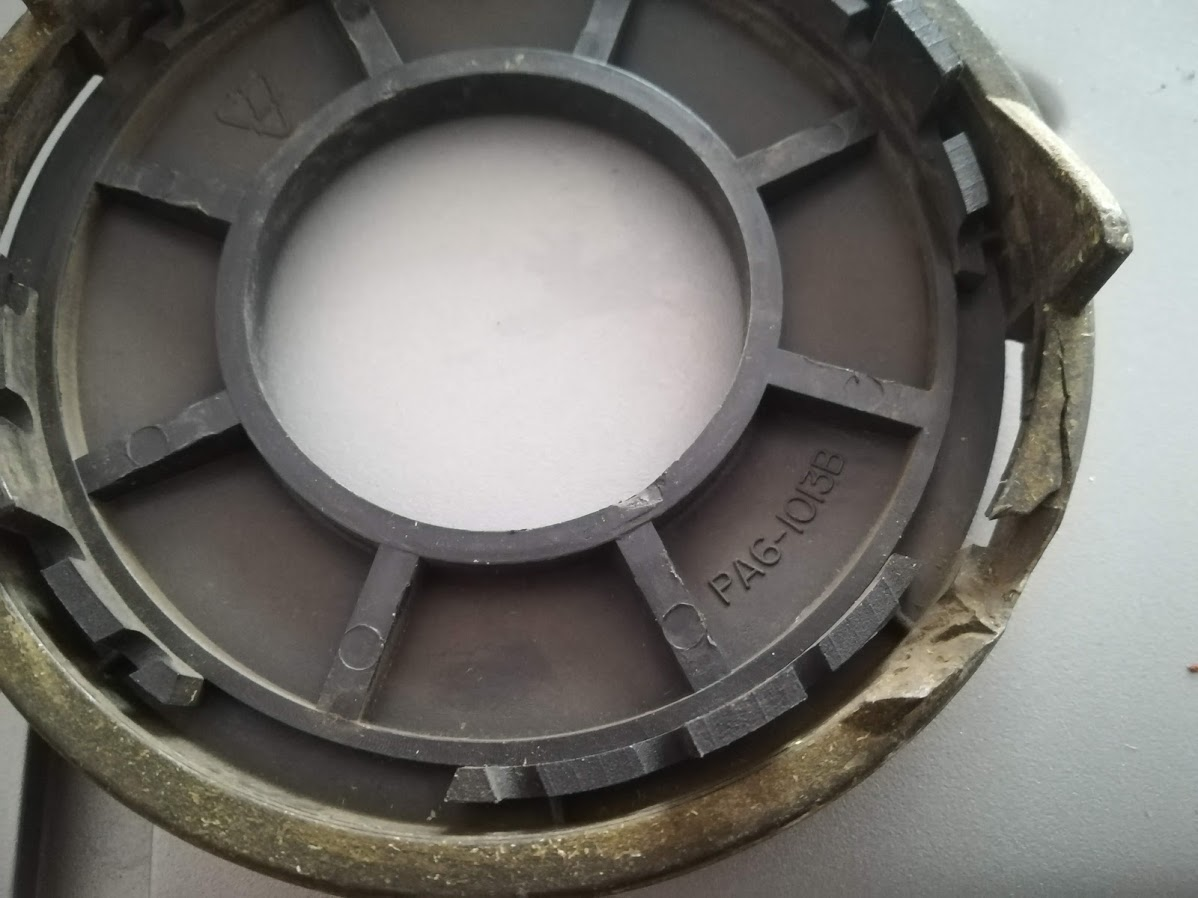
To be honest I really do not think I was that hard on it. I certainly did not handle it roughly nor bash it into rocks or anything like that. The sections where the top piece clip in seem particularly weak, here you can see a whole piece broke off.
On the cover, you can see a clip broke off too, somehow it wore holes in the side of this piece too, where the plastic seems particularly thin.
Same happened almost all the way around. This made me quite unhappy. The rest of the strimmer seems ok-ish, nowhere near as weak and brittle as this part.
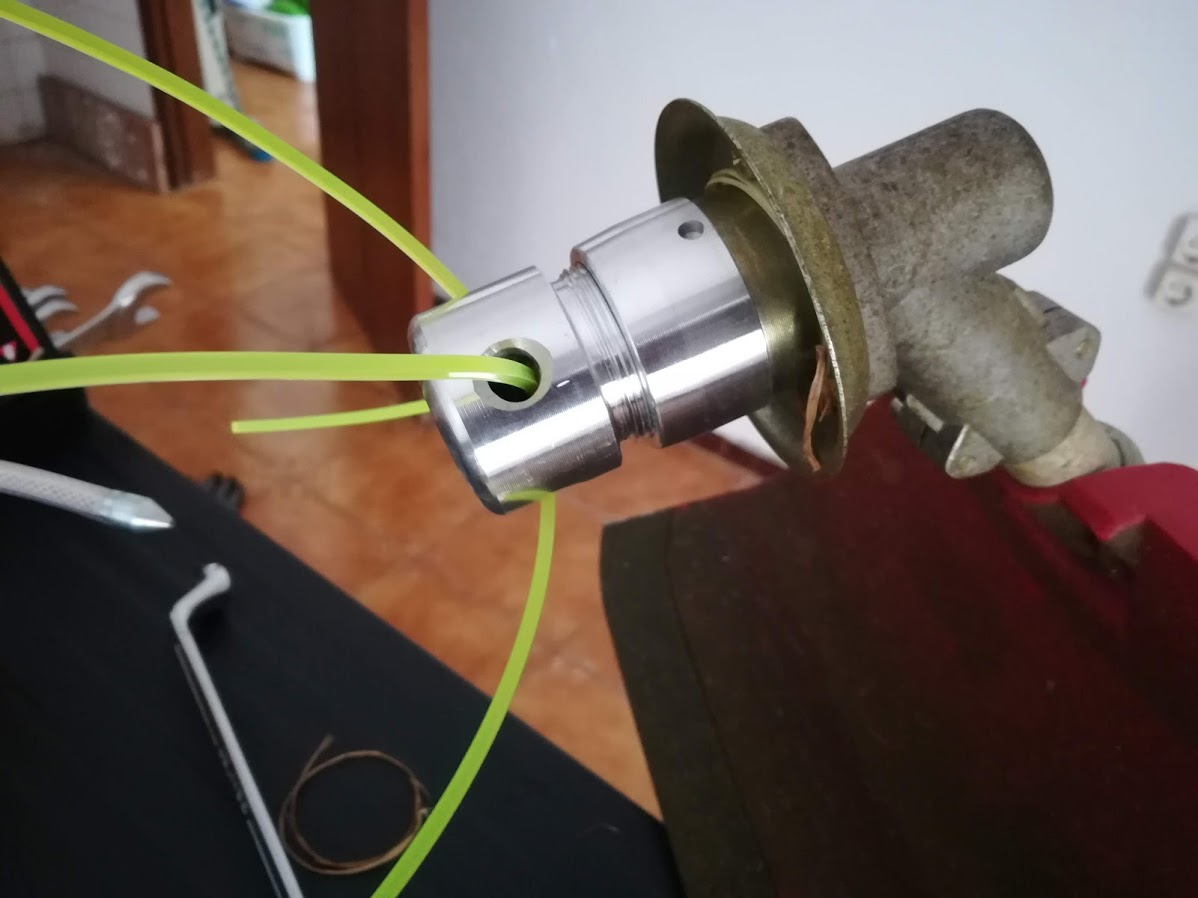
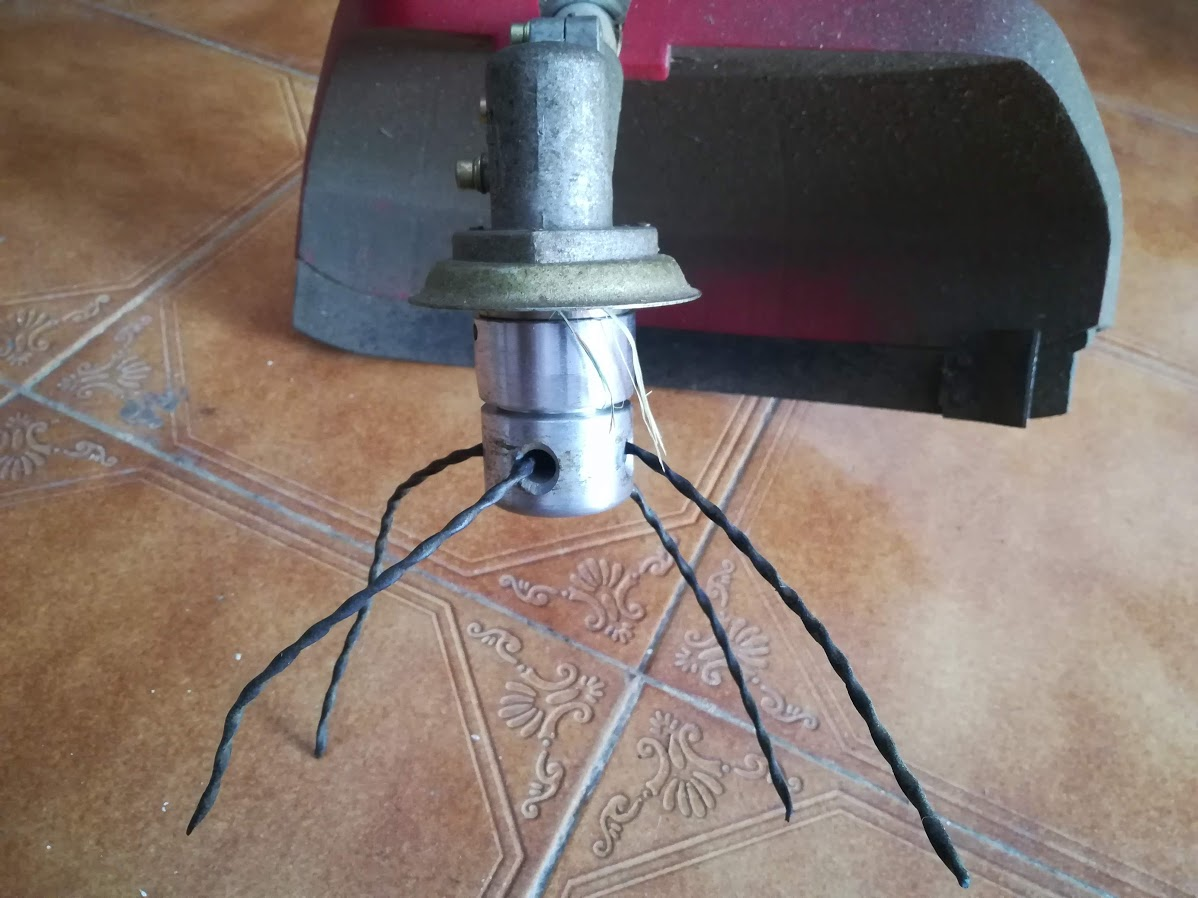
The replacement part in pieces, instead of auto dispensing, you need to cut the cord to length then clamp it using the allen head bolt.
The part on the left is bolted to the end of the strimmer and the kit came with a few different washers, seemingly allowing it to be fitted to different models/makes.
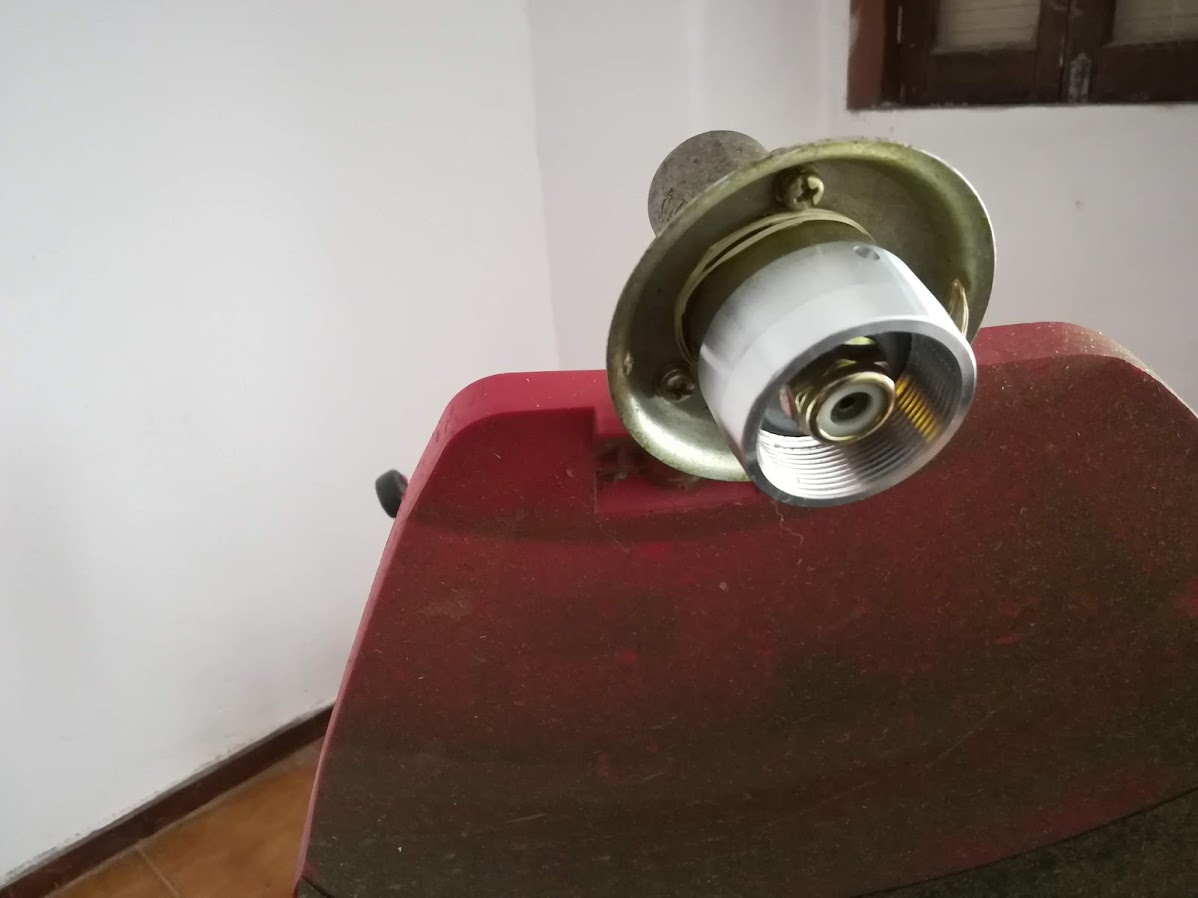
Here the first part is attached, as you can see it just bolts onto the shaft.
The part that holds the cord is then screwed into the threads. It all feels nice and solid and likely will hold up to much more use / abuse than the plastic one ever could.
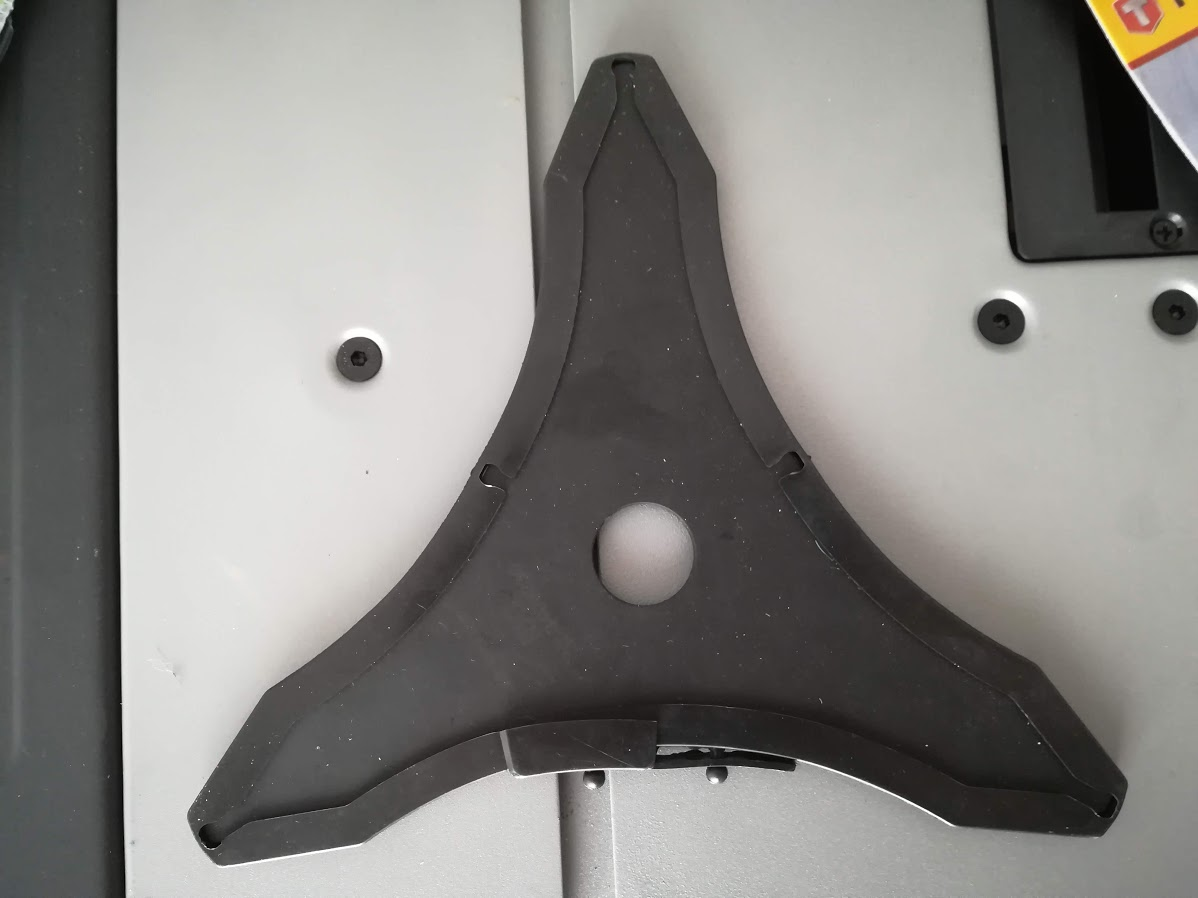
Here’s the metal blade I mentioned before. I have no doubt that its more effective than the nylon cord I am using, but it’s not allowed here (they still sell it in the stores though?). Apparently these could cause fires, if you hit a stone or rock with them, there could be a spark starting a fire and then big problems.
Two years ago there were really bad fires where a number of villages were badly affected, with a number of deaths because of the forest fires and people left without homes. Whether these things can start a fire or not I am not going to take any chances.
Post workout shot. It’s done some work and I have changed the cords, it’s actually pretty trivial and I find it much quicker / simpler than trying to wind that damned cord into the previous plastic housing. In my mind this is more convenient that the other way.
It also has the added benefit of being lower, almost double the distance from the shaft. This helps me as I am fairly tall, and was finding the agle I had to hold the strimmer at was not great. It’s still not ideal, but is a bit better.
The rest of it looks fairly new, it should, it’s not had a hard life.
Maybe this is just a case of an ok tool being let down by cost cutting on a part that will see the most wear? I am not sure, I will have to see how things go. I don’t know too much about the Einhell brand, but it looks to be like all the others where it has a European brand but all the actual manufacturing happens in China. Not alway a bad thing, unless you drop the ball on quality control that is…
I made an attempt at running a YouTube channel and posted a few videos, then ran out of steam and have not done anything for some time. Having recently moved and many ideas for projects I was thinking of making videos again, I decided to do a review on a tool I bought recently. I wanted a setup where I could film facing down so that I could display the tool on a table and work with it there.
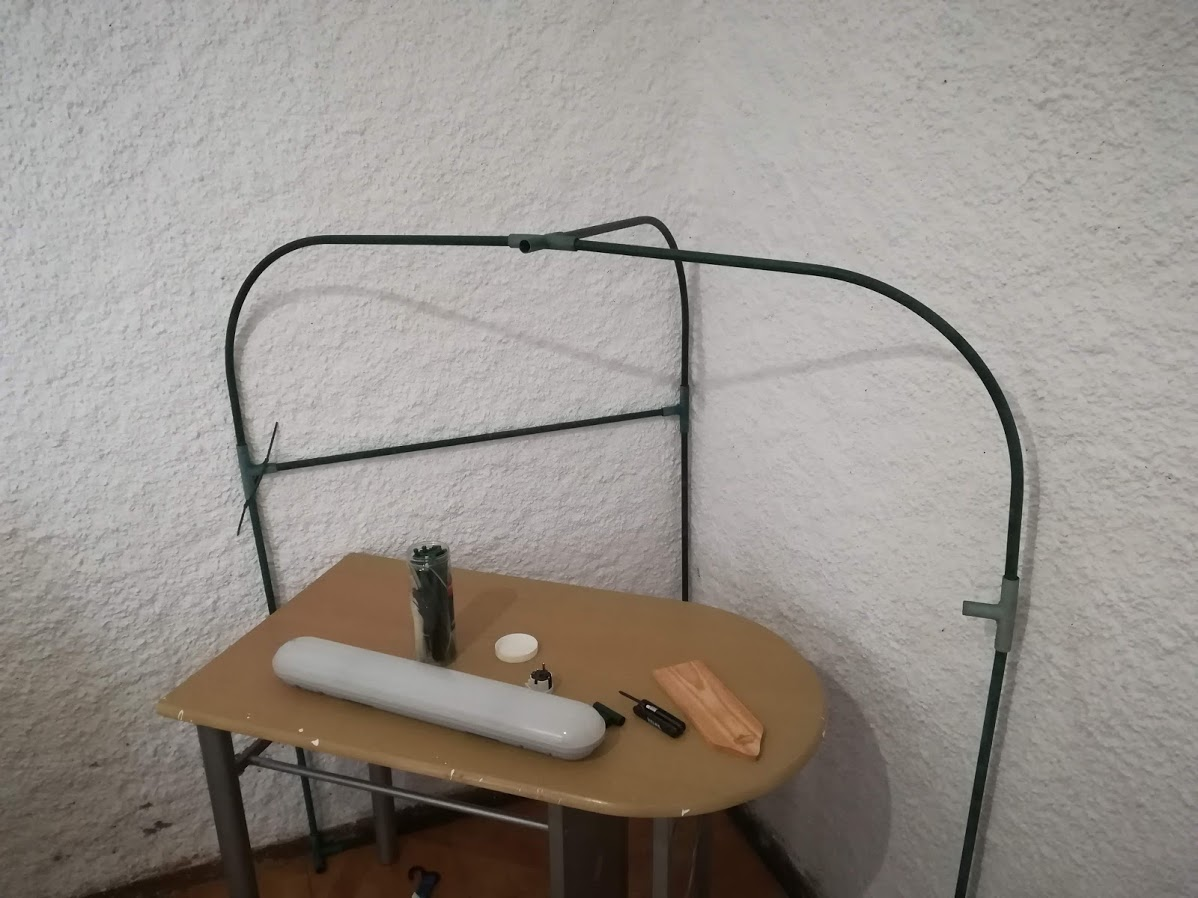
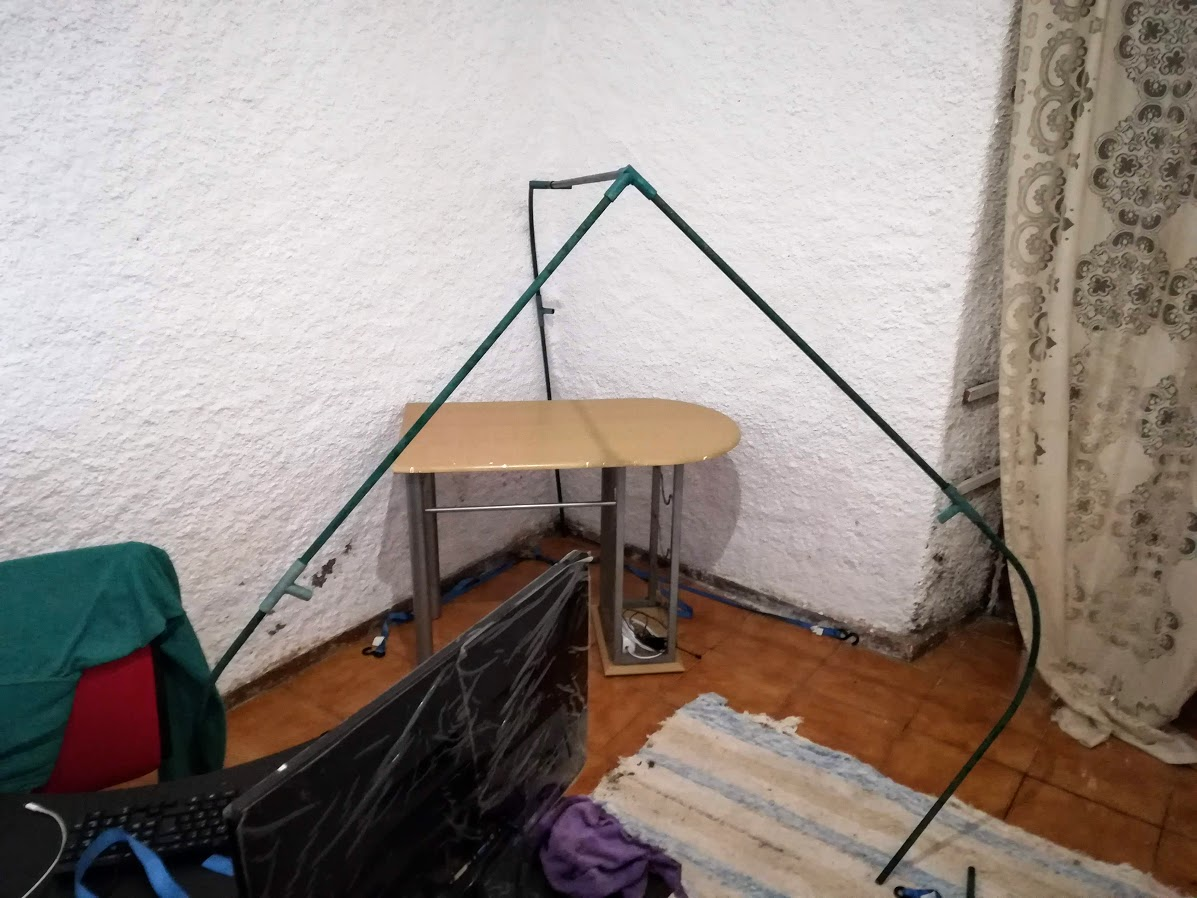
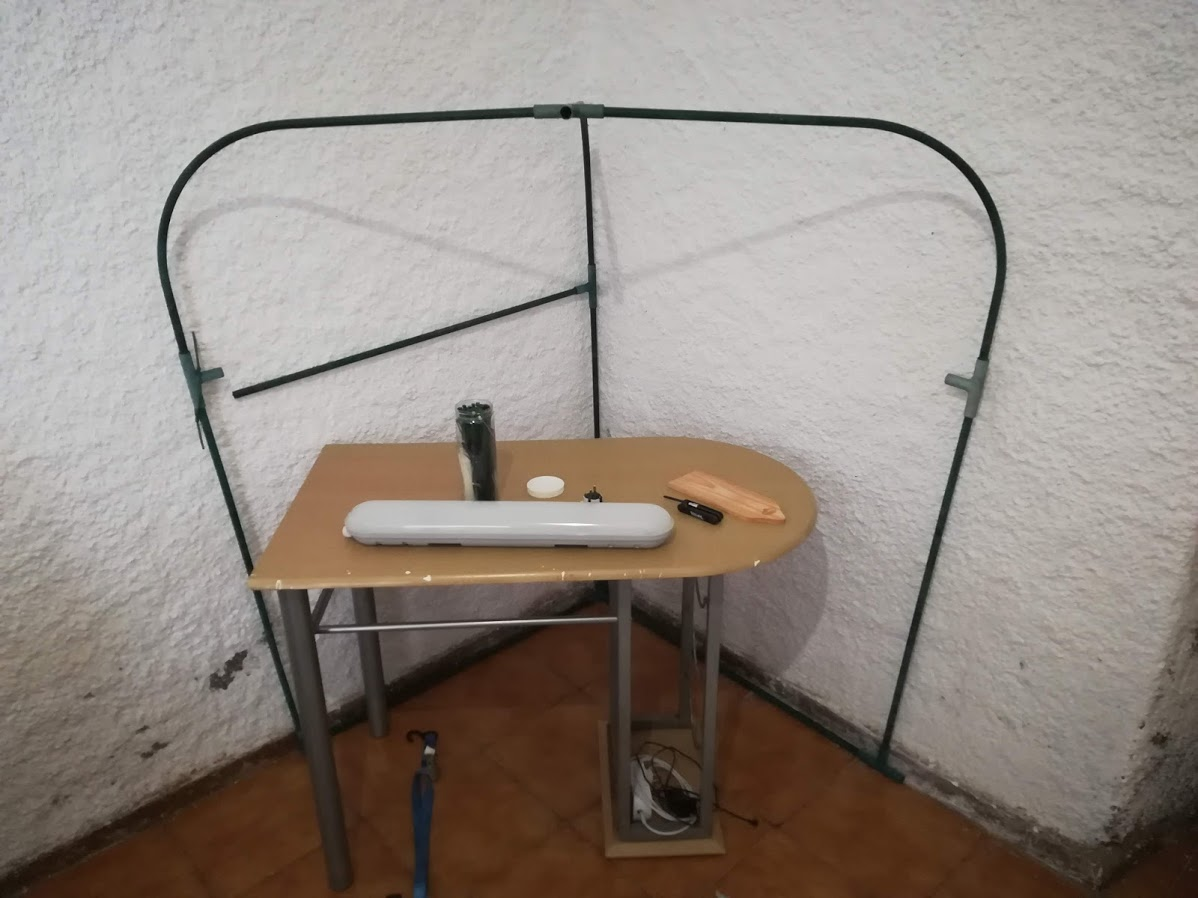
I ended up with the following jerry-rigged setup, I have you to film anything but almost there…
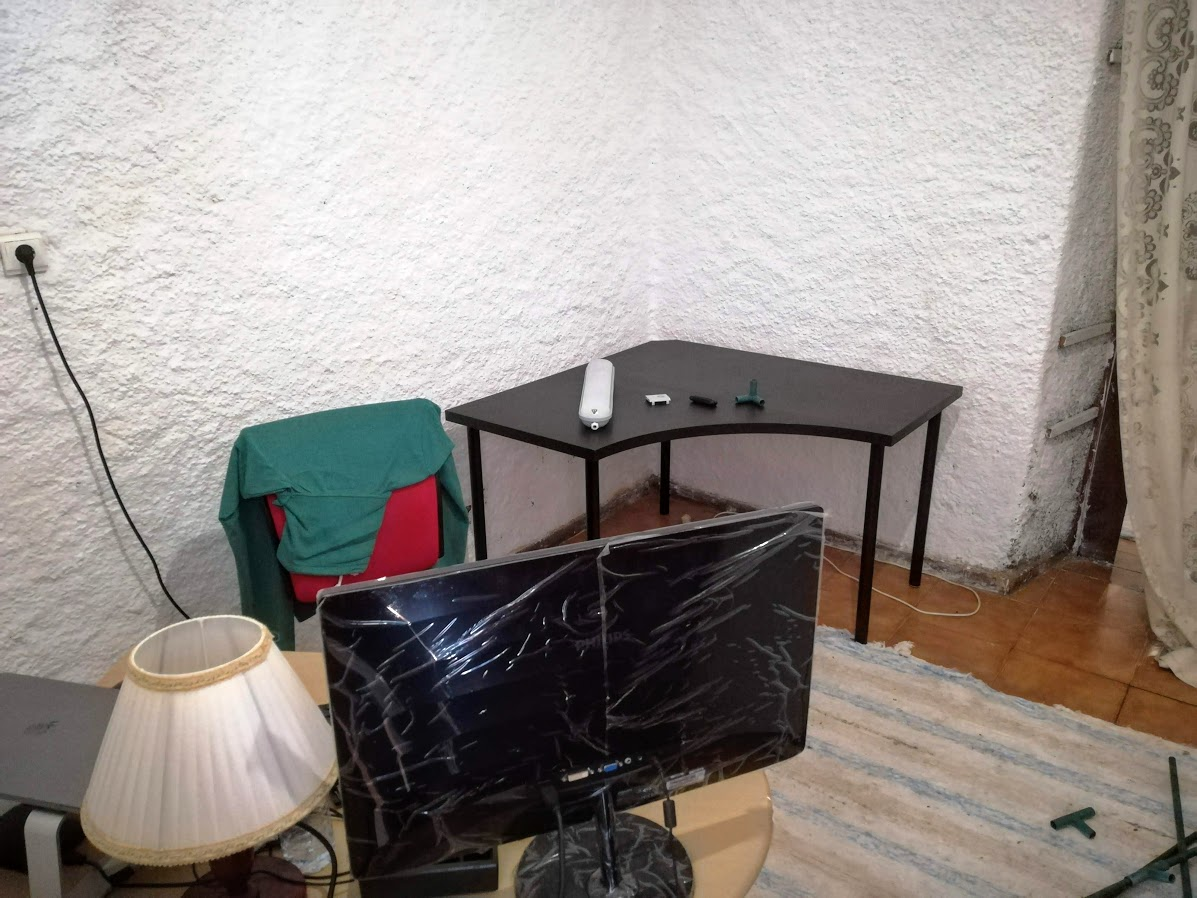
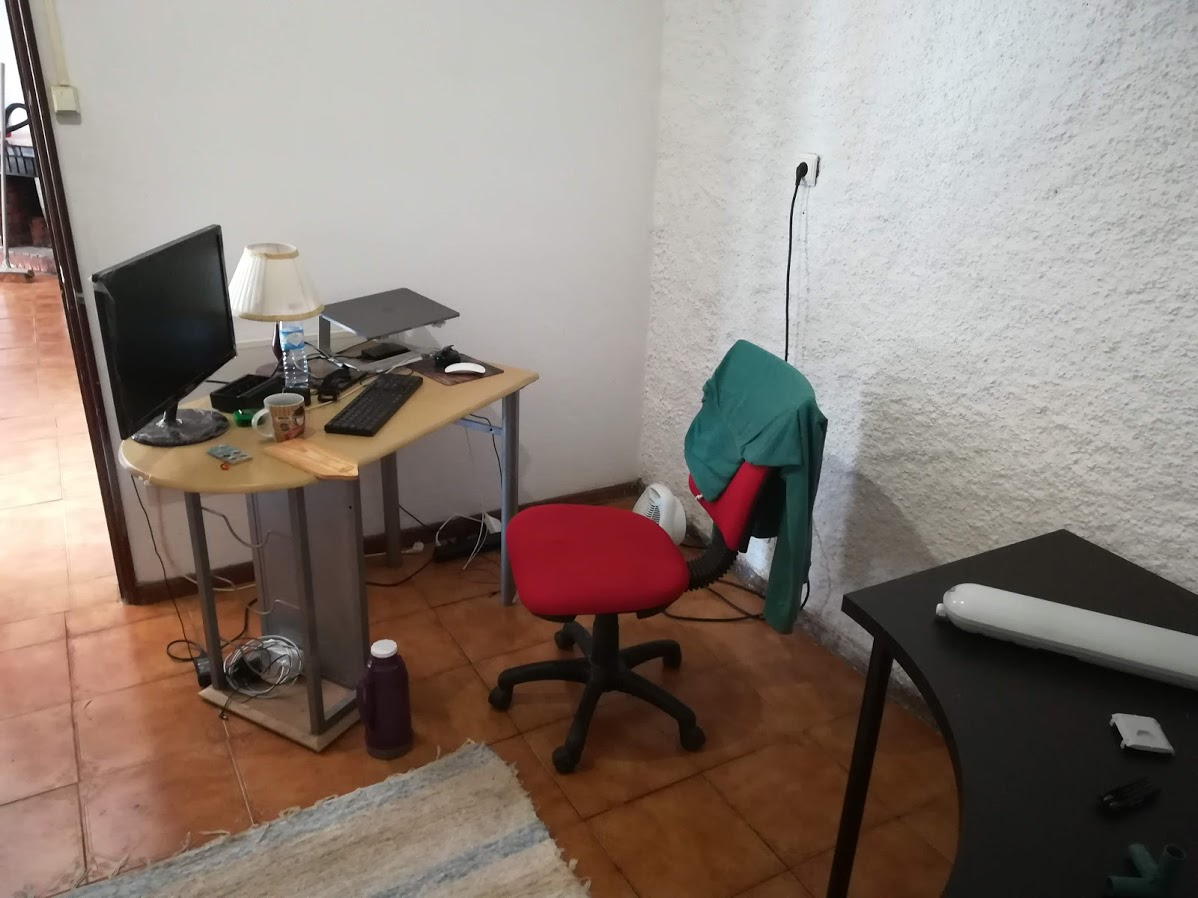
But let’s start closer the beginning. Over the past weekend I brought my table from our previous place and set it up in the corner yesterday.
It is quite a bit bigger than the table I was working on, but I was managing so I started out trying to get something assembled over this table.
Being someone who firmly believes in using what you have, I used old poles from a gazebo that I found when cleaning up the yard. The previous owner left quite a few bits and pieces outside which had been overgrown with grass, weeds and brambles.
I had something up pretty quickly, then test it with my phone and decided the table top was too dark and would make it too hard to see something if it was not a bright colour. So I swapped out the other table, which has a much lighter coloured top.
I went through a few iterations of combinations of the poles, one of the most whacky is below.
My aim was to have none of the poles touch the table, so that I could move stuff or bump the table without affecting the camera.
Eventually I settled on this solution, poles on the ground to keep the footprint stable, and a pole at mid level to add more stability. Unfortunately the top poles where too long meaning the vertical poles were not symmetrical.
I did not want to, but ended up cutting the poles. They are very thin walled and I don’t have a way to clamp them properly so it is a PITA to cut. Here you can see the mid height pole now fits as the uprights are now parallel.
The top poles are also now a bit more parallel with the floor and there is just much less tension in the structure.
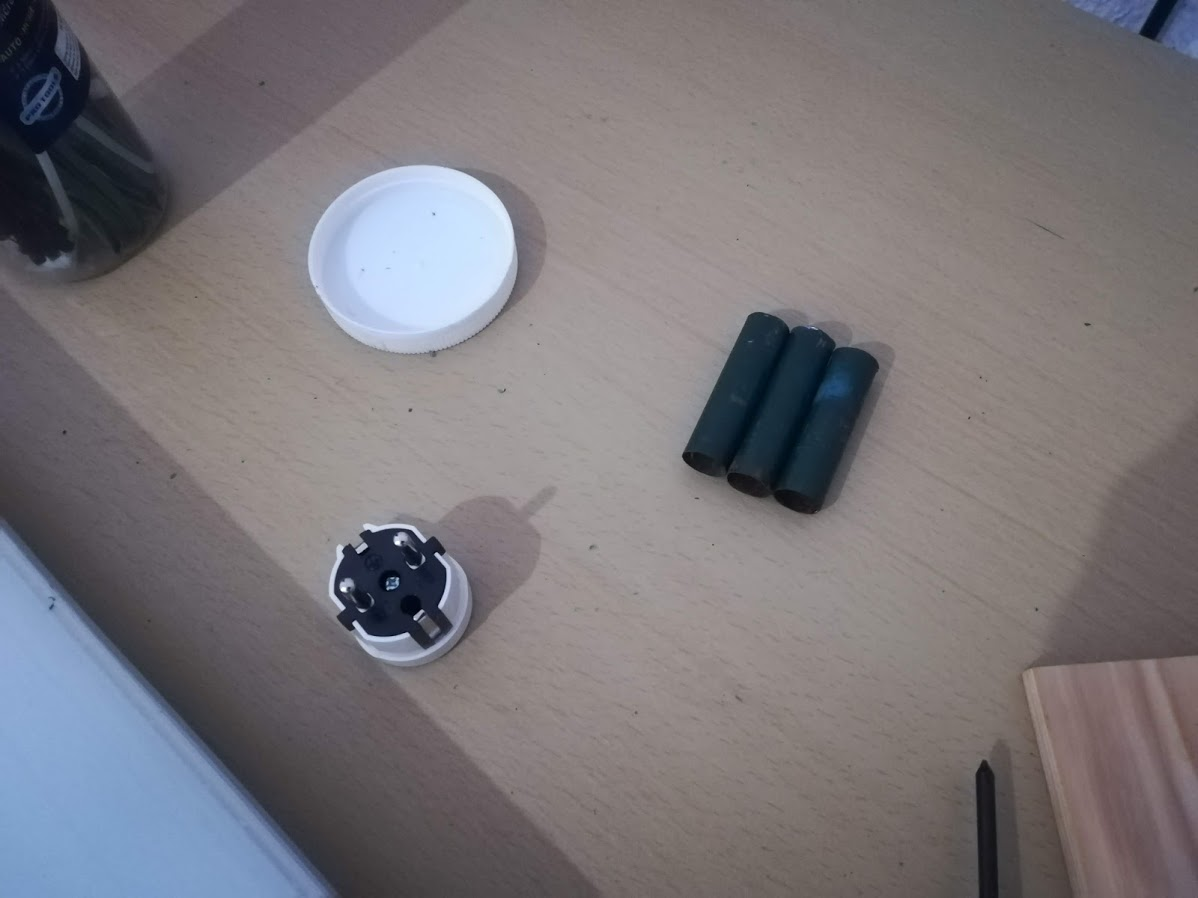
The three short sections cut off of each of the top poles. Judged by eye how much to cut off, the joints are quite loose so the margin for error is quite high.
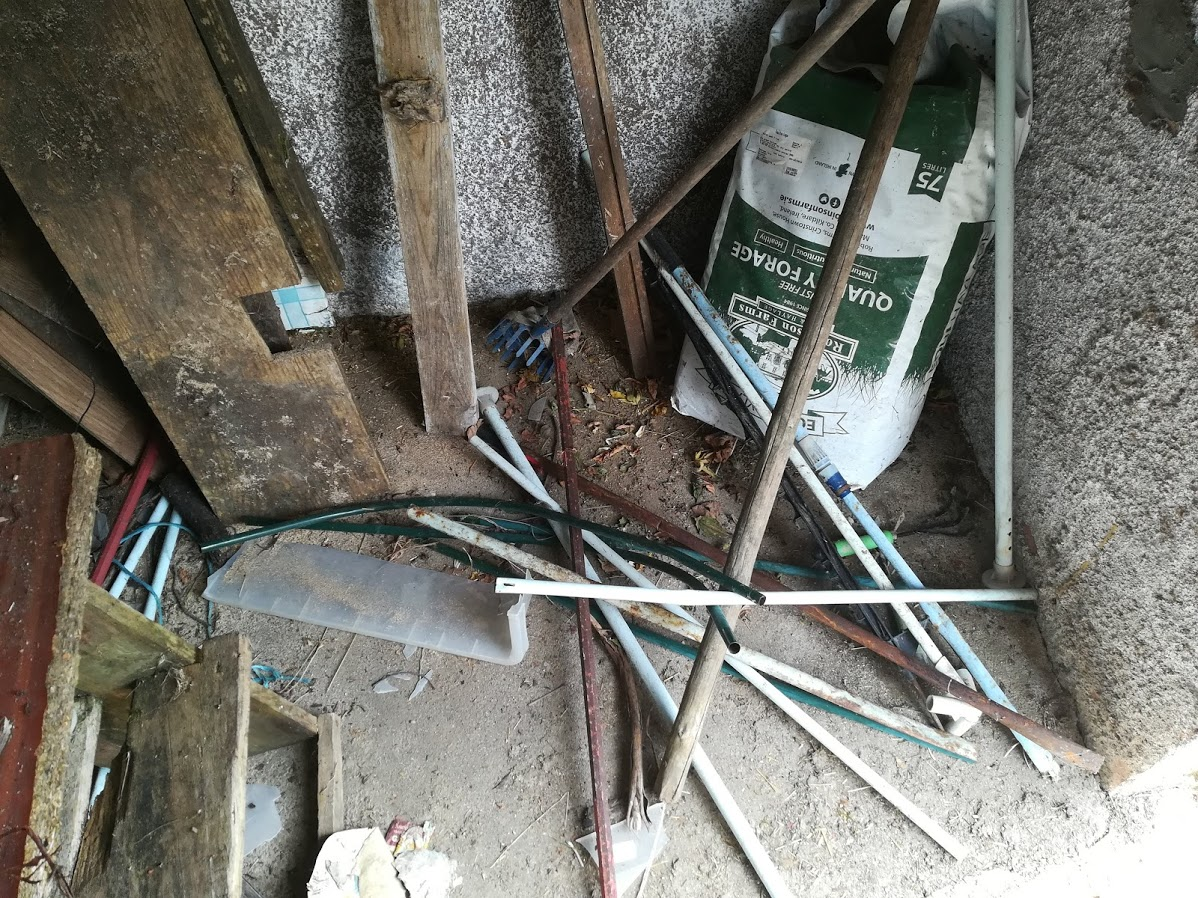
Some of the other bits I found and put away in an outside room.Yes, it’s garbage, but I found a use for some of it, it’s not costing me anything to store so it’s all good.
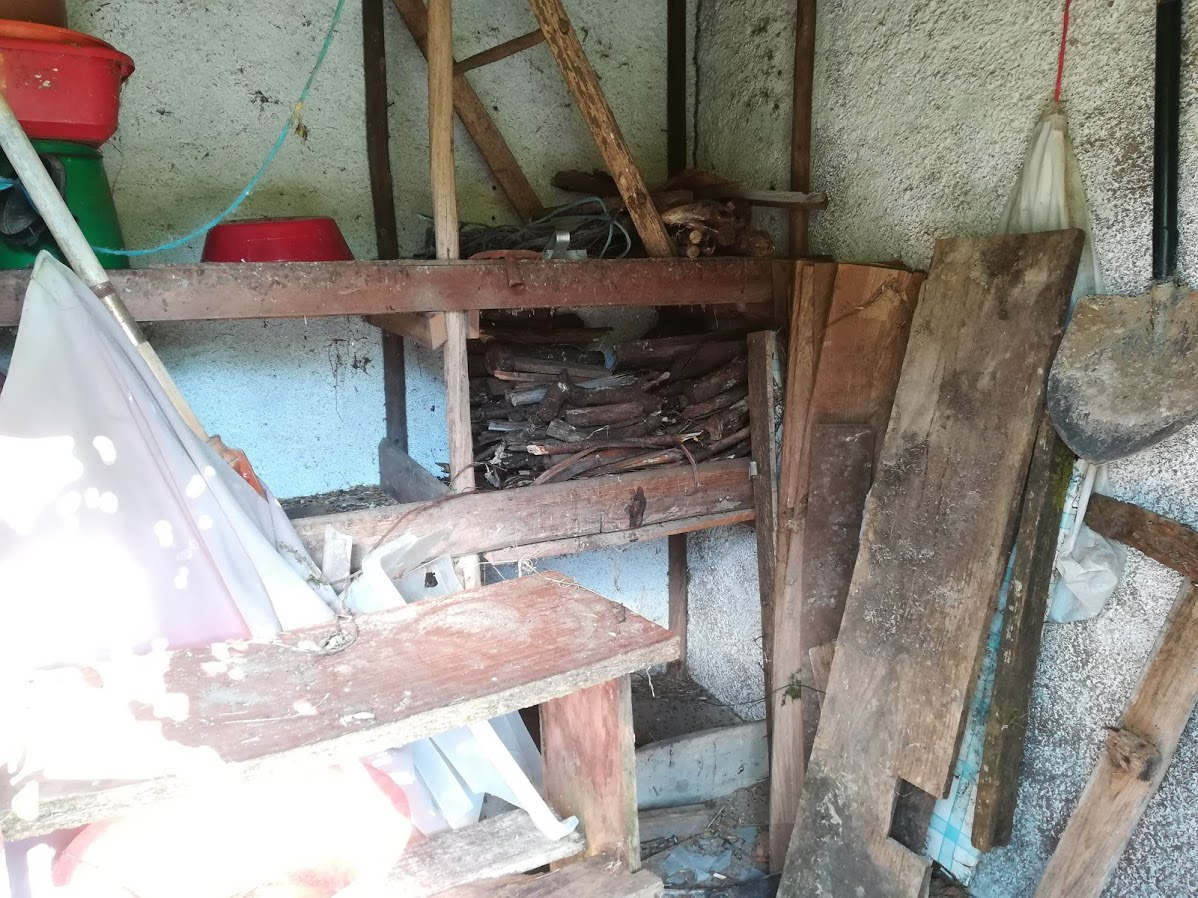
I have started cutting up branches and so on in preparation for winter. This won’t be the main fuel, just the bits we use to start a fire. There is a lot more wood available, right next to my house, so I could probably fill those racks to the roof by winter.
Well, bit of a random post, but maybe you are inspired to up-cycle something as well before going to the store to buy more stuff?
Consumerism is a bug bear of mine, the ease with which we toss out old stuff, to buy new stuff makes me really really sad some days.
Back in South Africa I had built up a collection of tools and enjoyed tinkering in the garage immensely. When we moved to Portugal we decided to come here ‘light’, basically 4 or 5 boxes and our a few suitcases with clothes. Thus with a heavy heart I sold off most of my tools, giving a large portion (back) to my father.
We we now have a house with enough space that I can tinker again, but it needs to be cleared up a bit. It’s not a garage with a nice wide door like I had in SA, but it’s space where I can work / tinker / play and I am super chuffed after a few years to be able to do this again.
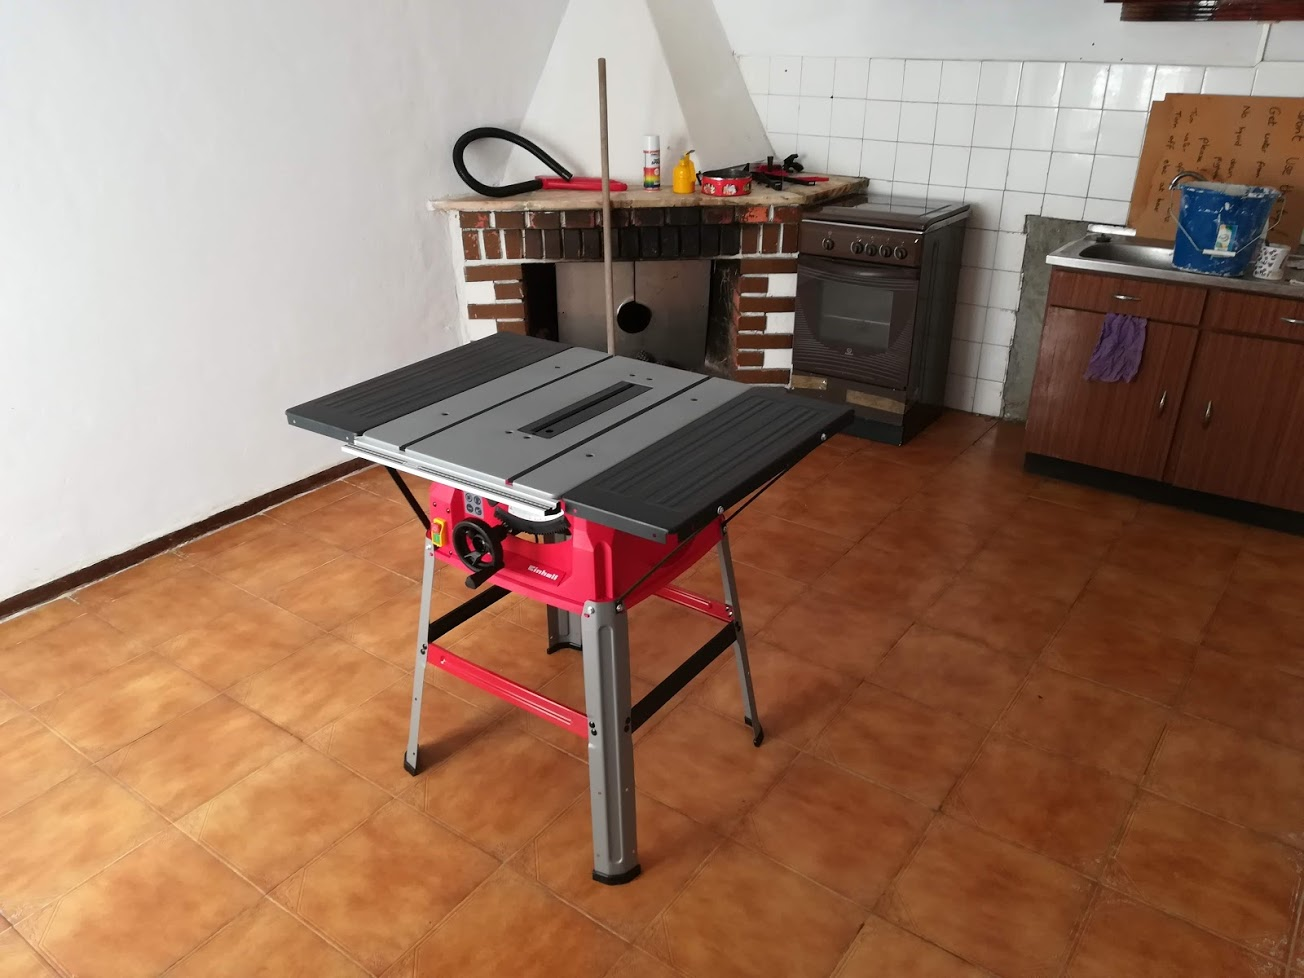
So let’s start at the end, not completely done, but far enough that I could stand back and breathe a sigh of relief that I had gotten so far.
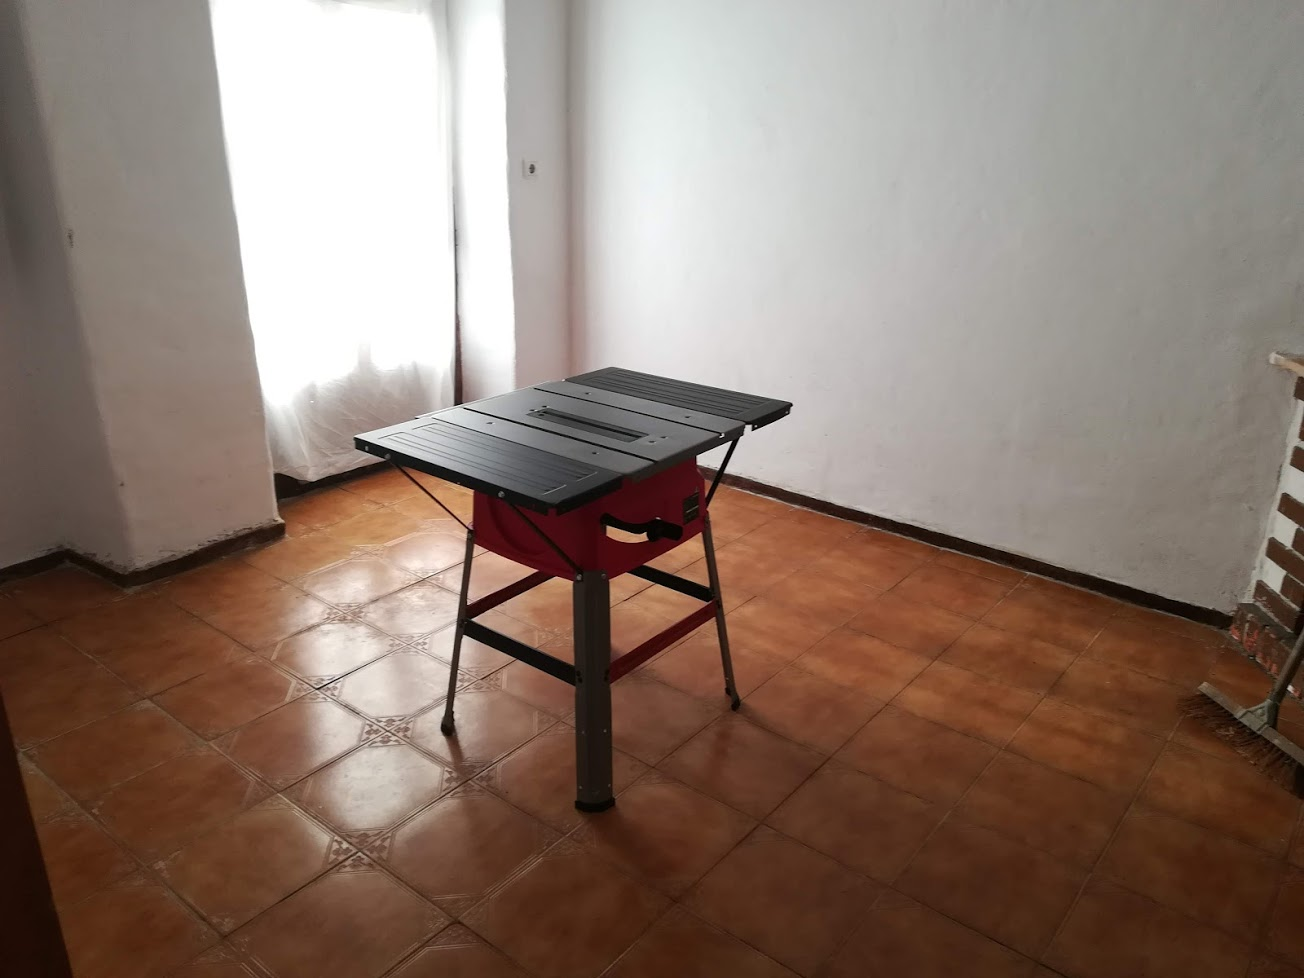
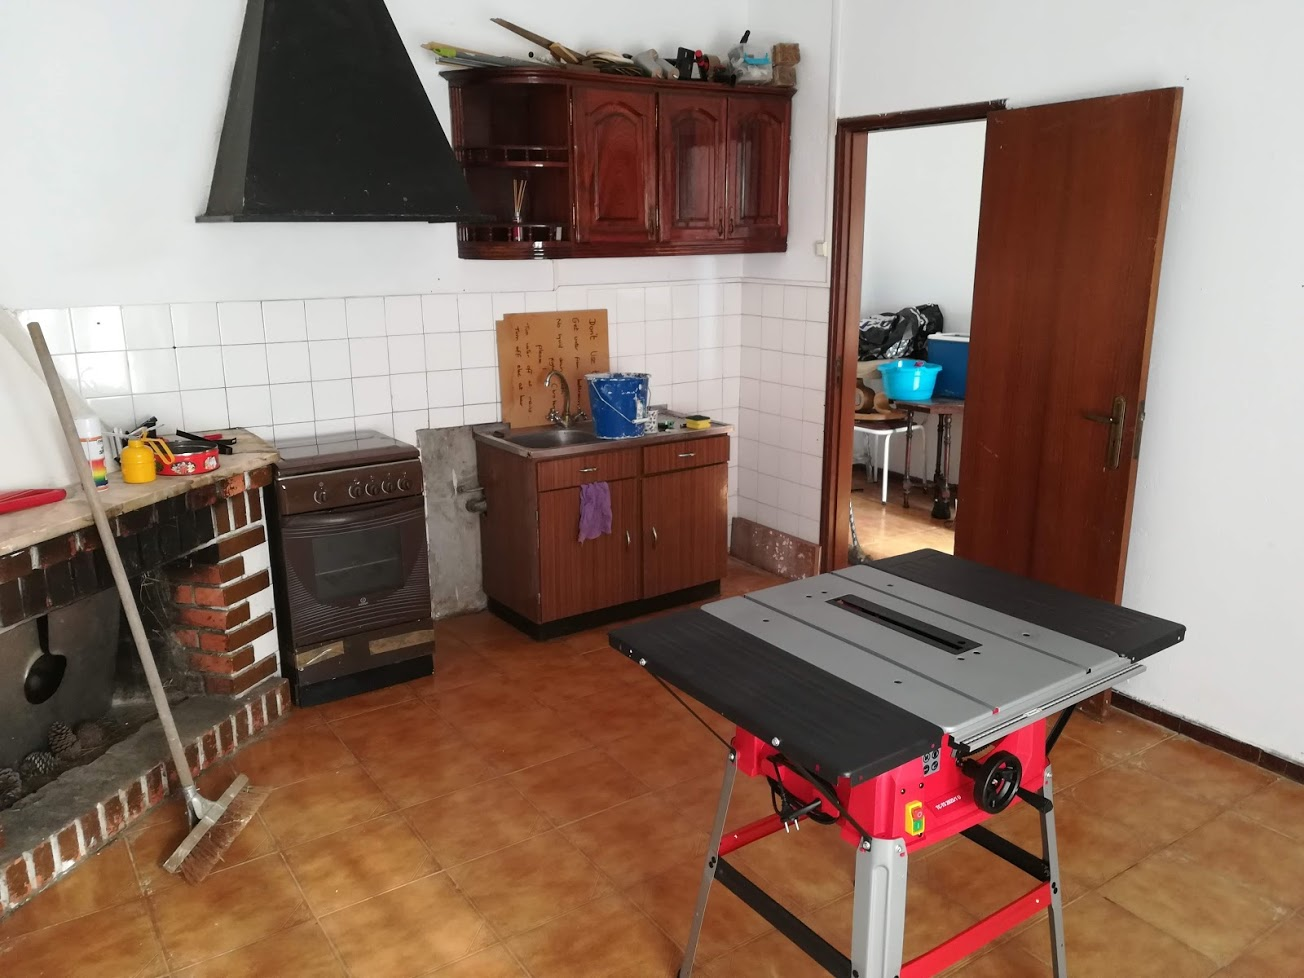
Look at my table saw drowning in all that space!
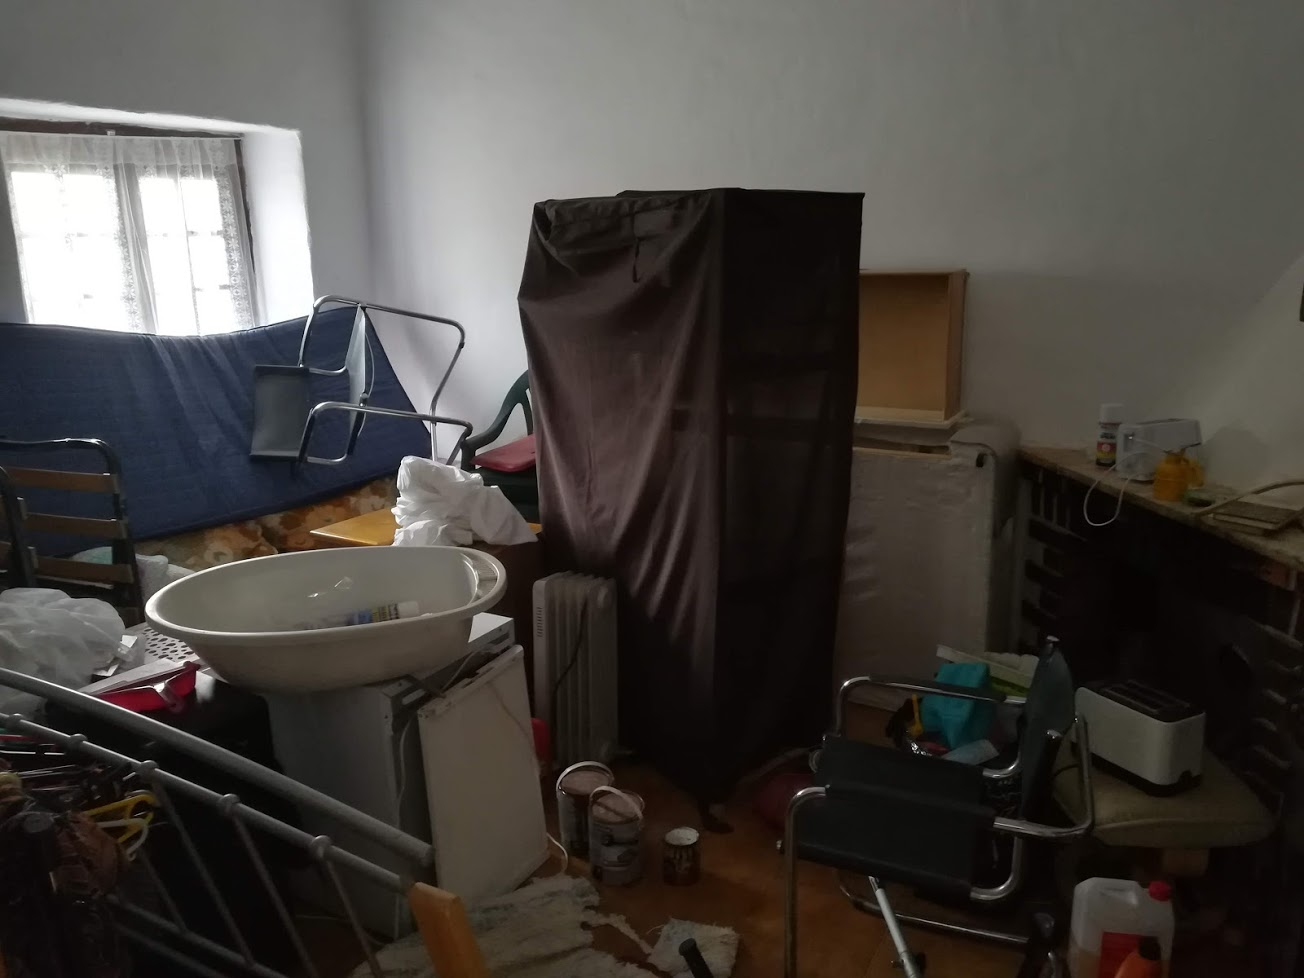
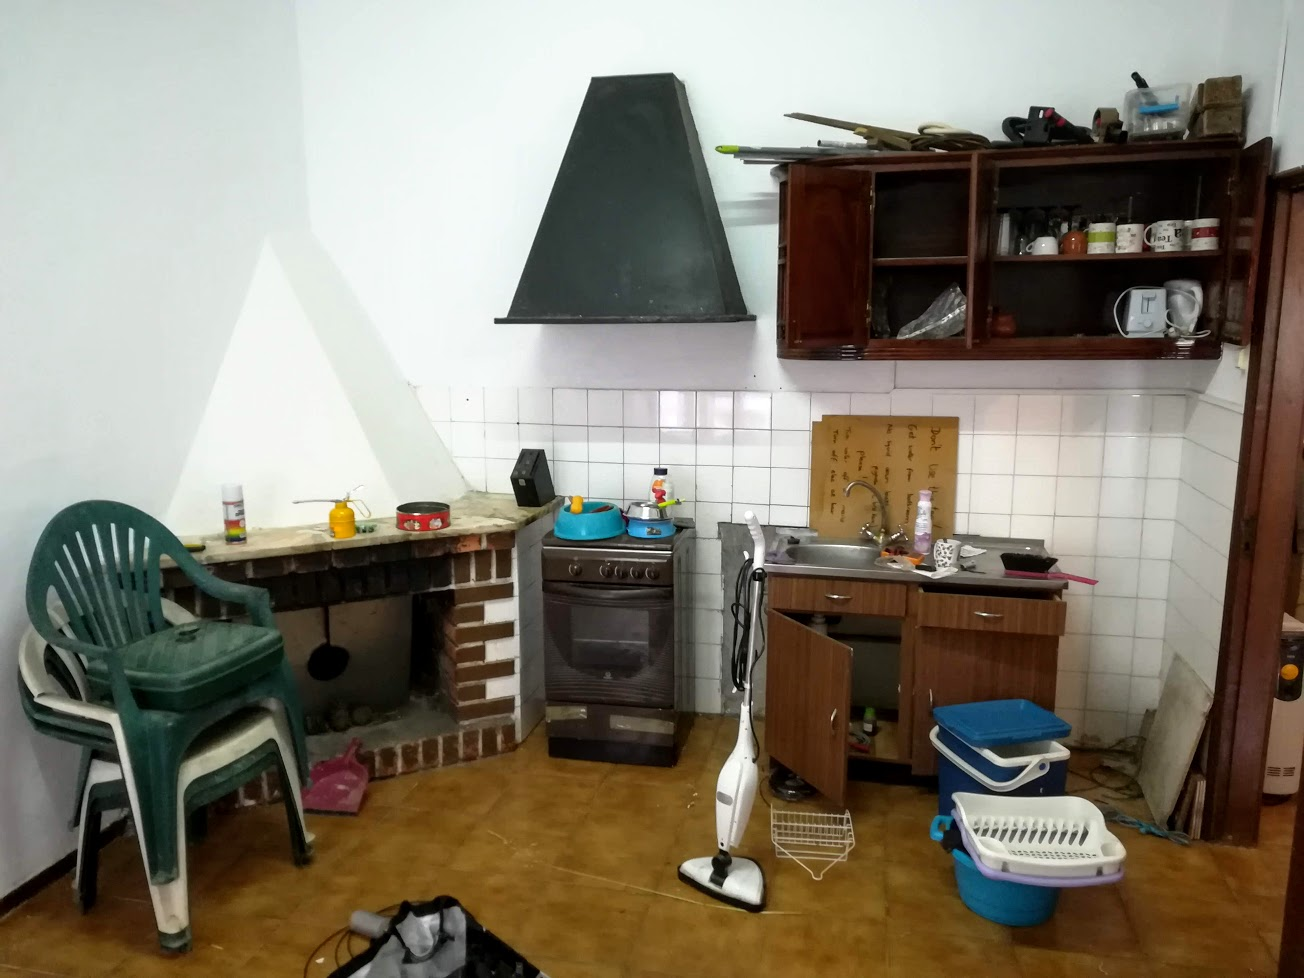
We have space under the house, which the previous owners seem to have started converting into a separate living area / flatlet. I chose the larger of the 3 rooms to be my ‘workshop’ of sorts. As mentioned in another post they left a fair bit of furniture in the house, some of which I had brought downstairs to store with the surplus of stuff already here.
It was not arranged very neatly…
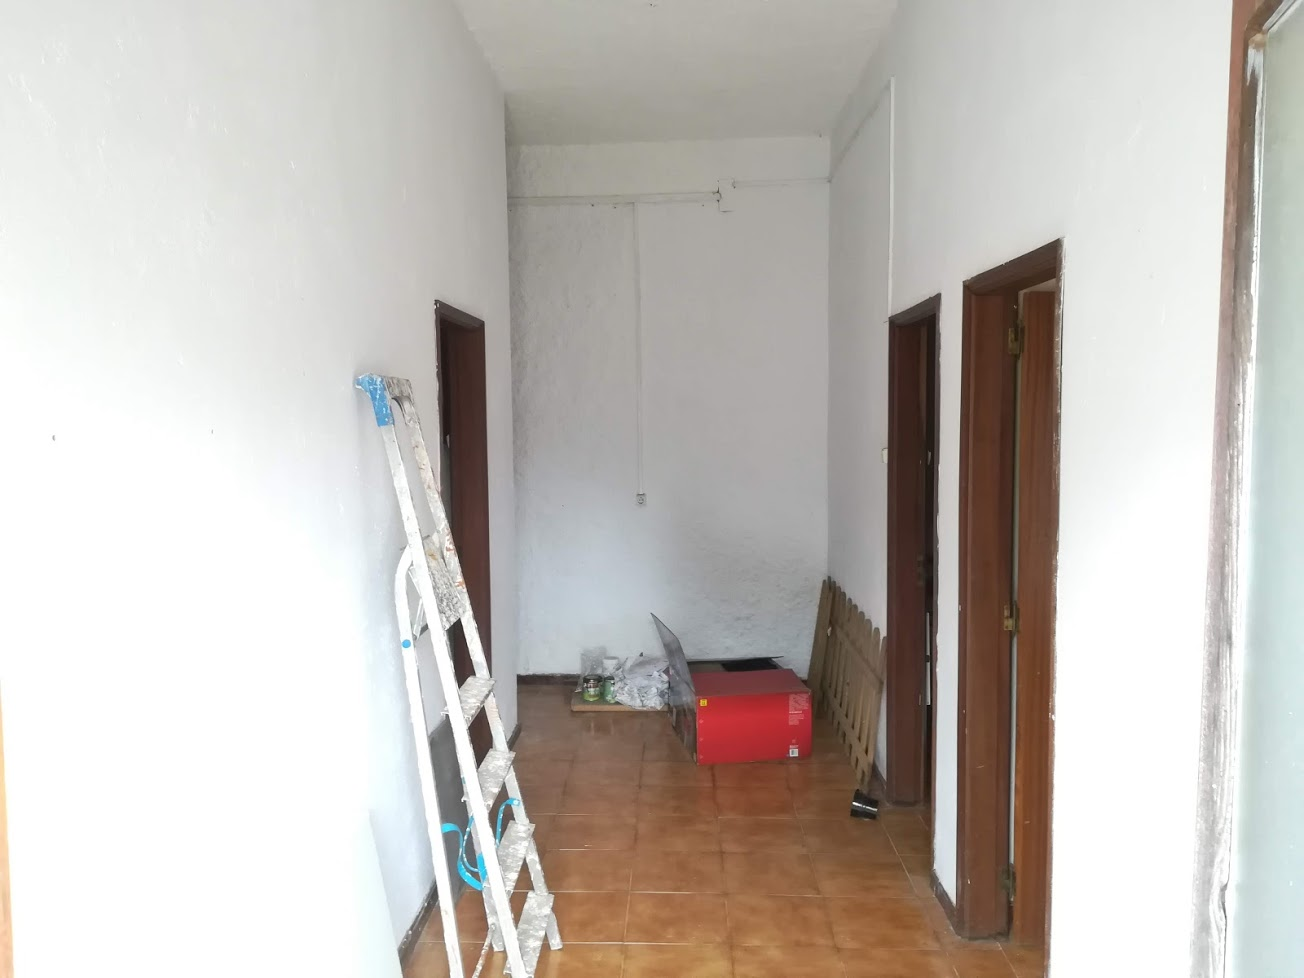
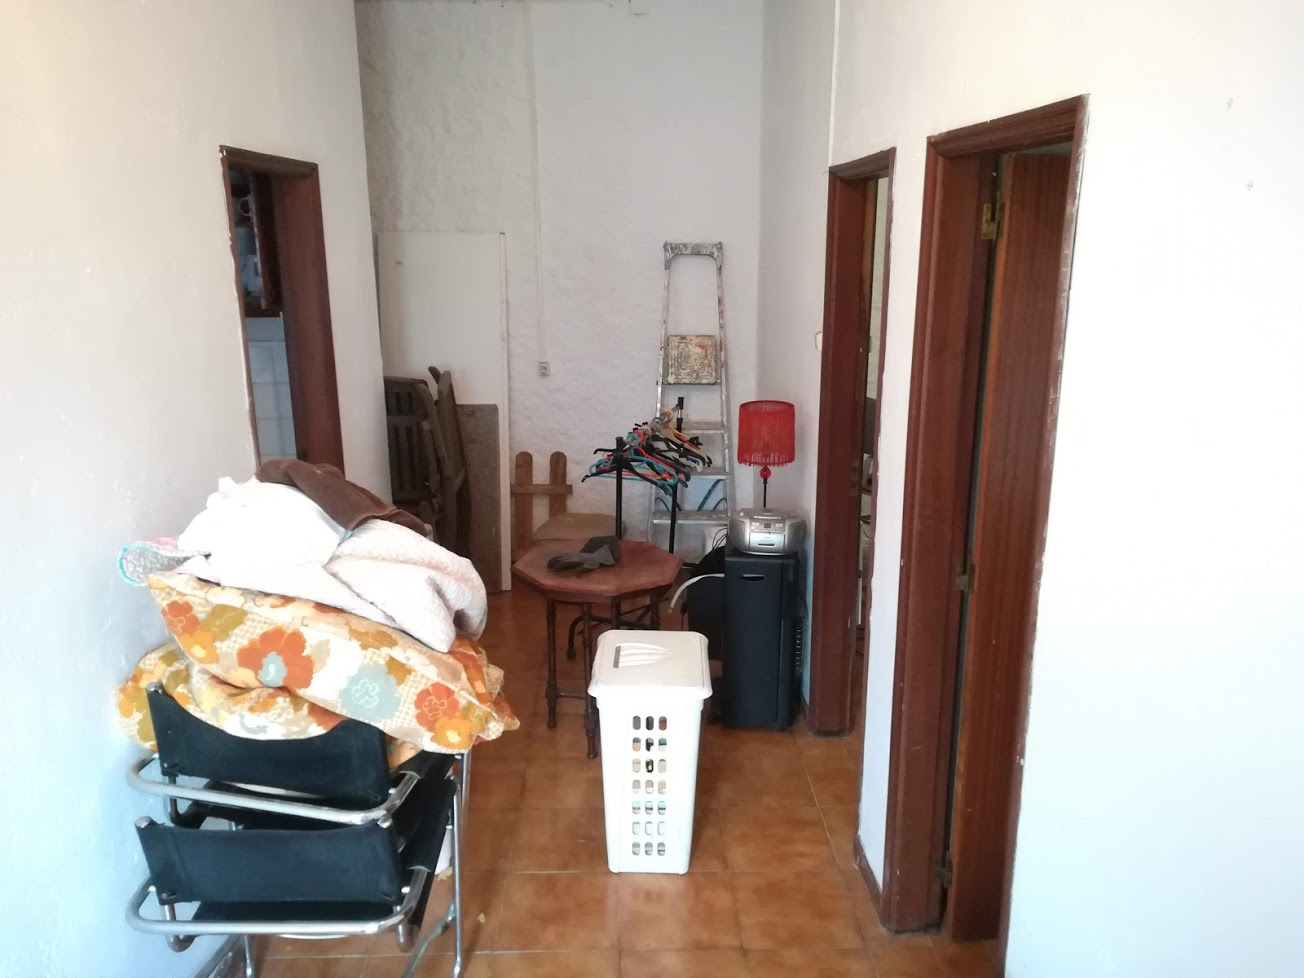
The entrance of the downstairs is quite wide, almost playing the role of an entrance hall? The plan was to move the furniture out and into this space as well as…
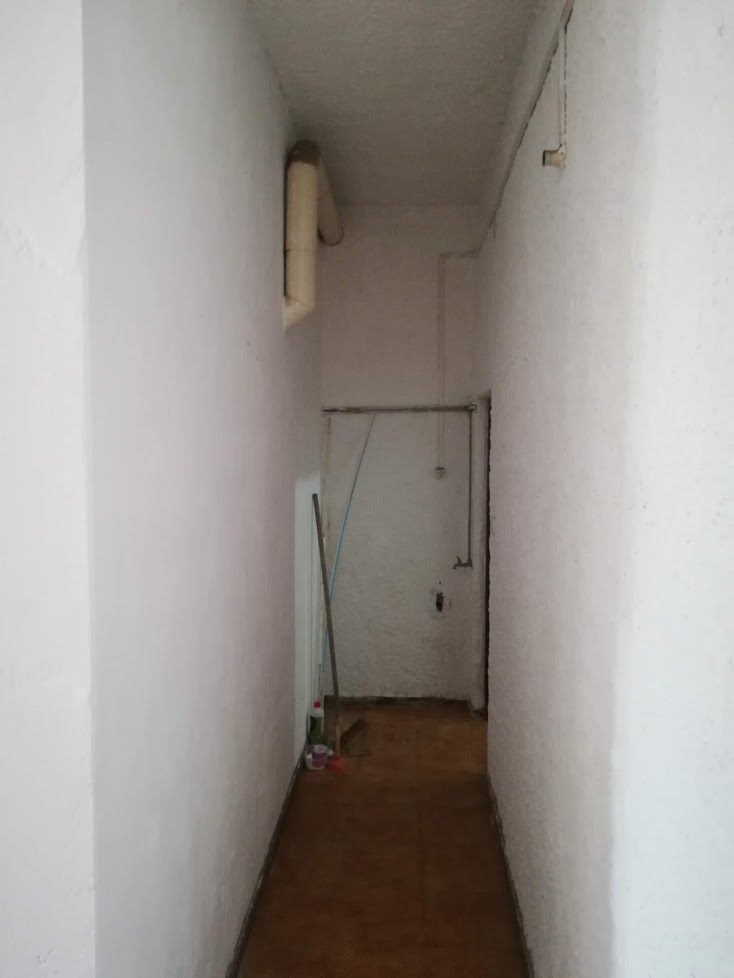
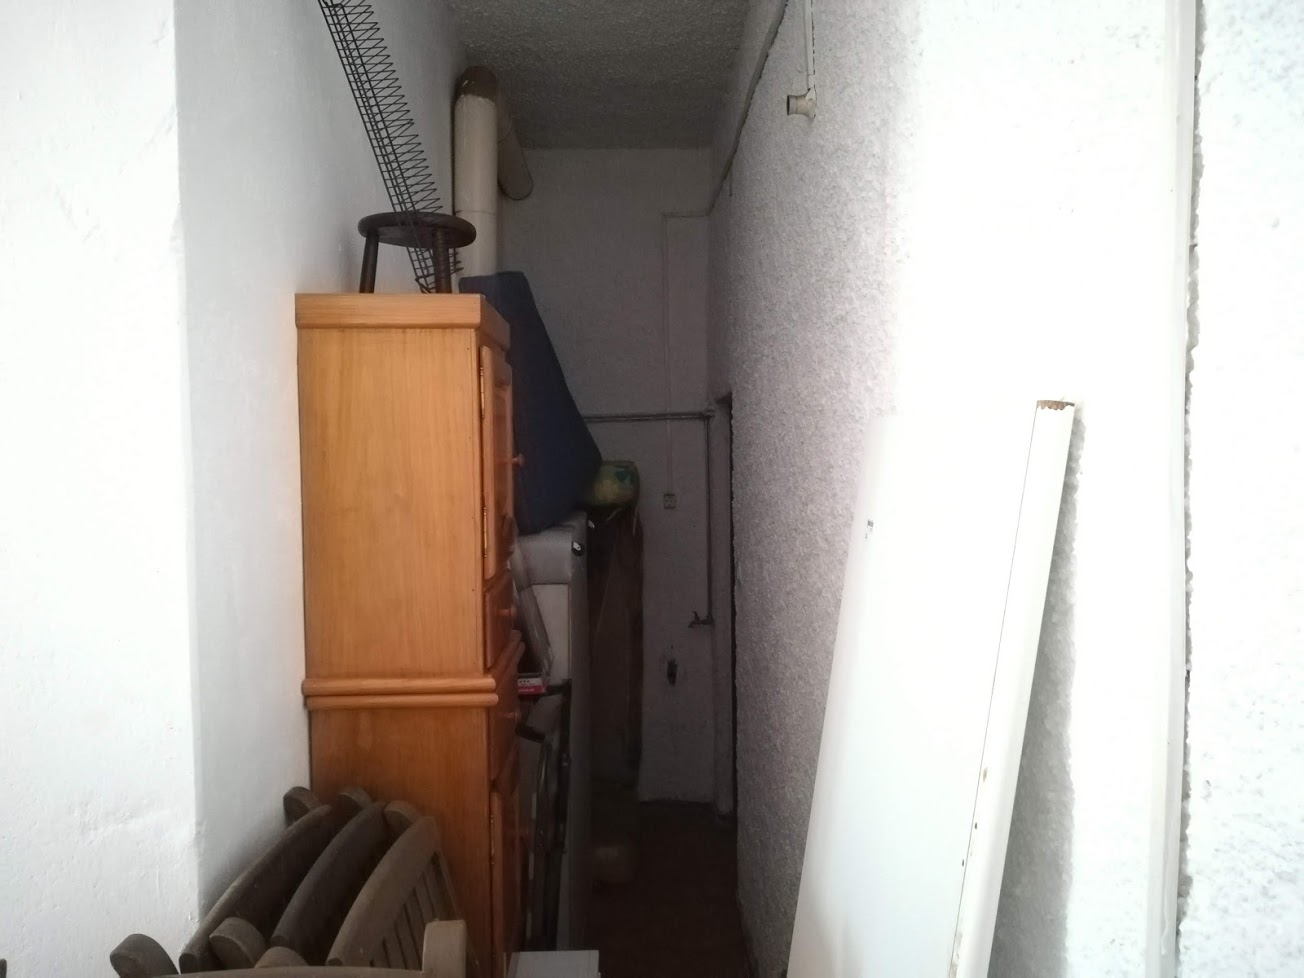
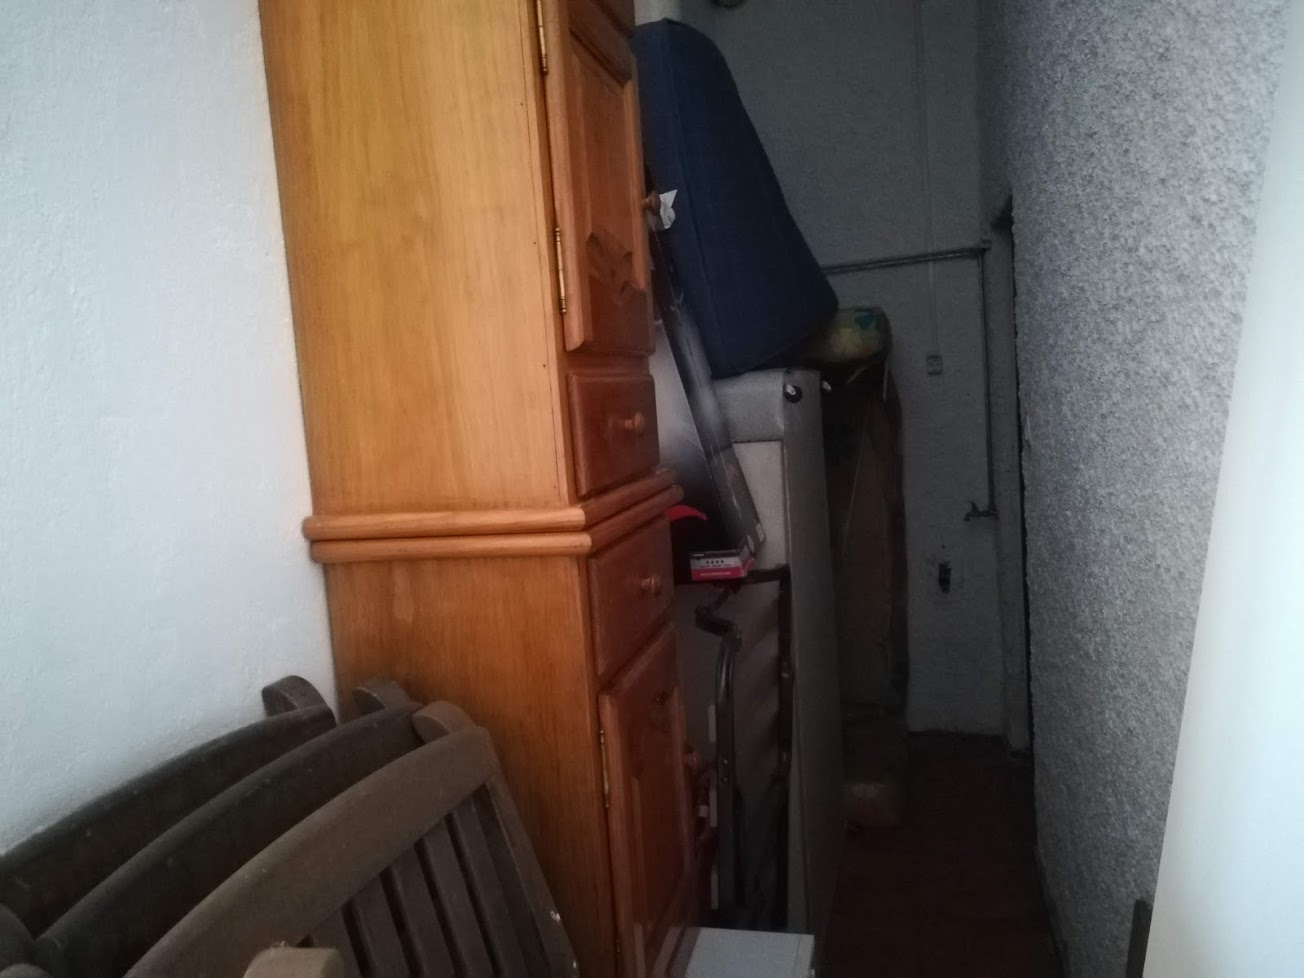
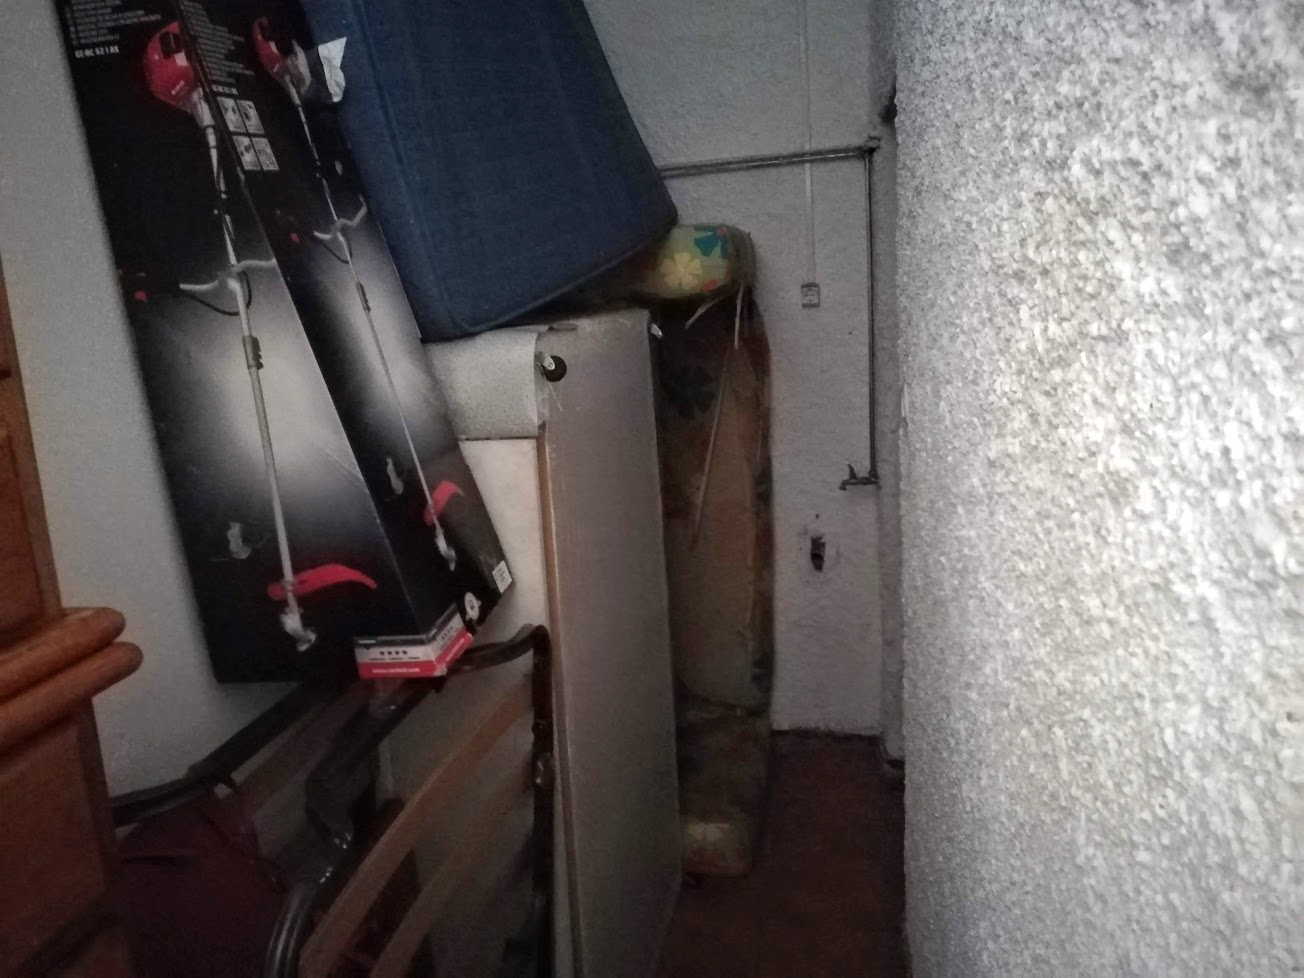
into the more narrow passage leading to the bathroom. This is a bit narrow, but as it’s really just me who is ever going to be down here, I can cut it in half and still be ok, when going to the loo.
Speaking of the bathroom, it’s quite a spacious one, especially compared to many of the other houses we had a look at before settling on this house. Theres plenty space to keep some of the smaller things that don’t fit anywhere else.
Finally the second of the smaller rooms, this one is right by the entrance. Recall the room to the left of this one is my home office. Here I will be storing tools, screws and other small things I want to keep dust free. My wife had wanted a space to do sewing etc. but she said I should use this until we managed to get a bit more settled and have the house in order.
It took me some time, but this is where I left off on Thursday evening. Don’t let the light fool you, we are far enough North that the sun only really goes down after 9PM.
It’s by no means neat and tidy, but it’s out of the way for what I wanted to do, this portion was also done right near the end, when I was most tired!
I still had a few small things to do, but my wife and kids were home from an outing so I called it a day and headed upstairs t hear how their day went.
Maybe I was ambitious when I said ‘cut it in half’. I have a bit less than half the width to walk through, but again, it’s just me and I don’t mind at all, given the extra space I have in the room where I wanted it most.
Apologies for the dark and danky looking shots. I bought some more bulbs and put one in the light socket, this looks way less creepy now 😉
Some might say I should just junk all this, but I have a purpose in mind for most of it. Being a fan of reducing, re-using and recycling it would just not feel right dumping this stuff. why? so I can just buy other stuff? Makes no sense to me.
The other small room with some stuff in it, including a dresser that had a brown cloth over it. I may need to add some more support to it before I store anything heavier on there.
On Saturday, I took some time to move the table saw from the small room to it’s new home in the bigger room. I now have space to put an additional feed table for if I need it when cutting larger sheets of wood.
I am getting there bit by bit, hopefully I can get started on some actual DIY, aside from what I have done in the house already. Putting up shelves, trying to sort out our geyser and low water pressure, hanging curtains etc. has taken most of my time. That and cutting back brush and brambles. I hate brambles!!
I still have some more stuff to do on the outside of the house, but at least now I have a space to store the tools neatly and do any running repairs as needed.
Well, I am by no means old, but I was reminded that I am not so young anymore when I decided to tackle an issue at home that has been bothering me for a few weeks.
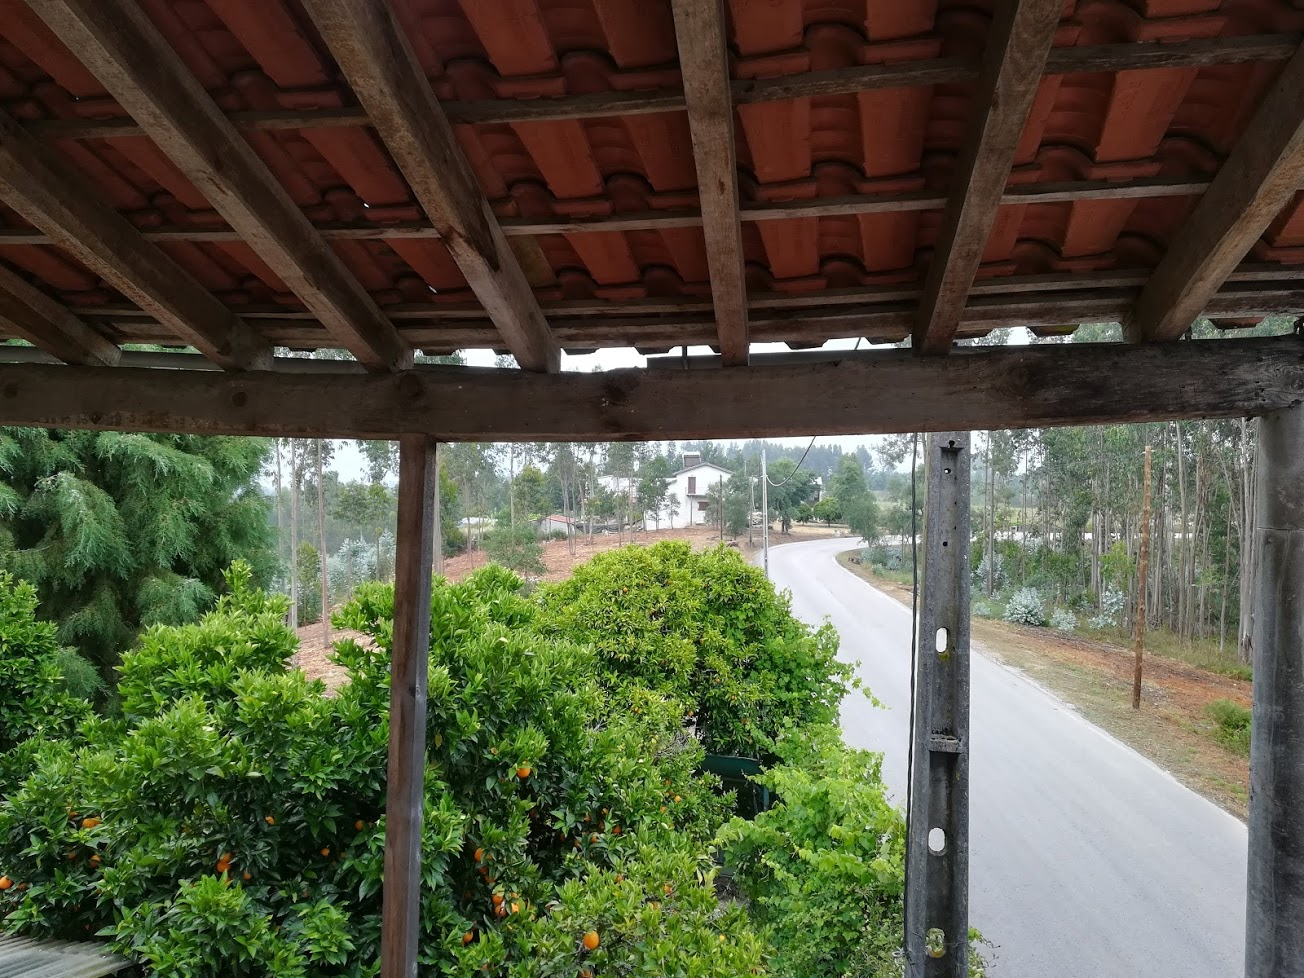
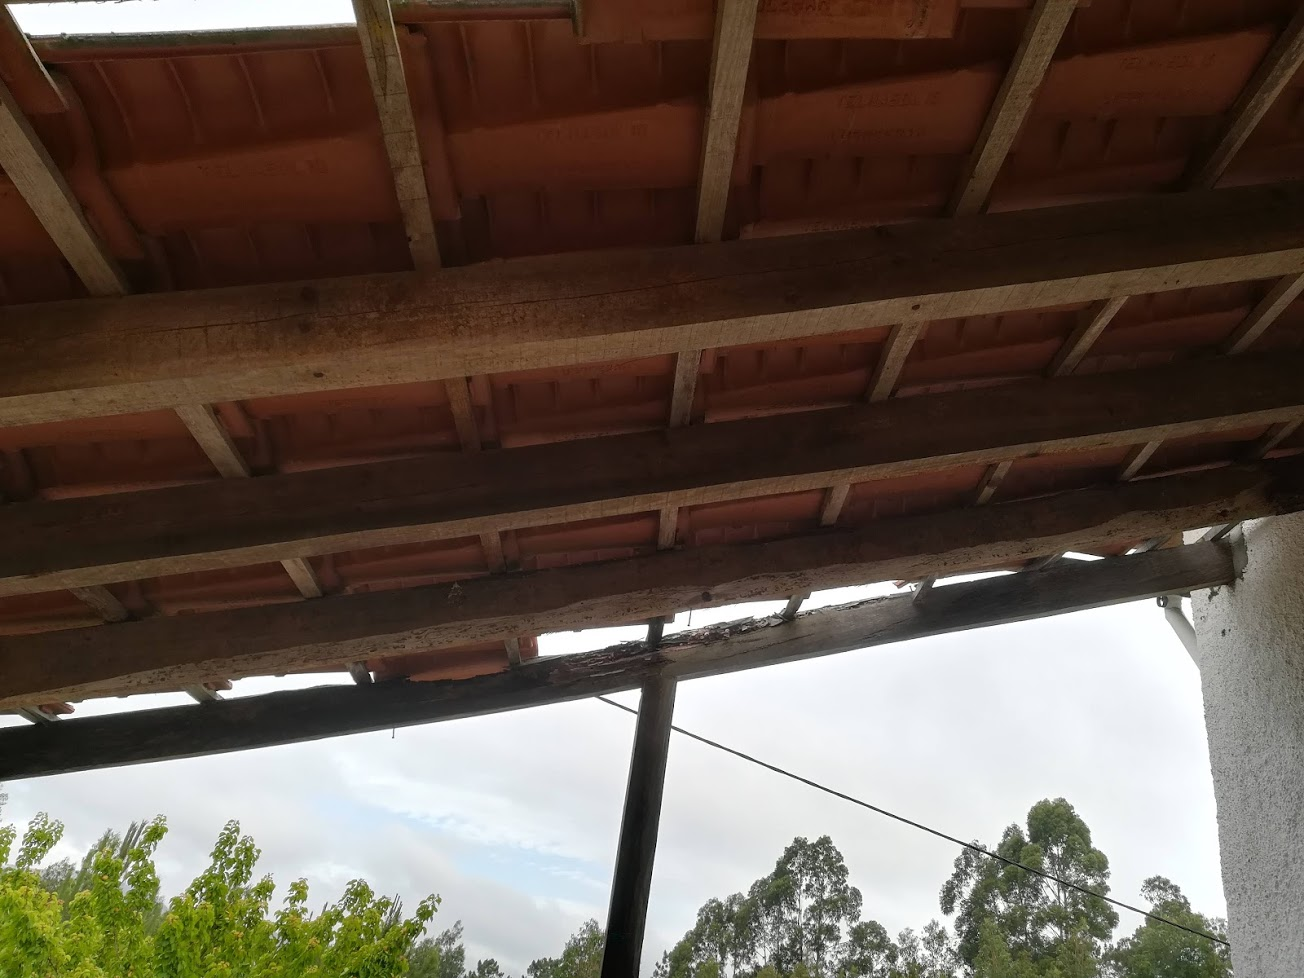
Here’s a photo of the roof over our house’s terrace, it may not seem obvious but theres a serious sag in the supporting beam.
Here it is from another angle. It seems the precious owner was bothered by it too as you can see the rather thin looking wooden pole that has been jammed in for more support. The main bean has actually twisted a bit too, as the parts resting on the concrete pillars seems to have gone soft from moisture and maybe even termites?
On getting older…
In my youth I would quite easily climb on top of a roof, replacing tiles or doing whatever else needed doing. There was always an element of self preservation, so I was never reckless.
In this instance though I was over aware of my mortality and actually had a few moments where I froze up for a few seconds, before willing myself to finish the job.
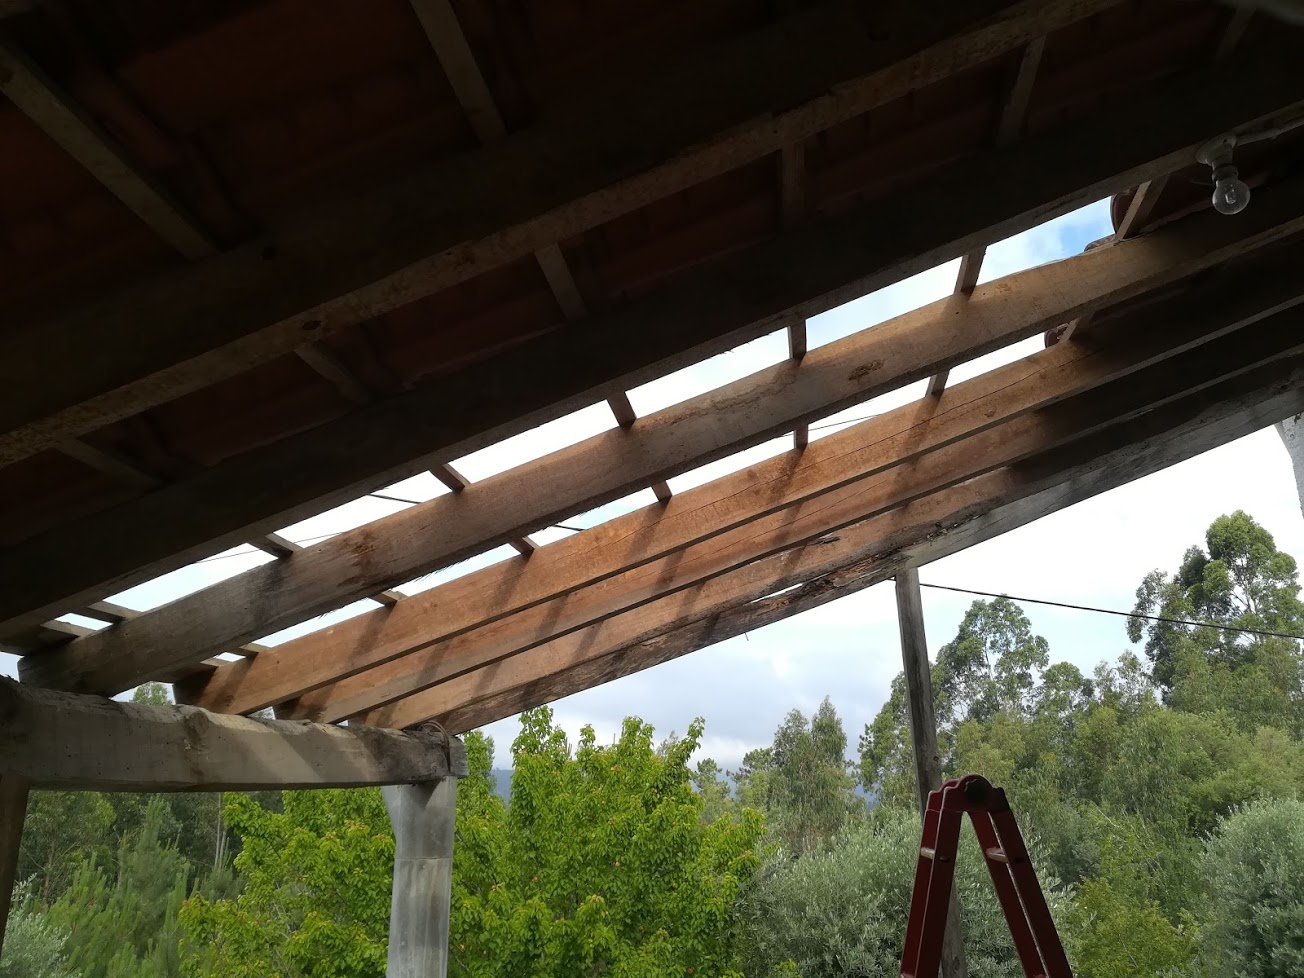
All I wanted to do was to take a portion of the tiles off of the roof, my reasoning being that the tiles are quite heavy. With a good portion gone the wood would be less likely to break completely. My fear here was that it could break while my family was on the terrace, to be honest it bothered me to the point of losing sleep.
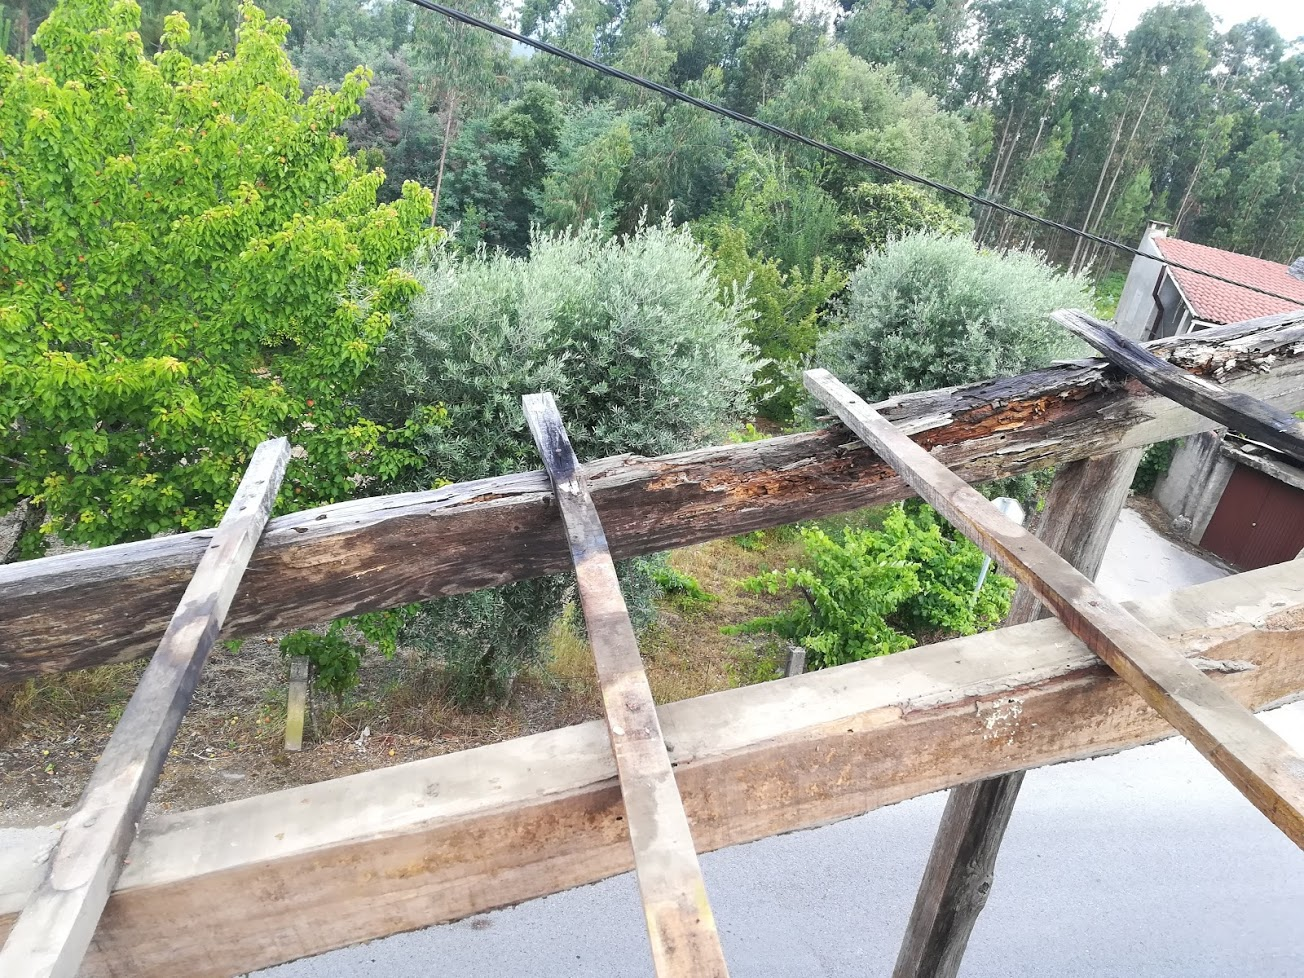
One of the beams at the end is so rotten it also has a pole to support it, some tiles have already made their escape.
I removed one a few of the tiles in the centre of the rood, so that I could climb up through the hole, far away from the edge. This is on a terrace, remember, ladders on the edges of a drop make me super nervous.
I removed tiles, one by one, handing them down to my wife, who stacked them out of the way. I progressed to the edge, then systematically took column after column off. Eventually stopping for a bit of a rest.
Here you can see how rotten that beam is. The beam closest in the photo felt like it was moving as I put my weight on it, very disturbing! It and the furtherest beam are coming down soon!
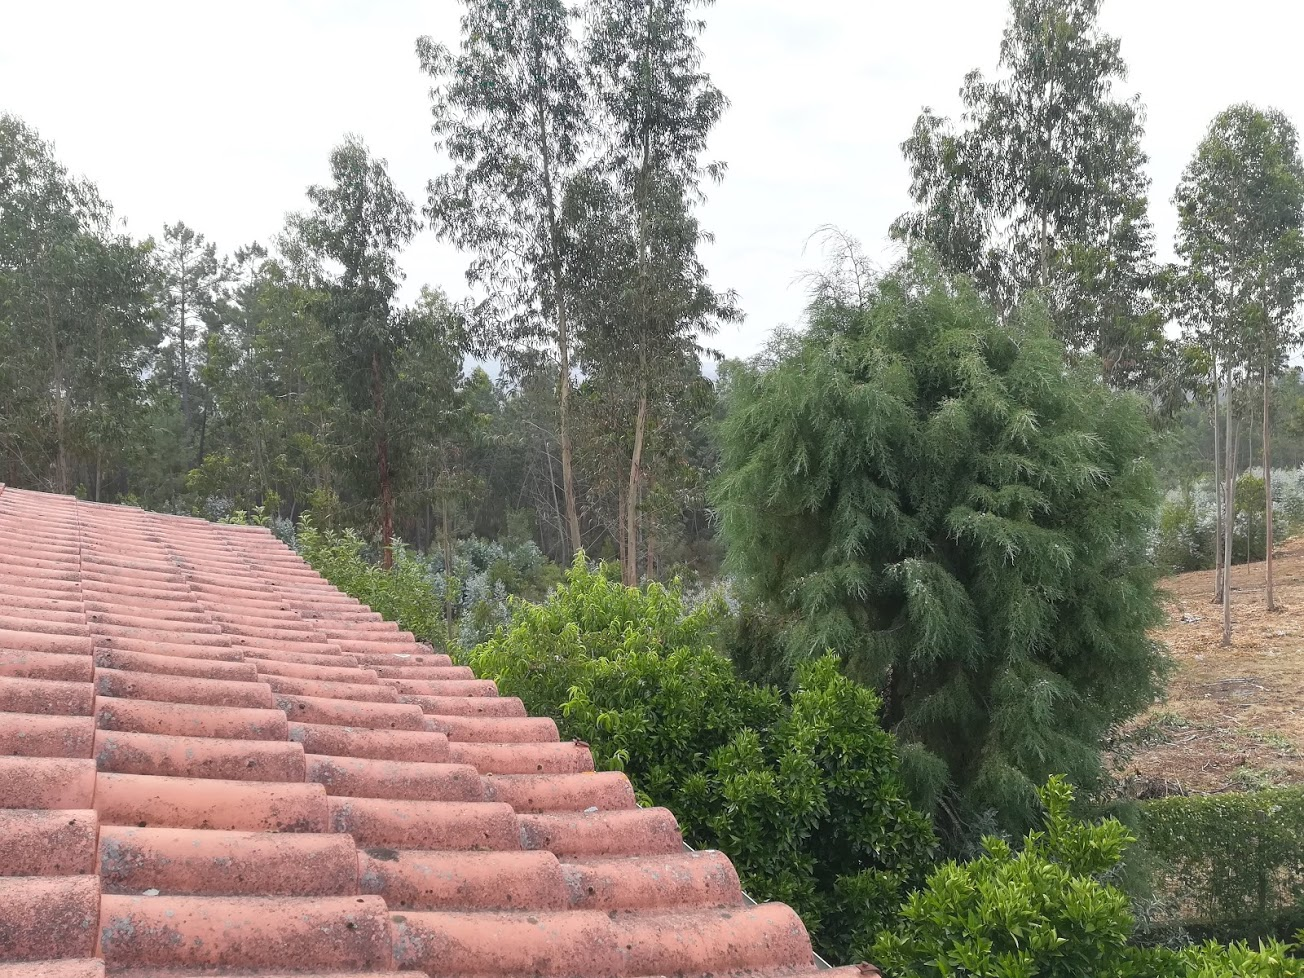
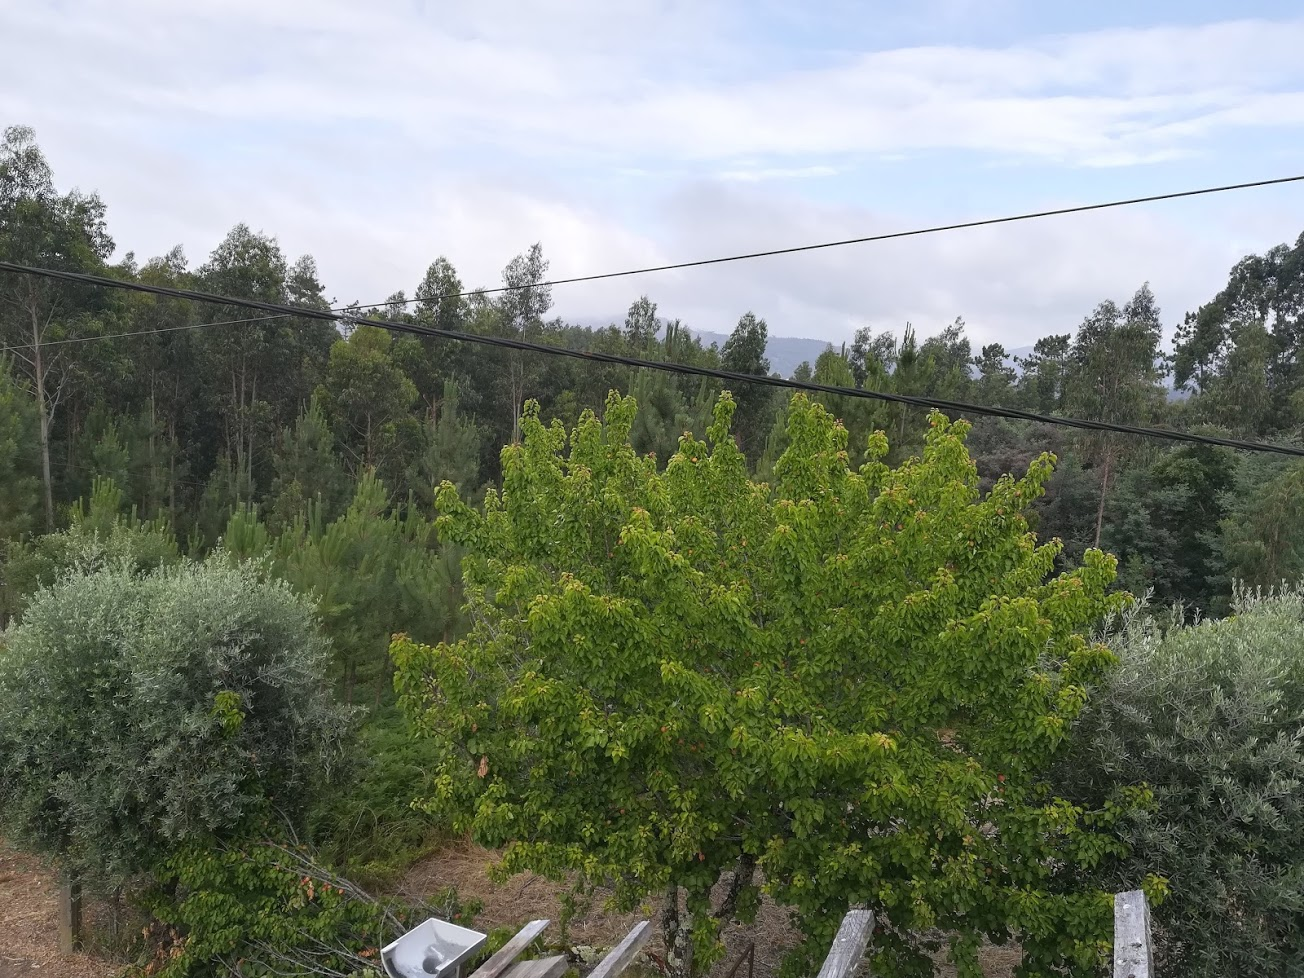
As I rested I took in the view, it really is amazing.
I do love being surrounded, almost, by trees. We have gone for a few walks on the dirt roads that snake their way through the trees. This is miles better than living in a city or in the centre of a village. I think so anyway.
The end result, we now have a portion of the terrace exposed to the elements, but as it is summer there should be much less rain. Hopefully we can get this roof redone and safe before next winter.
I was truly surprised by how long it took me to get going once on the roof. When I did finally act I was ultra deliberate with every movement, much to the amusement of my wife, who also remembers me being way more comfortable with heights.
Maybe the real issue is that it has been so long? It has been years since I have tackled any kind of DIY on the outside of a house so I am going to go with that.
The house still needs quite a bit of work, so I guess we will see!